
Hello, everyone! Happy Tuesday! I'm a big time seasonal cooker, and I don't just mean cooking with foods that are "in season" (although I do that, too); I mean, I cook certain foods more during certain seasons. For me, winters are filled with soups and stews, and some heavier comfort food! Chicken pot pie certainly fits that bill! This hearty, rustic dish is flavorful and stick to your ribs comfort food! This pot pie comes together very quickly (not including the time it takes to cook the chicken), feeds an army, and is very impressive looking, making it great for entertaining!
I have always loved chicken pot pie, and even though it looks somewhat difficult to make, it really is a breeze. Plus, you can customize what veggies you can put in this, depending on what you like! The gravy is really lovely, and comes together very easily!
Here's your grocery list for this one:
1 sheet of puff pastry, thawed*
1 sheet of puff pastry, thawed*
2 carrots, peeled
2 sticks of celery, washed
1/2 C fresh chopped parsley
1 Tbs dried oregano
1 tsp garlic powder
2 large chicken breasts, roasted and shredded**
5 Tbs All purpose flour
5 Tbs unsalted butter, plus 2 Tbs cubed for sauteing the veggies
2 C chicken stock
1/2 C cream, or milk
1 beaten egg, for an egg wash
Salt and pepper to taste
*I spoke about thawing out puff pastry in my easy cheese danish post!
**I was talking with my mom last night, about how I use shredded chicken at least once per week, usually two to three times per week, so what a time saver it would be for me to roast several chicken breasts once a week, shred it up, and stick it in the freezer! I mean, honestly, I use shredded chicken for tons of recipes (roasted garlic, lemon, chicken soup, chicken enchiladas, cheesy chicken quesadillas, and this one, just to name a very few!). So, I think I'm going to start doing that!
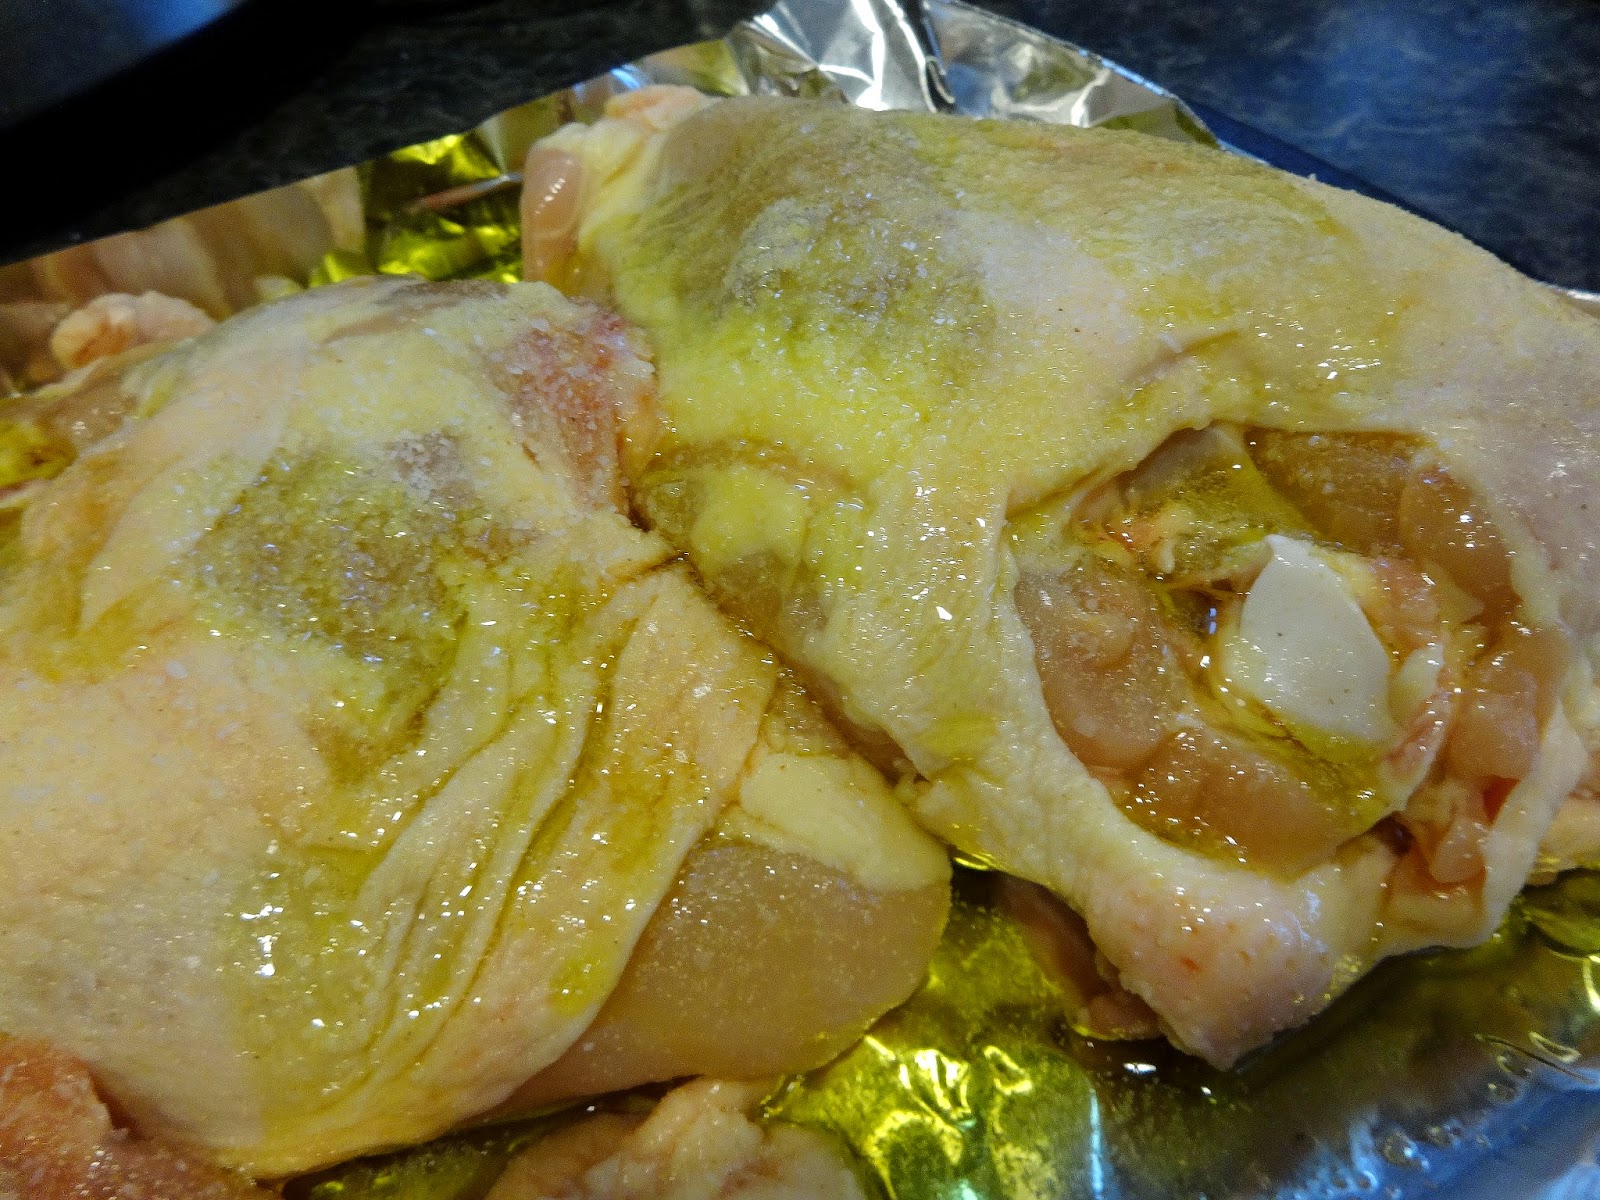
Anyway, if you're not comfortable with roasting chicken, here's how I do it:
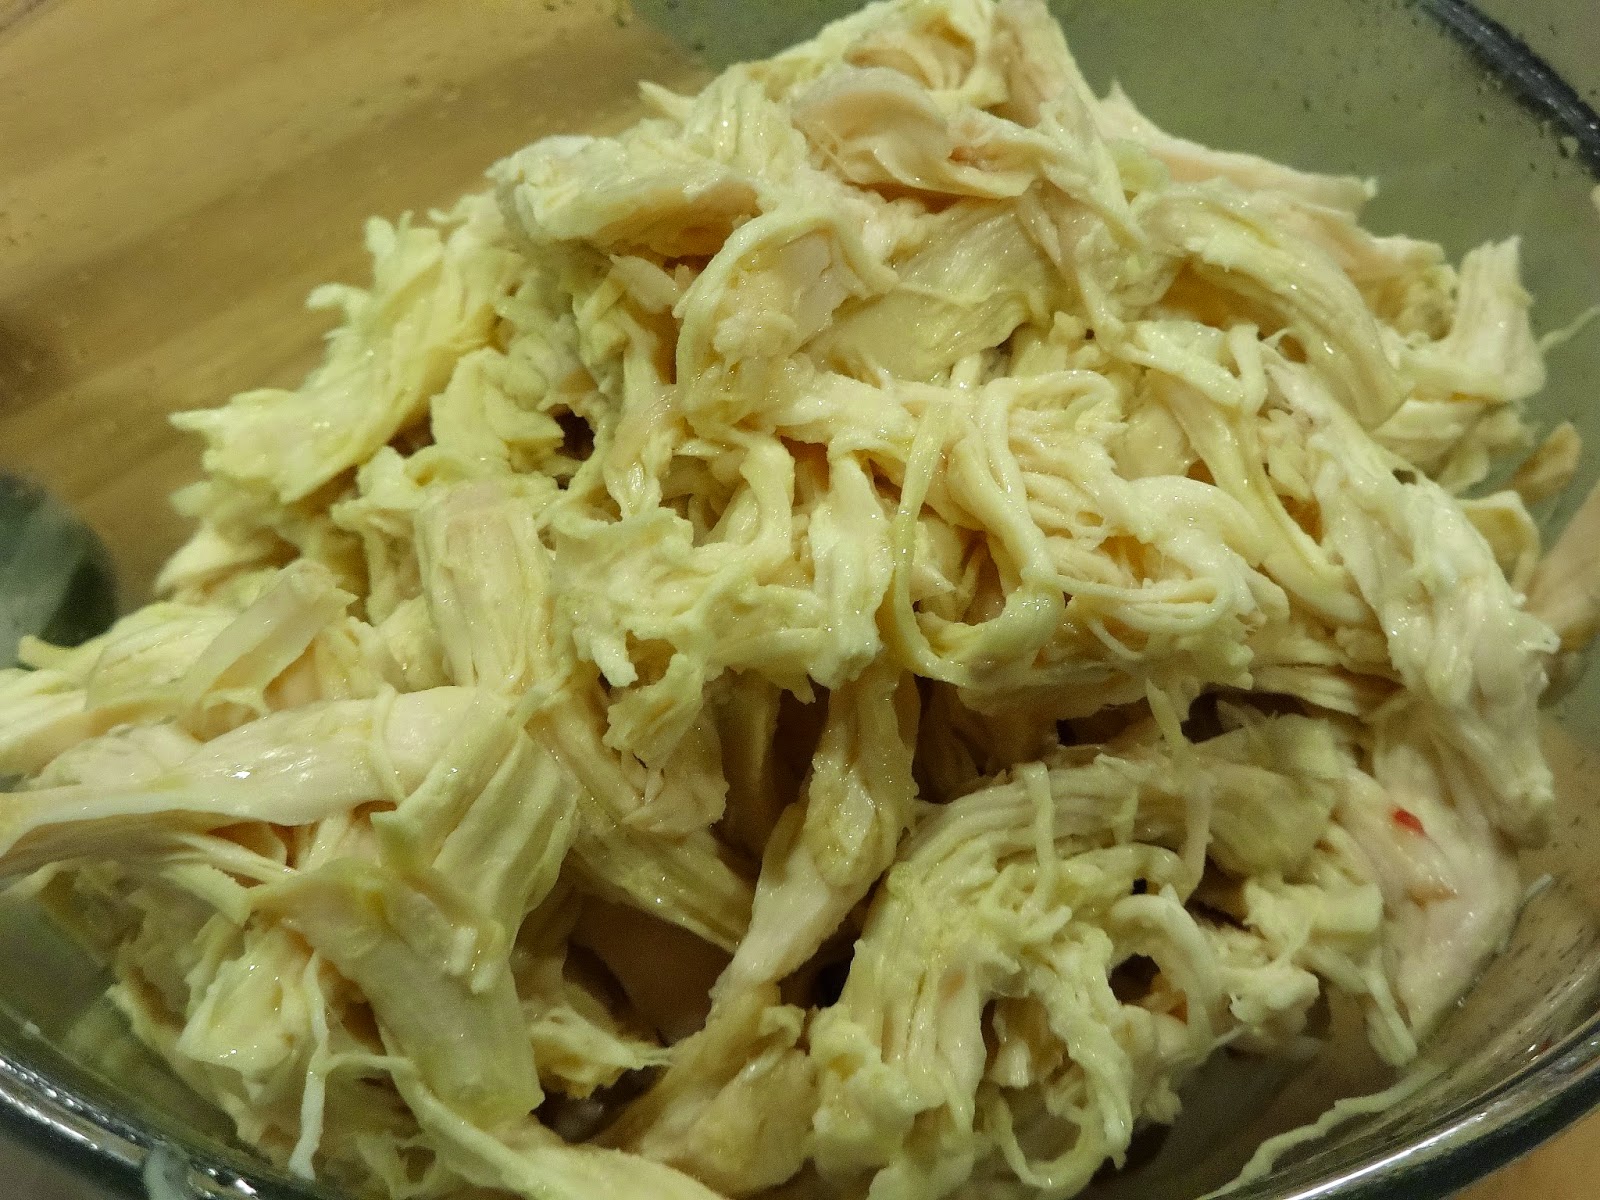
Cover a baking sheet with aluminum foil, lay your chicken breasts on it, drizzle with a little bit of olive oil, sprinkle with salt and seasonings of your choice, roast at 425* for 40 minutes (for bone-in chicken), or 350* for 35 minutes (for boneless chicken). Let rest, cool, and shred up!
Anyway, if you're not comfortable with roasting chicken, here's how I do it:
Cover a baking sheet with aluminum foil, lay your chicken breasts on it, drizzle with a little bit of olive oil, sprinkle with salt and seasonings of your choice, roast at 425* for 40 minutes (for bone-in chicken), or 350* for 35 minutes (for boneless chicken). Let rest, cool, and shred up!

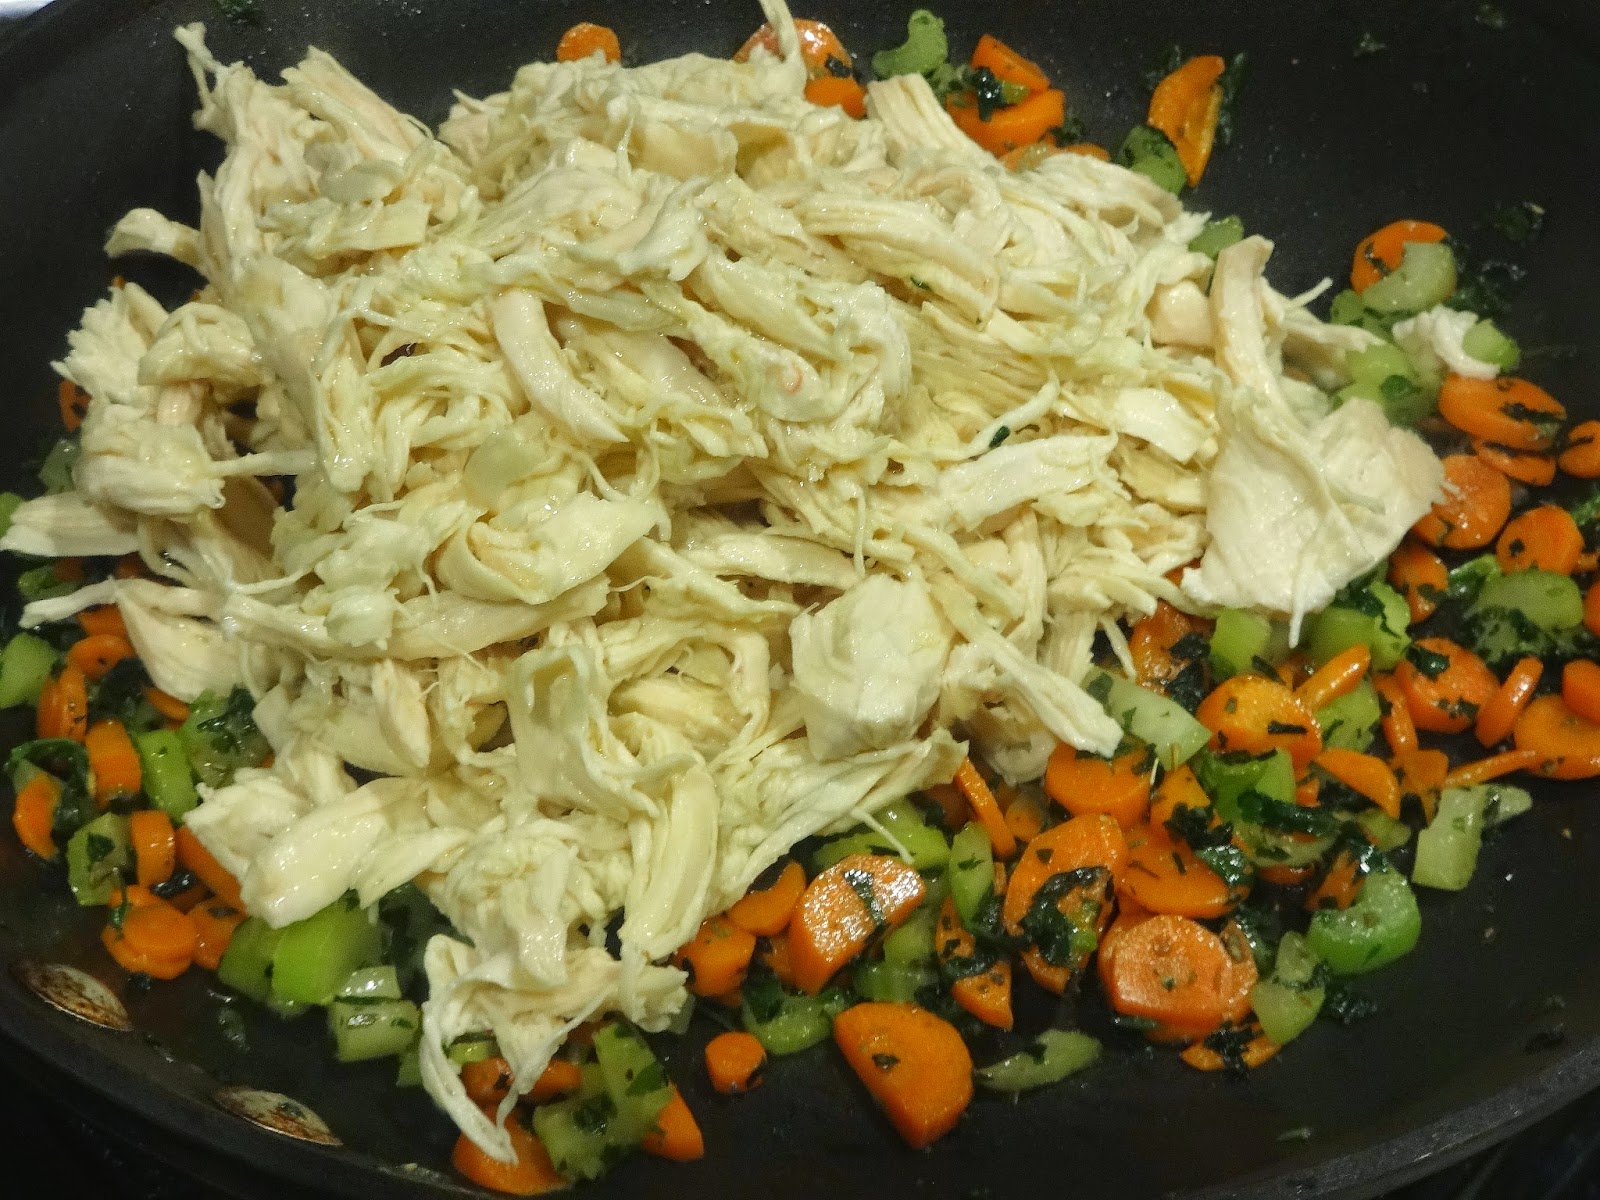
With different recipes, depending on the flavors that I'm going for, I season my chicken differently. For this dish, I drizzle with a little olive oil, sprinkle with salt and some garlic powder, then roast it off and shred it up once it cools. Go ahead and chop your carrots and celery into roughly the same size, and toss them into a pan with the butter. Let them soften and cook over medium heat for about ten minutes. You don't want these to get a lot of color on them (or any at all), you just want to give them a head start cooking.

While my veggies are cooking, I shred up the chicken, and place it in a bowl, then set it aside. Once the carrots and celery are soft, add in the fresh chopped parsley, and mix well.


Add in your chicken, mix to combine, then pour this back into the chicken bowl and, again, set it aside while we turn our attention to the gravy!
In the same pan that you cooked your carrots and celery, melt the 4 Tbs of butter, then add in the 5 Tbs of flour, and continuously stir this around, until it turns light brown.


Once your mixture has turned light brown, carefully add in your spices, chicken stock, and cream, and let this reduce over medium heat, stirring every couple of minutes to make sure the bottom doesn't burn, until it has thickened to your liking. I like mine a little soupy, but feel free to let it continue to thicken!


Once your gravy has thickened to your liking, taste for salt and pepper, then add in the chicken and veggies, stir to combine, and pour everything into a 9"x13" baking dish.


Oh boy! This is so yummy!

Preheat your oven to 425*, and roll out your pastry, just a little bit. You want it to be big enough to cover your 9"x13" baking dish, with a little overhang. I'm not sure what the starting size is, but I'm assuming roughly 8.5"x11", so you don't have to roll it out much at all.


After its rolled out, lay it down on top of your baking dish, folding the corners up back onto the pastry so they won't burn, and brush the top with an egg wash (some people add water or milk to their egg, and that's fine. I just use straight beaten egg for my egg wash), then cut slits on the top of the pastry, so that the steam can escape as the pot pie bakes.


I recommend baking this for 25 minutes. I baked mine for closer to 30, because I got caught up doing something else, so it got a little bit darker than I normally like, but that's okay! Still tastes good, right? The puff pastry bakes up light and fluffy and looks so impressive when you pull it out of the oven! Let it sit for 10-20 minutes, then serve it up and enjoy! Yum!


No comments:
Post a Comment