
I really enjoy making candies and little confections, but there are a couple of times per year where this love really shines - Valentine's Day, and the Holidays. I love to play in the kitchen, and give homemade gifts, so I try to make something really special if I'm going to give it as a gift. As much as I enjoy doing this, though, there are just some times where your pantry is running low, you don't want to break out the candy thermometer, or you just don't feel like destroying your kitchen trying to put together something impressive. Believe me, I've been there.
What do you do when this happens, and you still need an easy, but impressive gift? No worries! Make truffles! I made these this year, for one of my daughters teachers (her other teacher, as it turns out, is allergic to chocolate!) - I put a lot of them in a cellophane gift bag, put the gift bag in a cute little winter owl mug, and put that into a Christmas gift bag! Boom! Easy peasy perfect teacher's gift!...and I may have eaten a few while I was packing them. Hey, you have to taste test, right? That's one of the joys of being the one that makes these!

Here's your grocery list for this one:
18 oz semi sweet chocolate chips - divided out into 10 oz, and 8 oz
1/2 C Hazelnut spread (I used Nutella)
1/3 C heavy cream
1 tsp vegetable oil, optional
Toppings of choice*
Okay! That's it! *You can use whatever toppings you want, or none at all for these. I melted some extra chocolate, and some white chocolate to drizzle over the top, but you could also chop up some toasted hazelnuts to sprinkle over the top (I thought about doing this, but my daughter's school is nut free, and I didn't want to mess with that) - really, the options are just about endless. If it is something you can sprinkle on the top, and you like it, knock yourself out! These are pretty easy to customize, and isn't that a wonderful option when you're giving a gift?!
To start off with, measure out your chocolate chips, and put into a small/medium sized bowl, and set them aside. Next, measure out your heavy cream, and heat this in the microwave, until barely simmering (you can also do this on the stove top, but it really just takes about a minute and a half in the microwave), pour this on top of your chocolate and set aside for a few minutes. The heat of the cream will melt the chocolate for you - it's like magic! If you've heard how difficult chocolate is to work with, or if you've hesitated working with chocolate because it is intimating, this is a perfect recipe to work with as a beginners chocolate how-to!


Don't worry if your heavy cream isn't totally covering your chocolate - if you're worried about the top of the chocolate not melting, after a minute or so, you can give the chocolate a stir, and move it around. I didn't, and after a couple of minutes, I had perfectly melted chocolate. Yes, it is that easy.


After your chocolate is melted, add in your Nutella, and give that a stir to mix in! Yum! Give it a taste here - if you want a stronger Nutella flavor, add in some more!


Cover this mixture with plastic wrap (pressing the plastic wrap against the chocolate mixture), and pop this into the fridge for a couple of hours. The cream will keep the chocolate from solidifying completely, but you do want it to set up, so you can scoop it out!
A few minutes before you're ready to scoop it out, measure out the rest of your chocolate. I have a chocolate melter, but you can easily melt this over a double boiler - I went over how to do this in my chocolate peppermint pinwheel cookies post.


After a couple of hours, your chocolate will set up; get out a scooper (or even a regular spoon will work - I just like the uniform look of using a scooper) and scoop out balls of chocolate.


Set these aside on a parchment lined baking sheet. Once they are all scooped out, place them in the freezer for at least 30 minutes. You want these to be nice and firm before dipping them into the melted chocolate, otherwise they will just melt.

If, when you're melting your chocolate for dipping, you notice it is very thick, you can add in a teaspoon of vegetable oil to thin it out. I had to do this, it just makes it so much easier to dip the truffles into a thinned out chocolate!


This was before I thinned my chocolate out. I was getting way too thick of a coat of chocolate over the truffles. You want this layer to be thin, so if your chocolate is too thick, please thin it out. Once all of your truffles have been coated, pop them back into the freezer.


Once these are out of the freezer, they are ready to go! If you want to make them a little more fancy, feel free to garnish as you see fit! Some pretty finishing sugar sprinkled on top, the chopped hazelnuts would be lovely, or, you can do as I did, and just drizzle more melted chocolate over the tops of these. If I had thought about it, I would have gotten red and green melting chocolates to melt and drizzle. I didn't think about it, but the regular chocolate and white chocolate worked well enough! Feel free to taste test these.

I use a fork to dip my truffles into the melted chocolate - if you do that, you will probably end up with little fork marks on your truffles, like this. If you do, don't worry about it. Just dip your fork back into the chocolate, and smooth the truffle out.
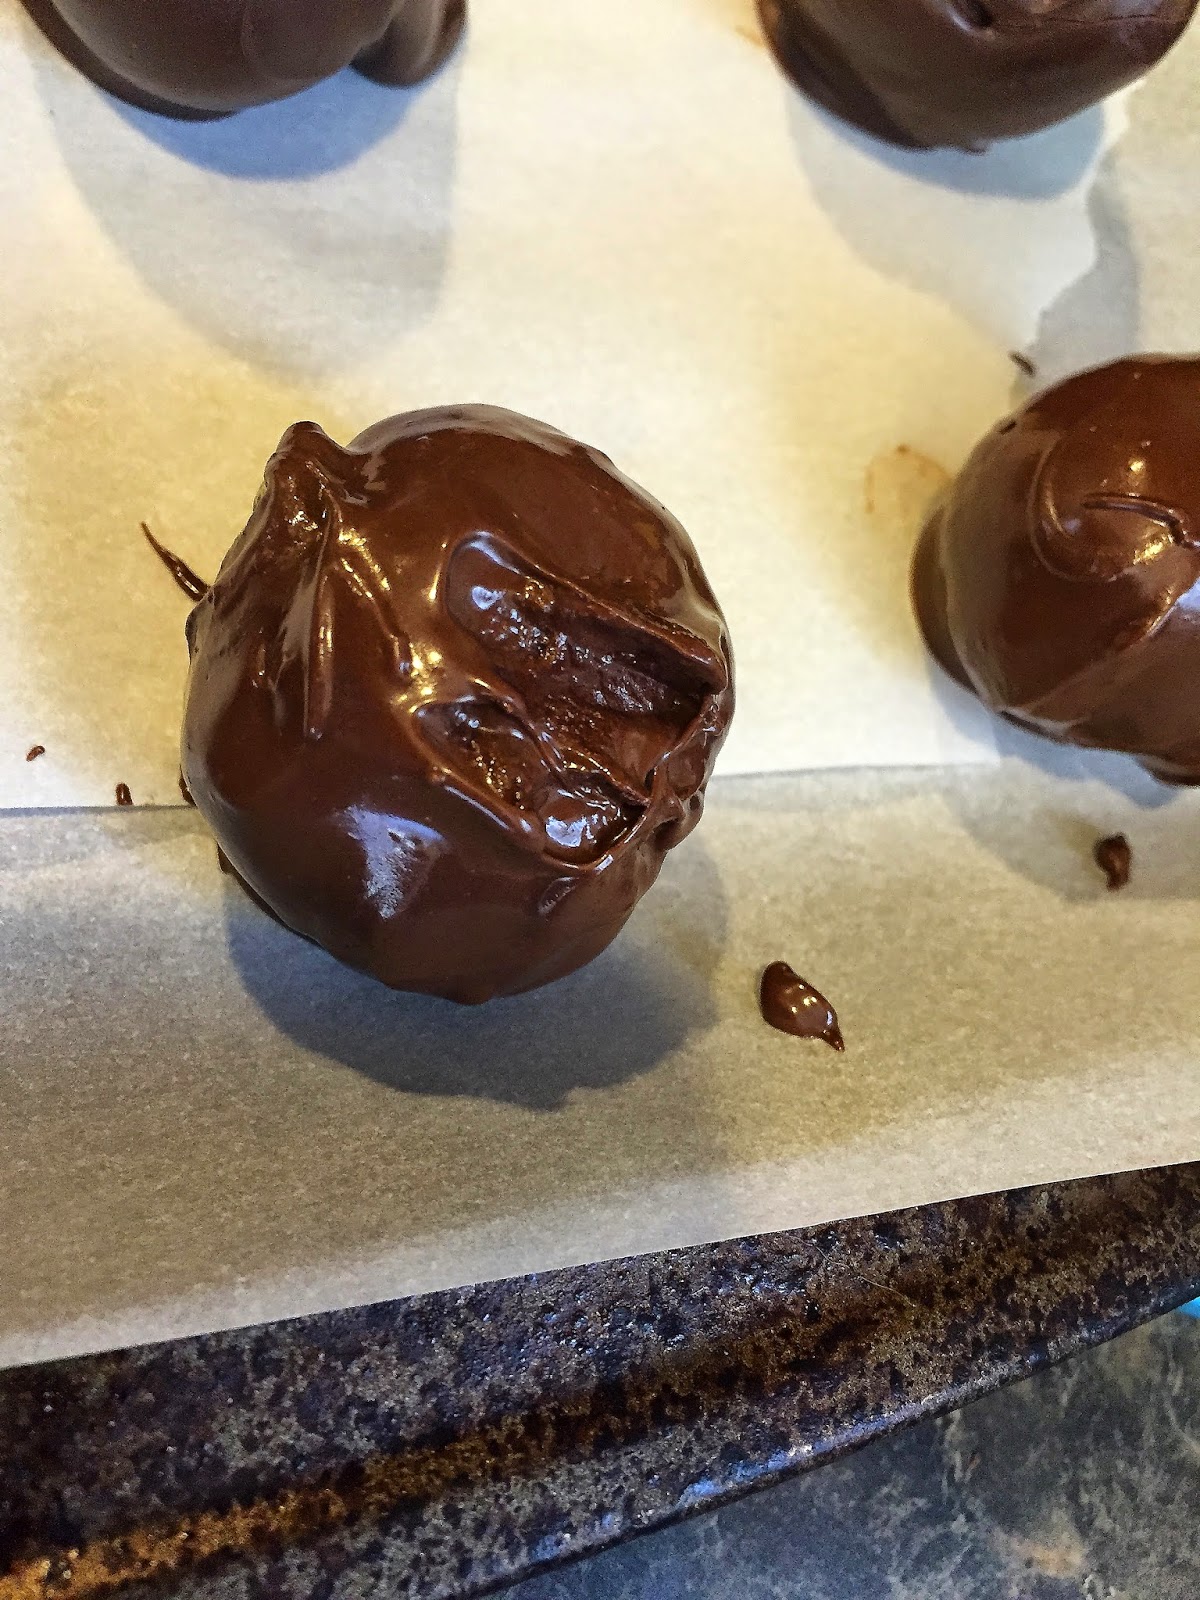


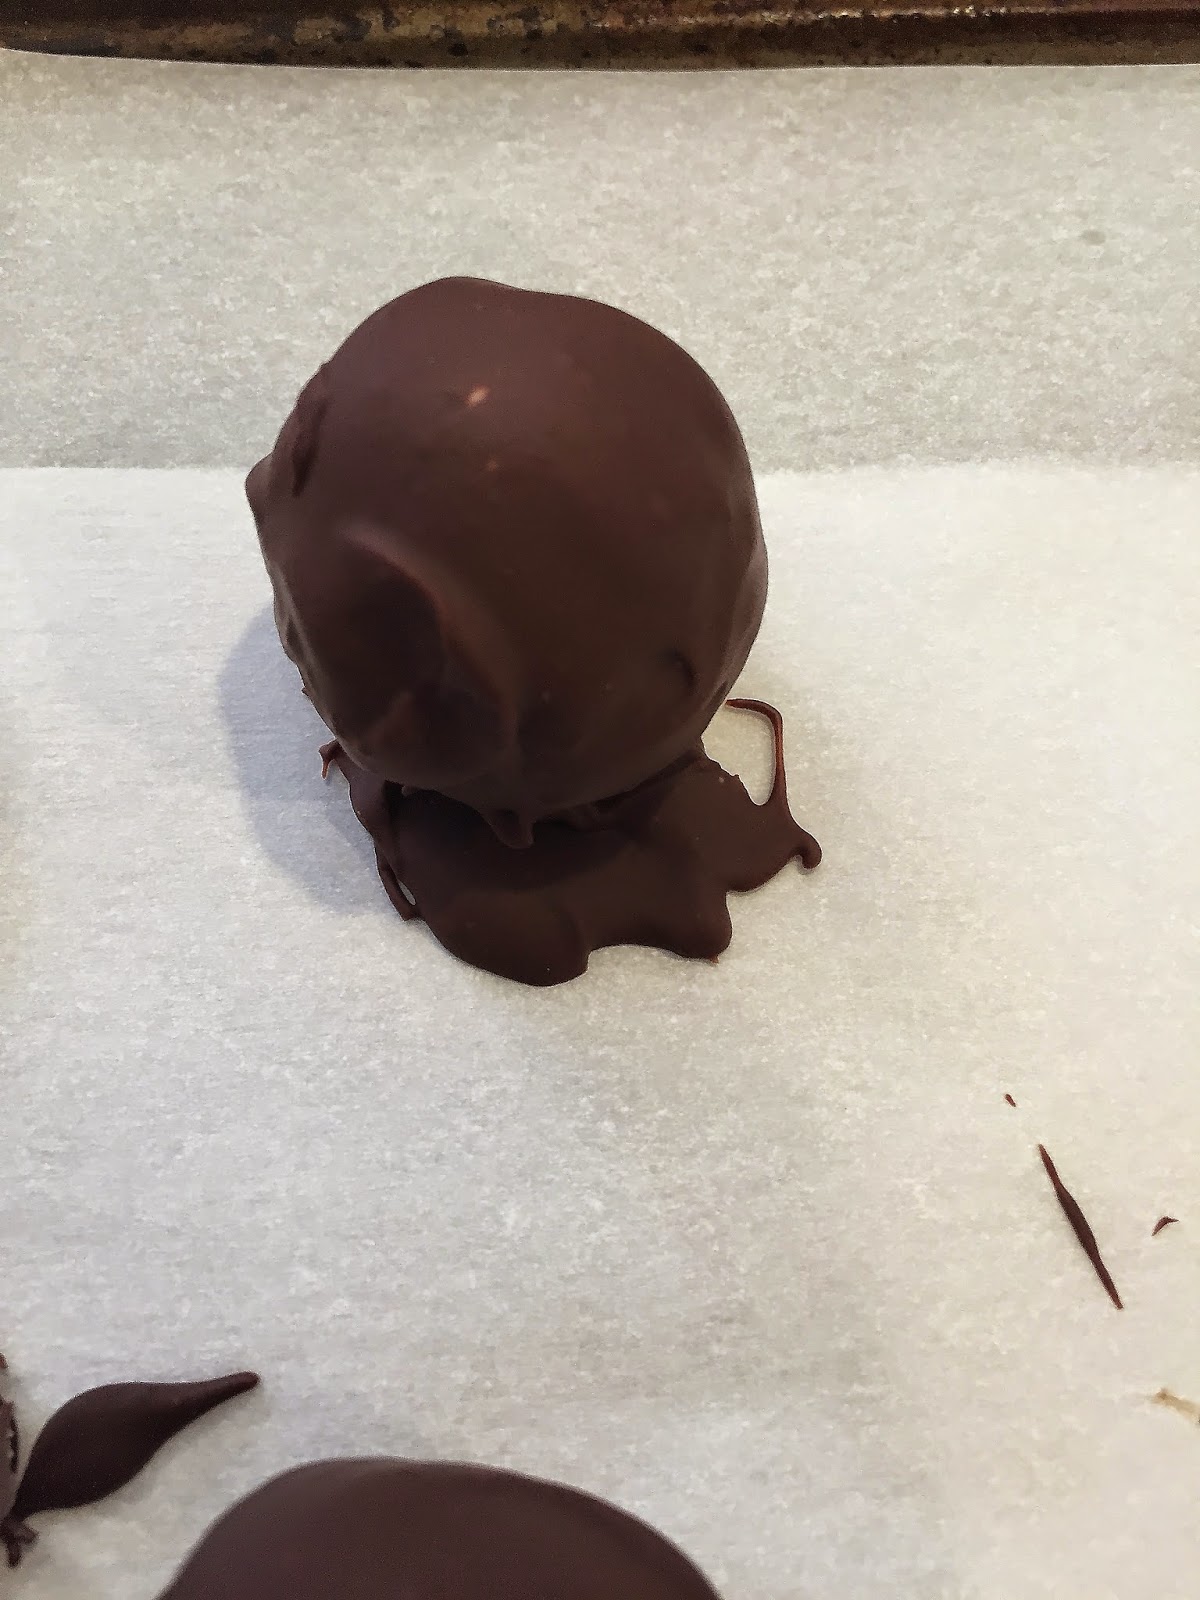
Another thing you will notice, is chocolate overspill . No worries about this, either, just let the chocolate set up and then use a knife and trim the extra chocolate off!
Now then, to drizzle these with the melted chocolates, I moved all of them to the side and bunched them up close together. Put the melted chocolates into zip top bags, with the very tip of the corner cut off. You barely want to snip the corner, because you want a very, very fine drizzle of chocolate coming out, so the smaller the hole, the finer the line of chocolate.
I cut a bit too much of the white chocolate bag off, so I my white chocolate was a bit globby (is that a word? I don't think it is..), but it worked out okay.


These are truffle perfection - chocolaty, creamy (and easy!) perfection

No comments:
Post a Comment