
Baking cookies during the holidays are a common family tradition, and that certainly held true in my house, while I was growing up. We usually baked chocolate chip cookies, my chocolate chip oatmeal cookies, and these, just to name a few. These may seem a little bit more involved, but, once you have made them, they really aren't that difficult.
My Dad and I saw Alton Brown make this recipe on his show, "Good Eats" many, many years ago, and we decided to make these together, and they have been a staple ever since! When I was pregnant with my daughter, my husband and I visited my parents over Christmas. My parents wanted me to make these cookies, which, because I love to bake, I was happy to do! My parents had just remodeled their kitchen, and I was itching to get in there and play!
However.
This recipe did not work for me, and I was getting angry. Very angry. Normally, when I try to bake something, and it doesn't turn out, I get frustrated, because it's supposed to just work! These cookies just would not bake for me, and the more frustrated I got, the more I began huffing and puffing about it in the kitchen, until I heard my mom whisper in the other room, "....it's just pregnancy hormones...."
That was not well received. I stormed into the other room, "It's not pregnancy hormones! There is something wrong with your oven!" Then, I proceeded to show how non-pregnancy-melt-down I was being, by storming off upstairs to the room we were staying in, and slamming the door. That showed them!
Only, once I slammed the door, I realized that it was pregnancy hormones, and at that point, I was too embarrassed to go back downstairs.
My husband poked his head into the room after a few minutes, checked on me, and got me to laugh; a few minutes after that, my mom came upstairs with some eggnog and we both laughed about it.
Today, these cookies aren't known as Chocolate Peppermint Pinwheel cookies, but as "Hormone cookies", and this is a funny story we all laugh about now! And, may I add, I was right; turns out their oven wasn't calibrated correctly, and was off by about 25 degrees, which is a big deal when you're trying to bake!

Here's your grocery list for this one:
1 batch of sugar cookie dough:
3 C All purpose flour
3/4 tsp baking powder
1/4 tsp salt
1 C unsalted butter, softened (that's 2 sticks)
1 C sugar
1 egg, beaten
1 Tbs milk
Add-ins to make the chocolate and peppermint dough's:
3 oz unsweetened chocolate, melted
1 tsp vanilla extract
1 egg yolk
1 tsp peppermint extract
1/2 C crushed peppermint candies
To get started, sift together the flour, baking powder and salt, then set that aside.


Cream together the butter and sugar, until light and fluffy. Our house is pretty chilly right now, so even though my butter had been sitting out for a couple of hours, it was still pretty firm. No worries, I just tossed them into the mixer, and cranked the beater up on medium speed for a couple of minutes, until it was light and fluffy.

Crack your egg into a small bowl, add the milk, and lightly beat them together.


Add your egg and milk mixture into your butter and sugar mixture.


Once these are combined, slowly add in your flour, and mix until combined. It will look a little crumbly for a little bit, but it will come together, I promise!


See? It all comes together! Once it gets to this point, set the dough aside and turn your attention to the chocolate. I covered the double boiler method in my flourless chocolate cake post, but we'll do a quick review here! To start with, chop up your chocolate into small chunks, and put into a small, heat-proof bowl. They don't have to be uniform, or all that pretty, just into a somewhat small size. Add in your vanilla, and place the bowl over a medium sauce pan with about an inch or so of water in it. You don't want the water to touch the bottom of the bowl, because you want the chocolate to melt gently by heating the bowl.


After a few minutes, your chocolate will melt and be lovely. If it gets a little grainy on you, you can add about a teaspoon of vegetable oil; sometimes, if your chocolate is old, it will look like it has seized up on you, but try to add a little bit of vegetable oil, and that should let the chocolate relax back into a smooth and creamy consistency. Once you have something that looks like this, take about 6 candy canes and break them up, either by pounding them in a zip top bag, or tossing them into a food processor, like I did.


Once you have these two steps completed, and your chocolate is cooled, divide your sugar cookie dough into two similarly sized halves. Add the peppermint candy, egg yolk, and peppermint extract into your mixer, with one of the dough halves, and mix until combined.


After that is combined, scrape the peppermint dough out of your bowl, and put in the other half into the bowl. Don't worry if there is some peppermint-yness left in the bowl; it won't show up in the chocolate dough. Add your cooled chocolate to this dough, and again, mix to combine.


Look how pretty this dough turns out!

Take your two dough's, wrap them in plastic wrap, and place in the fridge to rest, for about 5 minutes.


Once they are chilled, liberally dust your work surface with powdered sugar, and gently roll out your chocolate dough. It will roll out very easily, but it is somewhat of a delicate dough, so it may want to tear on you. If it does tear, no worries, just pinch it back together. It's pretty forgiving.


Roll your dough out to about 1/4" thickness (you can see that it tore for me in the upper right hand half of the dough...I just pinched it back together and kept on going), then pinch off chunks of your peppermint dough on top of the chocolate.


Once all of the peppermint dough has been distributed over the chocolate, roll it out until it is smooth and even.

After that, just like in my overnight cinnamon rolls, starting with the long end of the rectangle-ish shape, start rolling up your dough! Try to make the roll as tight as you can, so that the swirls on the inside are consistent. Once your dough is all rolled up, give the whole log a firm roll on the counter top, to make sure the layers are all pressed together. Then, wrap the log up in plastic wrap, and stick in the fridge to firm up, for at least two hours.

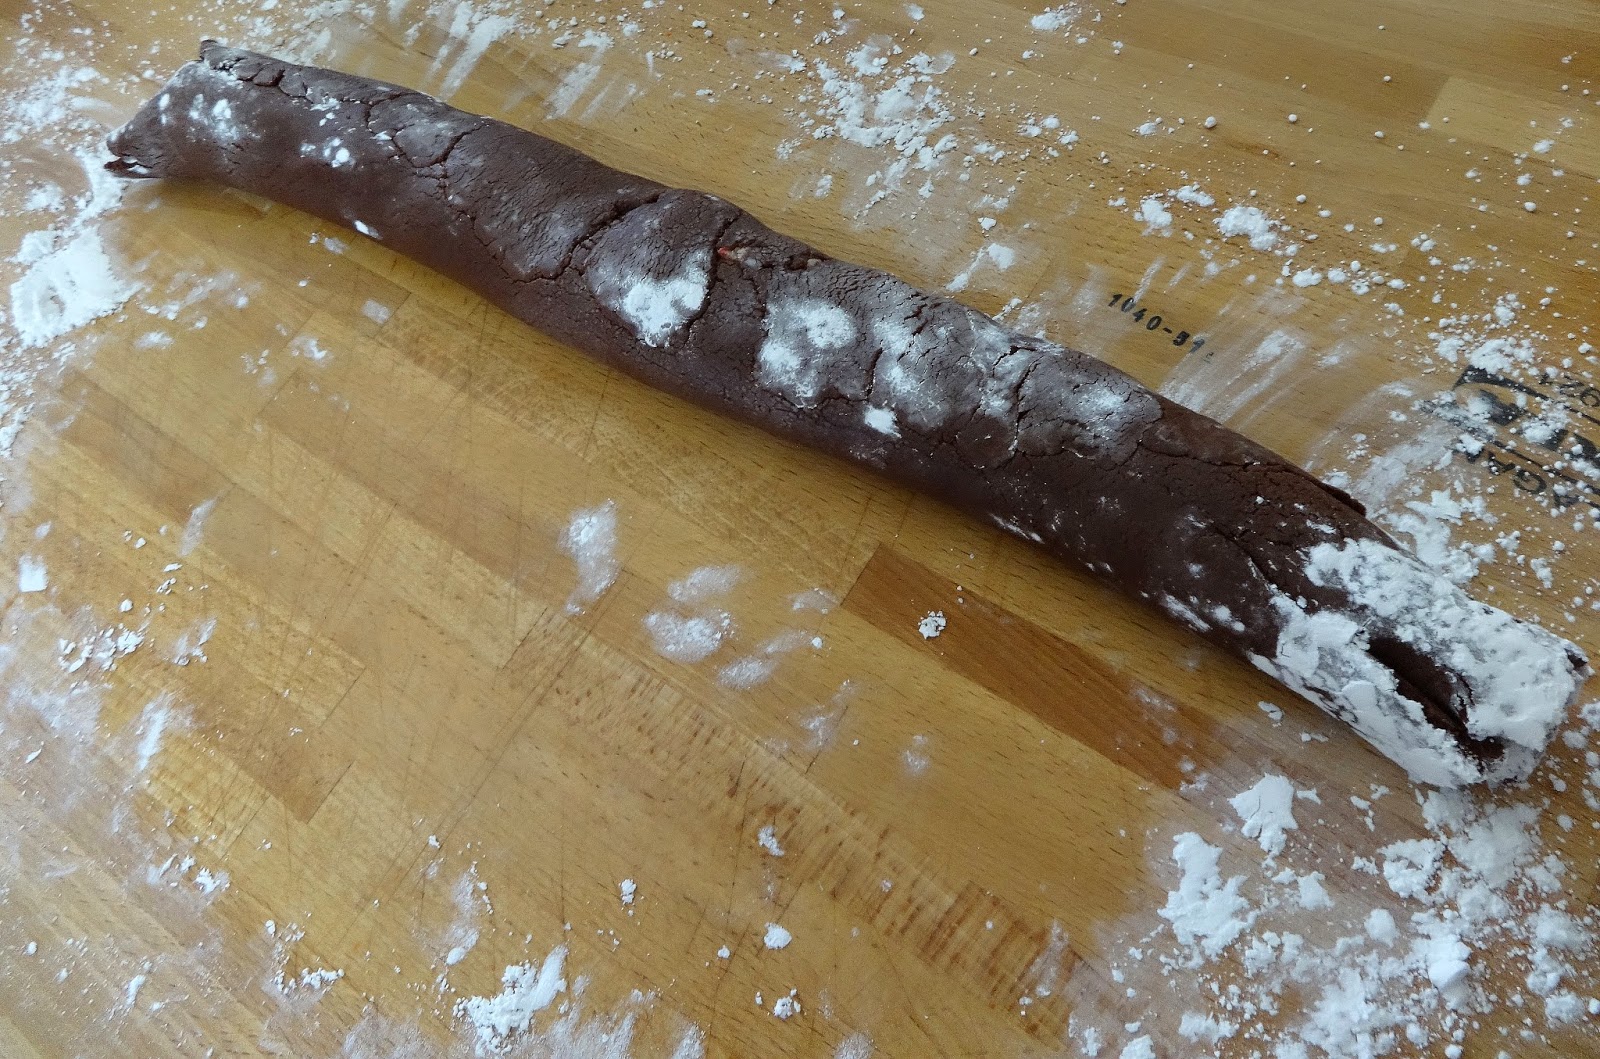

After the two hours is up, preheat your oven to 375*, and line two baking sheets with parchment paper. Pull out your dough log (hahaha mine looks pretty funny....I had to kind of smoosh it into the my fridge. After Thanksgiving, I don't have a lot of extra fridge space!!), and cut off cookie disks, about 1/2" wide, and lay them onto the lined baking sheets.


Bake these for 13-15 minutes, then let them cool on the baking sheet for 2 minutes, before moving them to a wire rack. These don't spread much, or brown, so I wouldn't bake them beyond the 15 minutes.


No comments:
Post a Comment