
Okay, okay, confession time! I wasn't going for a flourless chocolate cake, I was working on a chocolate souffle. This is a beautiful cake that did rise, but since I don't have a true souffle dish, it didn't rise as much as I would have liked. The rest of the cake did preform like a traditional souffle, so I really can't complain too much!
Souffles get a really bad reputation, people say that they are too fragile, easily fall, and are too difficult to make all around. The only thing that is remotely true is that they easily fall, but really, that's only as they cool. You don't have to walk around on egg shells as they bake, and all it takes is a souffle dish, and some very basic know-how, and you have a beautiful dish that people will be astounded that you made. At home. By yourself. And, if you're like me, and don't have a traditional souffle dish, you can just call it a "flourless chocolate cake", and it is still impressive!
Many, many years ago, my sister and I decided to make a cheese and garlic souffle. We carefully separated the eggs, whipped the egg whites into stiff peaks, folded them in carefully, set the dish in the oven, and after a time, this beautifully puffed up loveliness came out of the oven! Since then, I have wanted to make another souffle, but I haven't had access to a souffle dish, and I am too cheap to just buy one. Although, think of all of the souffles I could have made over the years! After trying it again, I'm definitely going to keep my eye out in the thrift stores I frequent, to see if I can score a souffle dish! Fingers crossed! Whether you call it a souffle, or a flourless cake, this really is a rich, decedent treat.
Here's your grocery list for this one:
Unsalted butter, at room temperature, for greasing the dish
1/4 C granulated sugar, plus about 2 Tbs for dusting the dish
8 oz. semisweet chocolate, finely chopped
1 tsp vanilla extract
3 large egg yolks lightly beaten, and 4 egg whites
1/4 C strong coffee, cooled
1/4 tsp cream of tarter

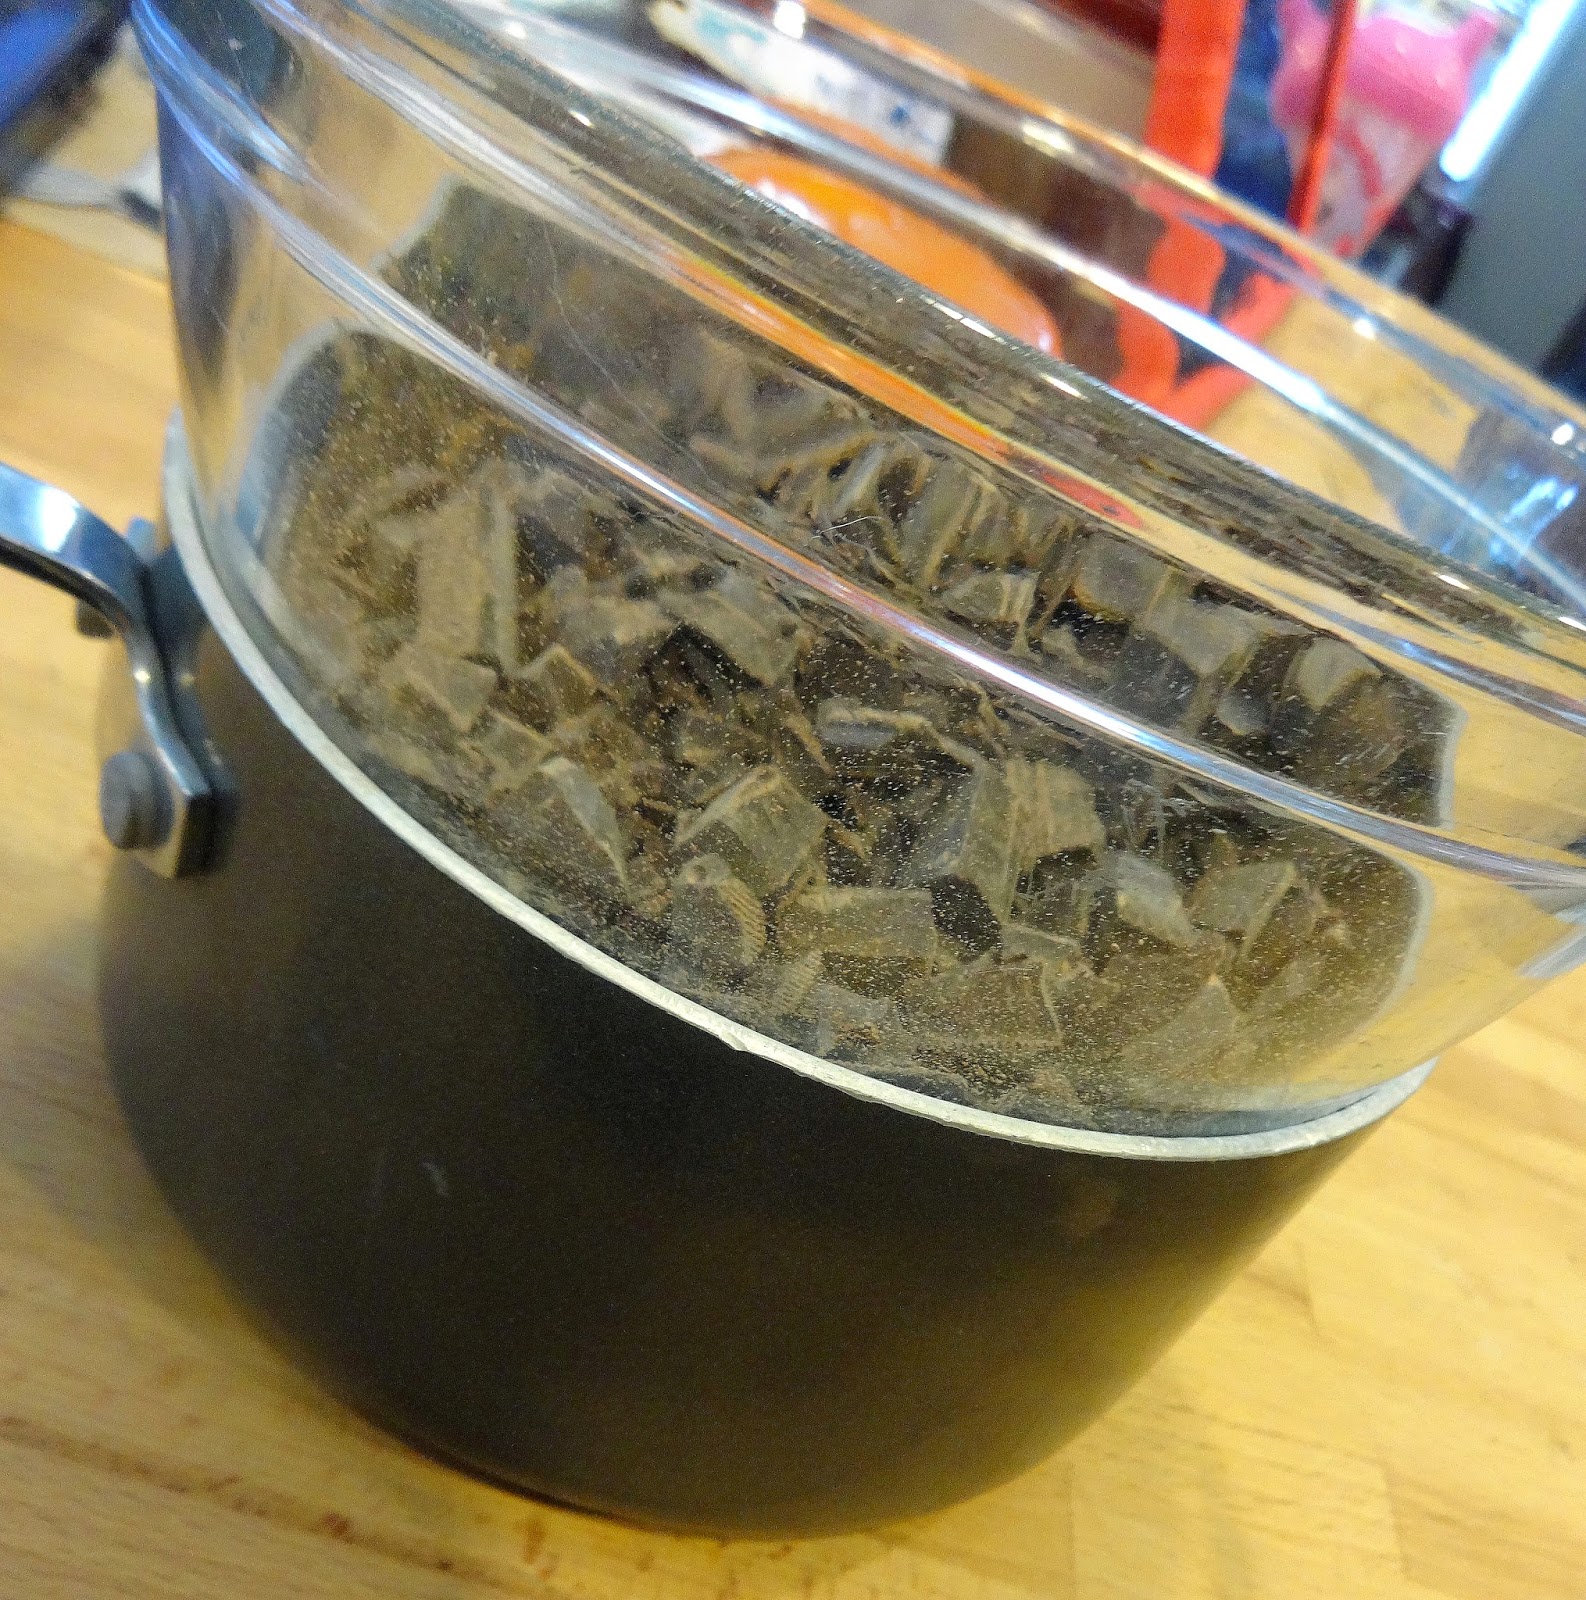
To start off with, take your chocolate, and cut it up into small pieces, and place them into a glass, heat-safe bowl. Once all of your chocolate is cut up, add in the coffee, and set the bowl over a small to medium sized pot, with an inch or two of water in it. You want to gently melt the chocolate, but you don't want the water to touch the bowl. An easy way to check is to set your bowl into the pot and then take it off. If, when you remove the bowl, the bottom of the bowl is wet, then obviously, there is too much water in the pot. Pour some out, and try it again! Easy peasy!


Chocolate gets a reputation of being difficult to work with, because it can seize up in an instant, and you may as well toss it out and start over at that point. Again, though, with a little know-how, you can get around this. If you put your liquid into your chocolate before you melt it, it will be beautiful. If liquid gets into your chocolate as it melts, it will seize up, get grainy, and you can forget about it.

Give it a little stir, over medium heat, while you turn your attention to the eggs. This is another turning point of the cake. You have to be sure not to get any egg yolk into your whites. What a lot of people do is separate their eggs over one bowl, then put the yolk into another bowl, and the white into a third bowl. I hate doing extra dishes, so I just use two bowls, but I understand that if I get any egg yolk into my whites, I have to start over.
If you get anything into your egg whites, they will not whip properly, and you will just be wasting your time if you try anyway. But, really, as long as you're careful, you should be fine.


Once your chocolate is 90% melted, turn the heat off, and let the residual heat finish melting the chocolate. After the heat is off, take your bowl off of the pot, but be careful; there will be some steam coming up, and your bowl will be hot. Let your melted chocolate cool down to room temperature, for about 20 minutes or so. While your chocolate cools, preheat your oven, to 350*, thoroughly butter your dish, and run the 2 Tbs of sugar around the dish, making sure you get it all over.


Once your chocolate has cooled to room temperature, add in your lightly beaten egg yolks, and stir to combine. Set this aside.


Now then, lets turn our attention to the egg whites. Beat your egg whites and cream of tarter on medium-high, until soft peaks form, about 2 minutes. Once soft peaks have formed, slowly add in the 1/4 C of sugar, and continue to beat until stiff peaks form, about another 5 minutes.


You want the egg whites to be glossy, but when you take the whisk out, the egg whites will hold the shape of a peak.


Once your egg whites look like this, take a bit and just mix it up into the chocolate mixture. Don't worry about deflating the egg whites, just mix it up into the chocolate, to help loosen it up, and make folding in the rest of the egg whites easier.


Once that initial dollop of egg whites has been mixed in, gently fold in half of the remaining eggs. It doesn't have to be completely mixed in with the chocolate; as a matter of fact, I would gently fold the mixture, until it is about 75% mixed in, and then add the remaining egg whites, again, folding in gently. Since the egg whites are what make the cake puff up, you want them to maintain the air that you have worked to incorporate, so be gentle when you're folding them in.


Once you have mixed in the egg whites about 80%, pour everything into the prepared dish, and set it on a baking sheet.


Place it in the oven, and let it bake for 30-35 minutes. It really is that simple. I let mine bake for 35 minutes, then pulled it out, and gave it a light dusting of powdered sugar. This cake forms a soft crust from the egg whites, that you break into as you dip into as you scoop it out. The inside is just a little runny (think chocolate melting cake), and is perfect with a cup of coffee, and a scoop of ice cream, or some whipped cream.


No comments:
Post a Comment