
I really feel like the art of canning goods is going by the wayside, and that makes me really sad. Canning is a really easy to do, but a lot of people get intimated by it. So far this year, I've canned strawberry jam and some homemade tomato sauce! Last year I made an amazing peach butter, that honestly tasted like summer in a jar. I wish I had made more of that, or at least, made some this year. But, I'll make some for sure next year!
Fruit butters are something that I never paid much attention to growing up; as a matter of fact, my husband was the one that really brought my attention to them. He grew up with his mom making apple butter, and it was (and still is!) a favorite of his, so I figured I should make some up for him! I've been making this for a few years now, and there is always a jar of it in the fridge!
As I mentioned in my gourmet caramel apple post, my family recently went to an apple festival, and my husband let me go a little crazy buying apples. Probably because he knew that he would be getting this apple butter out of it! Apple butter is so easy to make, and makes the house smell like fall. The smell of cooking apples, cinnamon, nutmeg, cloves just fill the house up, and brings up thoughts of colorful trees, camping trips (and when you think of camping trips, you know you're thinking of camp fires and smores!) and just all of the fun things that fall brings! I make my apple butter in the slow cooker, because even though it is fall here, we still have some pretty warm days (as a matter of fact, the day I made this, it was in the mid-80s!), so I don't want to have the stove-top going all day.Fruit butters are something that I never paid much attention to growing up; as a matter of fact, my husband was the one that really brought my attention to them. He grew up with his mom making apple butter, and it was (and still is!) a favorite of his, so I figured I should make some up for him! I've been making this for a few years now, and there is always a jar of it in the fridge!

Here's your grocery list for this one:
12-15 medium-sized apples
12-15 medium-sized apples
3 TBS brown sugar (light or dark, up to you)
1 1/2 tsp ground cloves
1 1/2 tsp ground nutmeg
2 C of water (or apple cider, or fresh apple juice)
1/4 C lemon juice
To start off with, put your lemon juice, water, sugar, and spices into the pot of your slow cooker. This way, you have some acidulated water to put your apple chunks into, so they won't brown while you're cutting all of them up. I never think about this until I've started cutting my apples up, so I usually have to scramble a bit, but it really doesn't matter! It all cooks up the same! When you're ready for your apples, peel and cut around the core, cutting your apples into chunks, roughly the same size. They don't have to be exact, just roughly the same.


I usually peel mine three at a time, and cut them into chunks, toss them into the acidulated water, and stir them all together with the spices.


I just squeeze 1 lemon into the pot, catching the seeds between my fingers. I'm too lazy to break out a juicer! You can see I didn't think about adding the spices until I had my first three apples in the pot.


I used freshly grated nutmeg, because I have some whole nutmeg on hand, but if you have pre-grated nutmeg, that's totally fine!


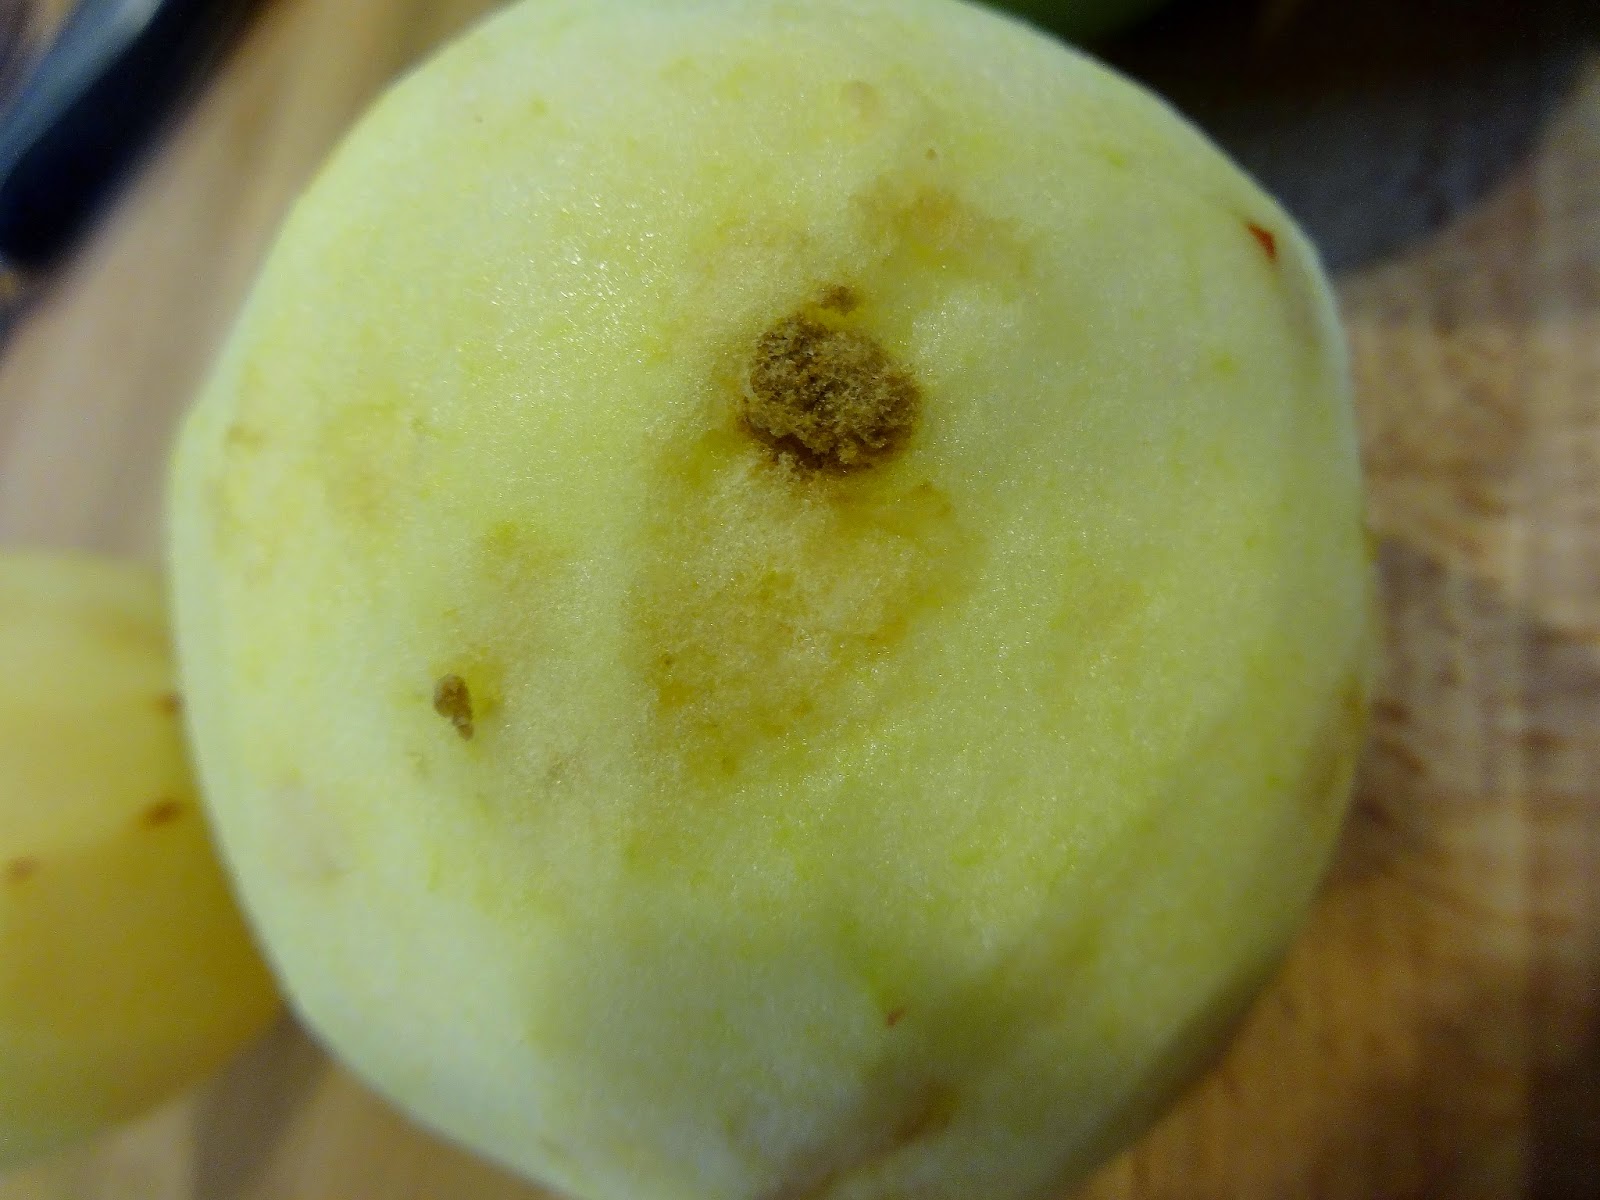
If you come across an apple that has a blemish, just cut around it. No big deal. I wouldn't worry about cutting around bruises, but if there is a worm hole, or some other blemish, just cut it out and keep going!

After each addition of the apples, I give them a good stir, so that each apple piece gets some of the spices and the water.


I packed my pot totally full of apple chunks, although you're really not supposed to fill them more than 3/4 full, I think, to ensure even cooking. I just figured I'd give mine a good stir every hour or so. I know that the rule of thumb is that every time you open your slow cooker, you add an additional 15 minutes of cooking time to your dish, but I was fine with that.
Once your apples are all cut up, and coated with the water and spices, put your lid on, and set your cooker to low, for 8 hours. This picture is during the first stir, 2 hours in. Not much change.


This really cooks up beautifully! Its all thick and bubbly!

Yeah, I forgot about the canning part. I scrambled around and found some jars and lids, thankfully, to put this goodness into! I went over my sterilization process in my strawberry jam post, so please refer to that if you have any questions, or are new to the process.
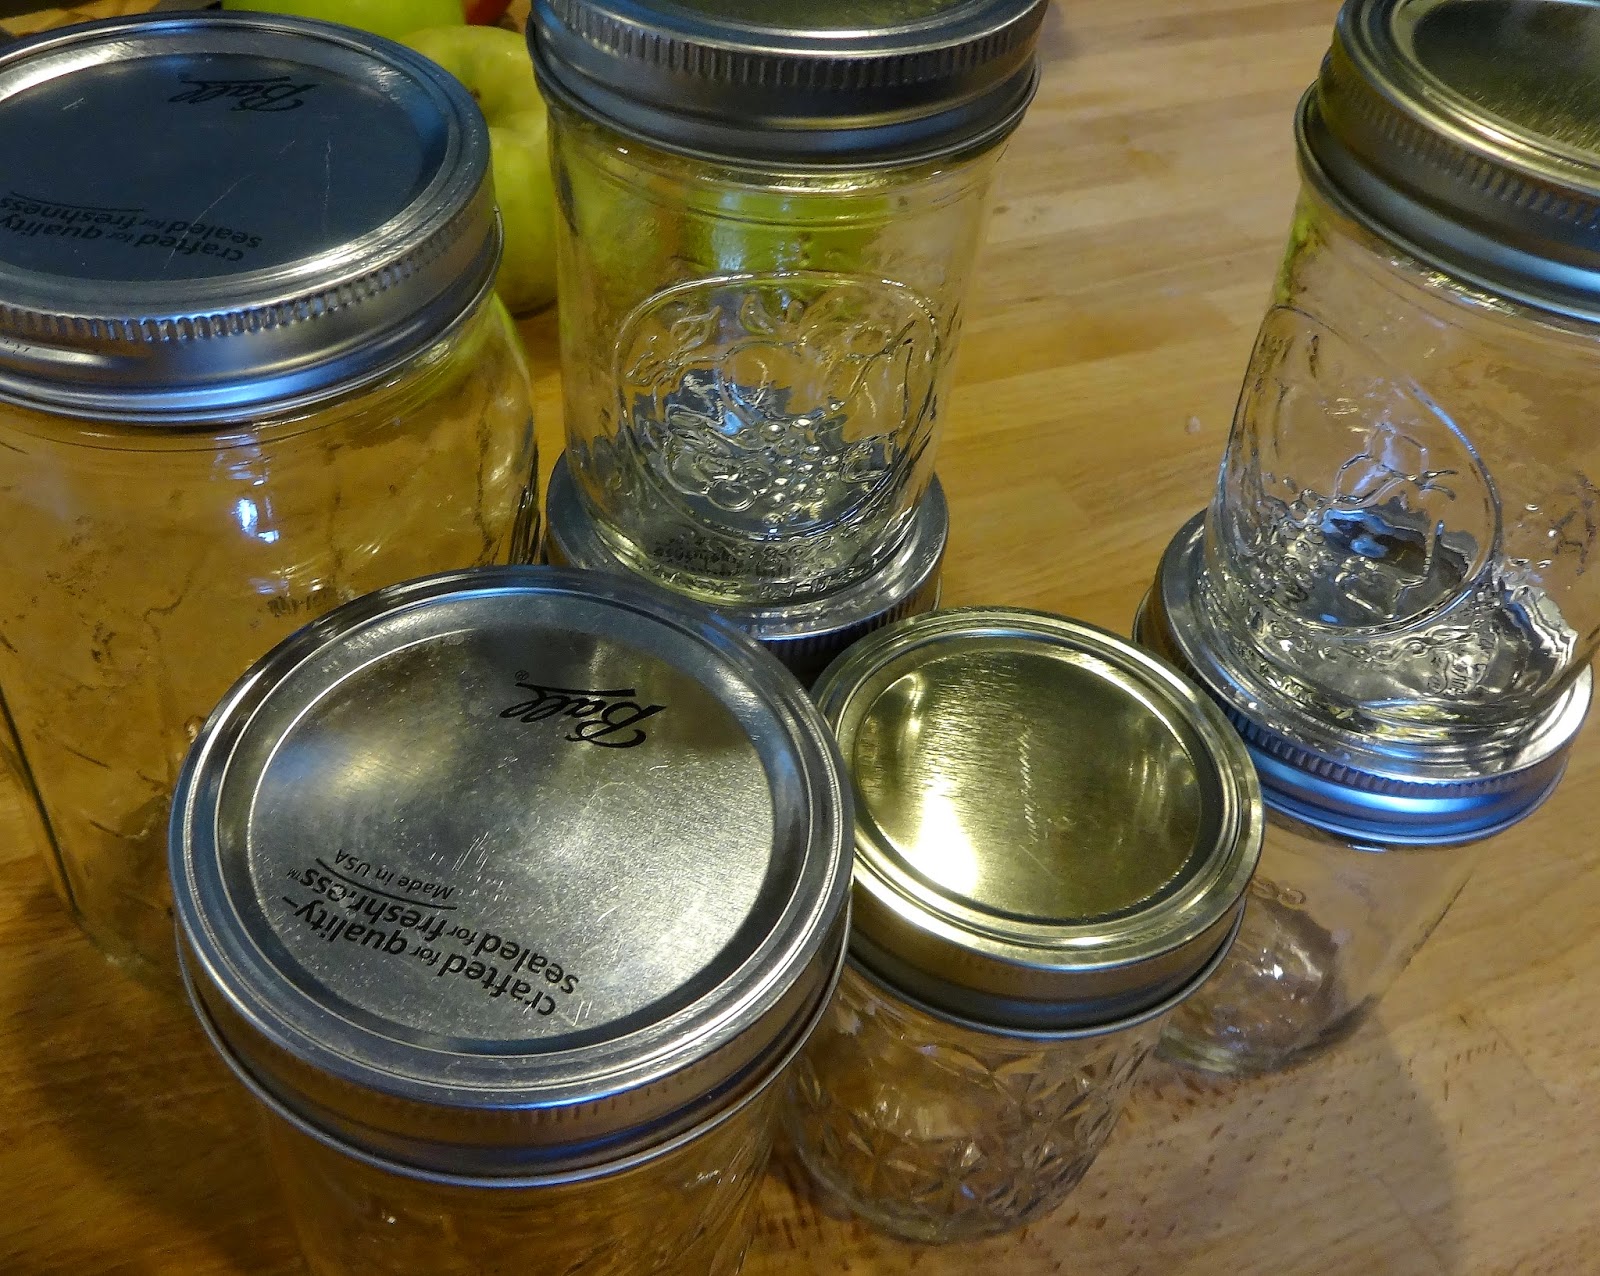


This made 5 half pints, 1 pint, and 1 quart with a little bit left over (about 1/4 pint) that I just stuck into a container and put into the fridge. We should be set for awhile for apple butter! This makes wonderful holiday gifts, though. Who doesn't love a homemade gift?? I know I do!


No comments:
Post a Comment