
Every year, around summer time, my fingers start to get itchy for all of the amazing produce that I know is flooding the farm stand in my area. They have a fairly large variety of fruits and vegetables, but one that almost always comes home with me is strawberries. My daughter and husband will eat their weights in the berries, and I have to fight them off so I can have enough to make jam and can it! I love, in the middle of fall or winter to just open up a jar and get all of the flavor of summer, without any heat or humidity!

Today, we're going to make up some strawberry jam!
Here's what you'll need:
1 gallon of fresh strawberries, hulled and quartered
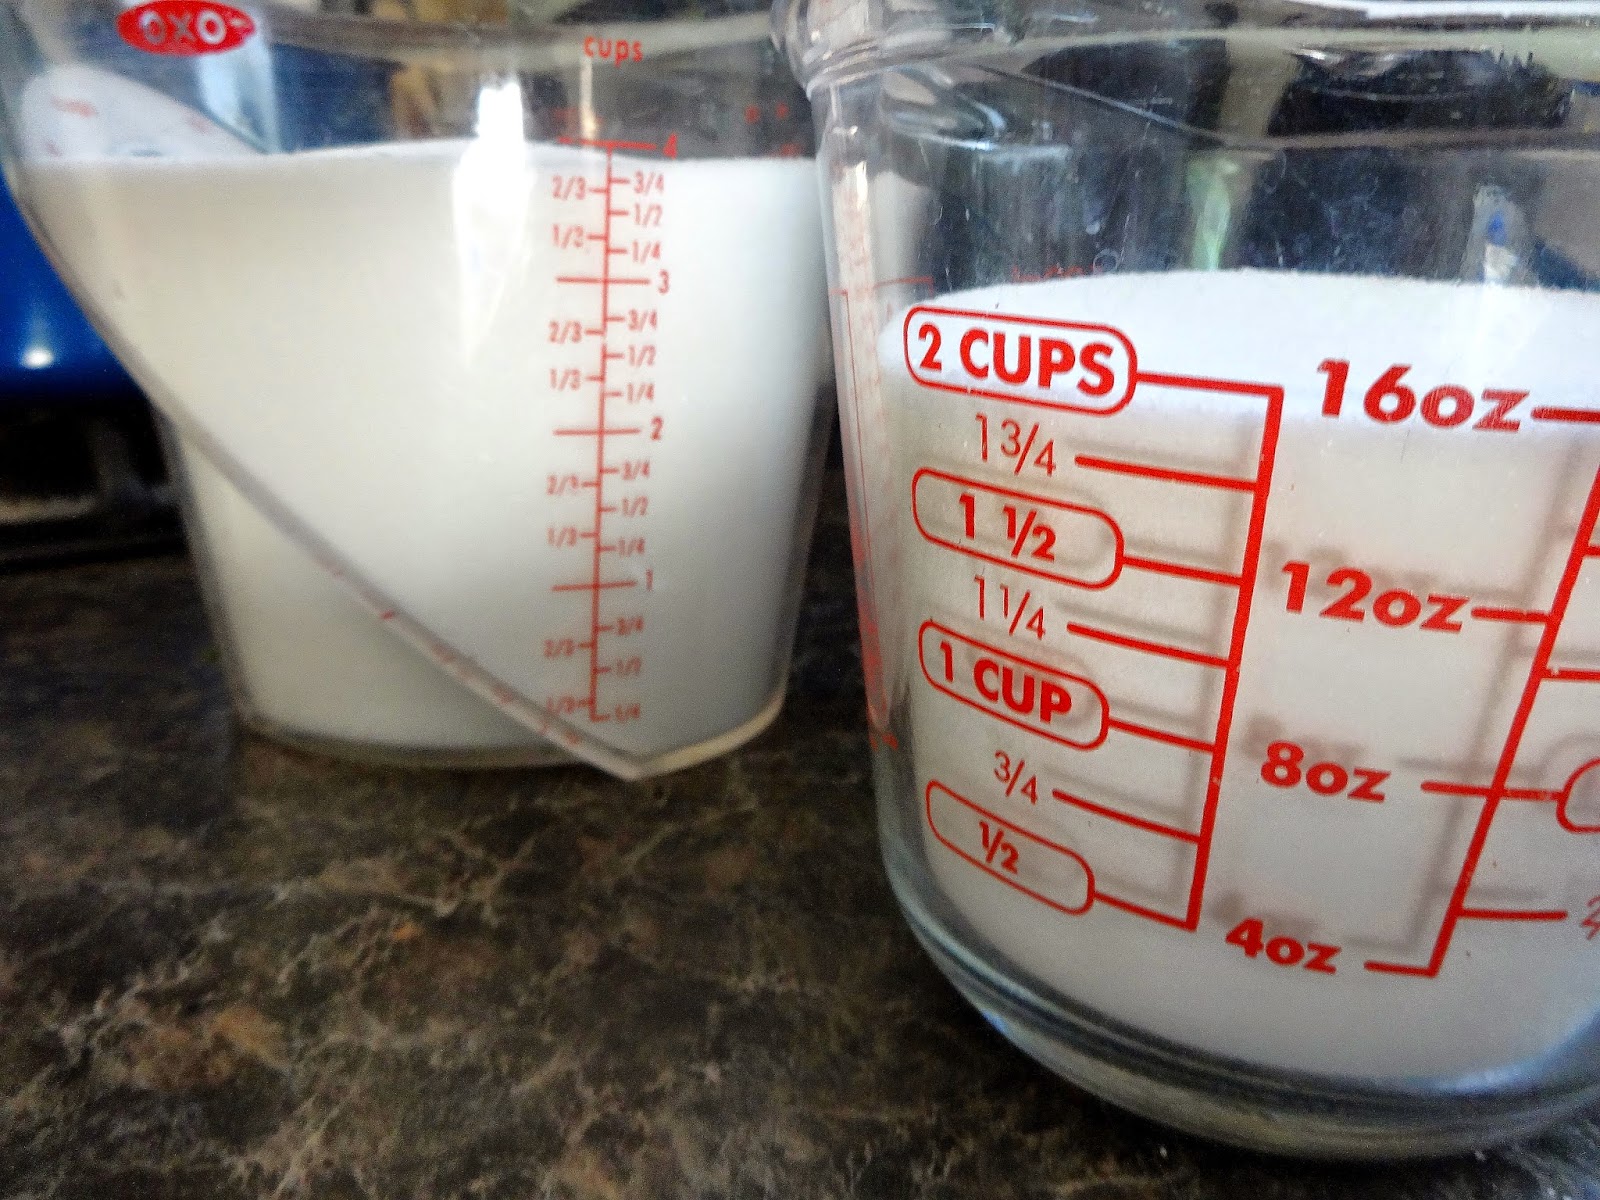
6 cups of sugar
1/2 cup of fresh lemon juice
This made 9 (8 oz) half pint jars for me, but you can use whatever size jars you want!
So, to start, wash, hull, and quarter the strawberries, and pour the sugar and lemon juice over them in a large sauce pot. I let the sugar and lemon juice start to break the berries down for two hours, while the jars are going through a sanitary wash cycle in the dishwasher. If your dishwasher doesn't have a sanitary cycle, don't worry! You'll just want to wash the jars, lids and the ringed collars with warm, soapy water, and rinse thoroughly. Place the empty jars, right side up, into a large stockpot and completely cover them with water. Bring the water up to a boil, and let the jars boil for about 15 minutes, then turn off the heat. Add the lids to the pot, along with the grasping ends of the tongs to sanitize them in the hot water, for at least 10 minutes, or up to 1 hour.
Once you're ready to fill the jars, pull them out of the water with the tongs, pour the water out, and set them on a clean towel, right side up, and fill them with your jam while they're still hot!
Now, enough of getting ahead of myself! Let's get to making some jam!!
How beautiful do these look????
Yes...this is a lot of sugar. A LOT. But, as I always say, when you make it at home, you know exactly what goes into your food. You can cut down on the sugar, down to about 4 cups, depending on how sweet your fruit is, and how sweet you like your jam. The 6 cups in this recipe will give you a result of a store bought jam.

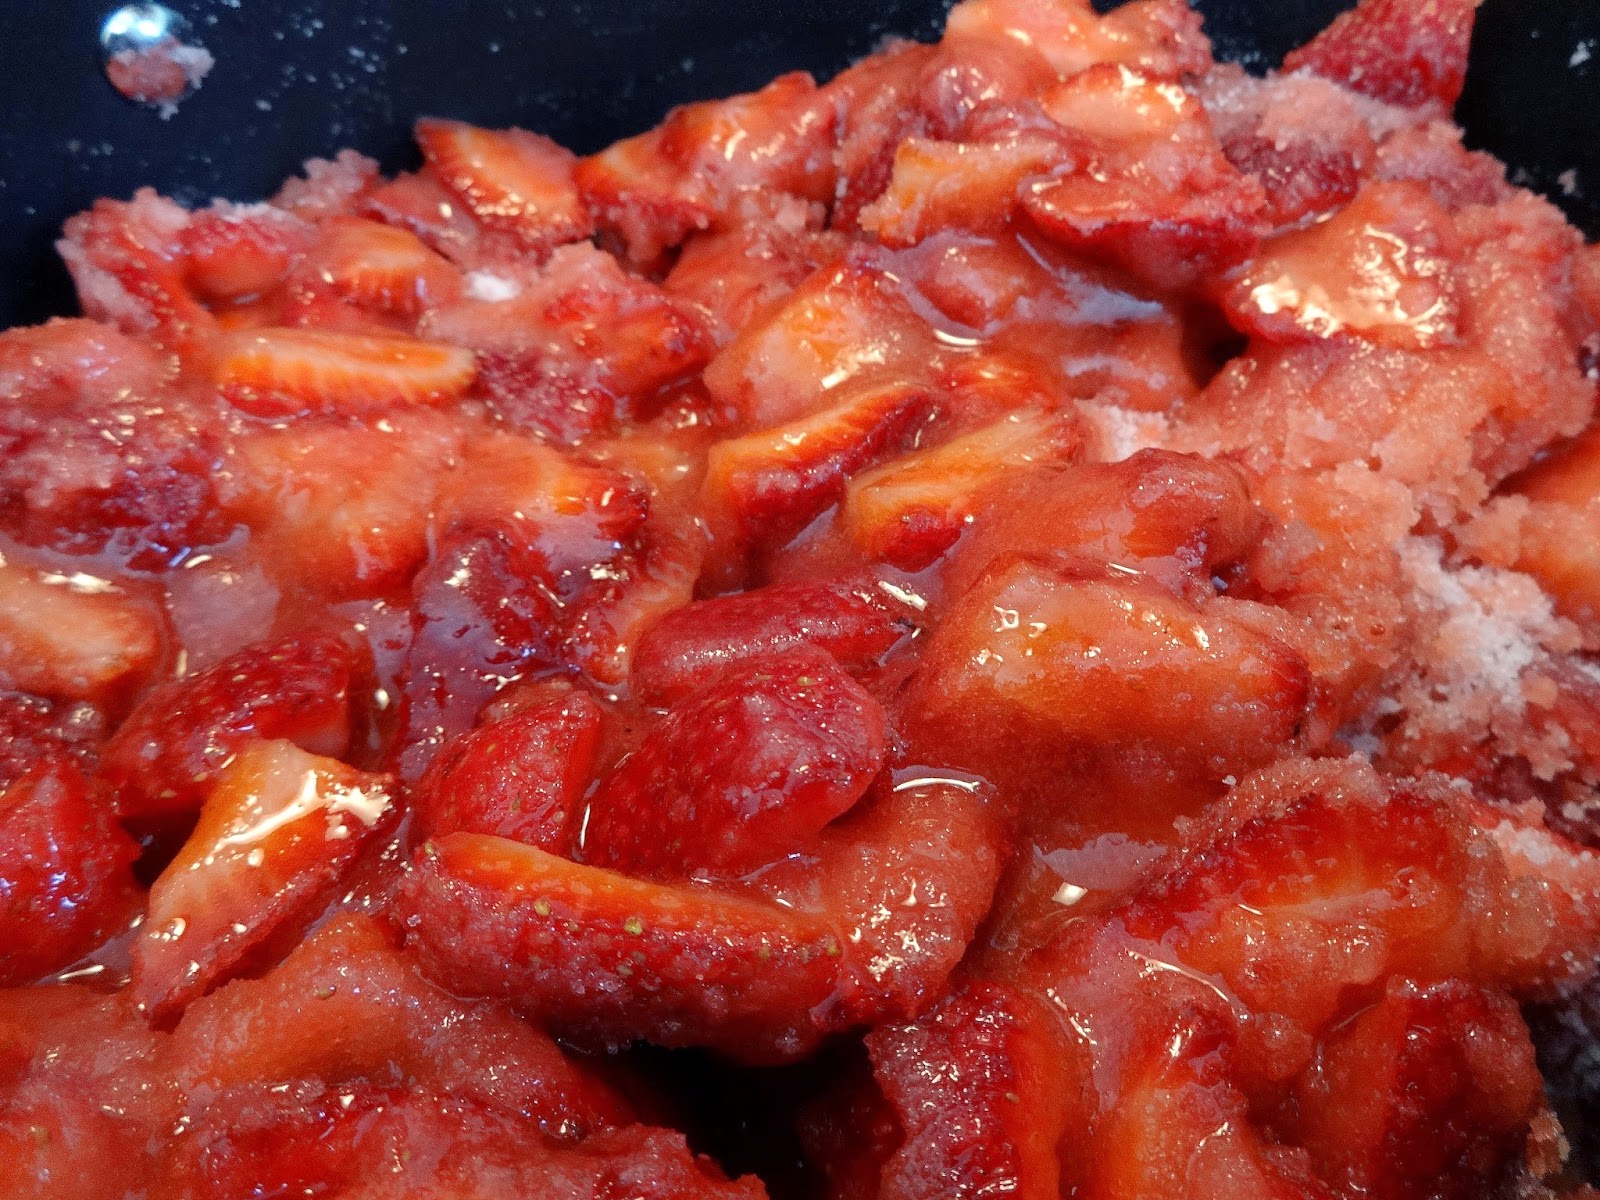
The lemon juice and sugar will do a wonderful job of breaking down the berries. This is also called macerating (mass-er-ating) if you're wanting a fancy term!

There is no other liquid added to these berries. This is just the berries, sugar, and lemon juice.
At this point, if you don't have a stick, or immersion blender, I would go on and put these through the food processor or a regular blender to puree these down to a smoother consistency. You can make it as smooth as you want, or, if you like some chunks of berry left, leave it as chunky as you want! I have a stick blender, so I started cooking my jam down, and planned to blend it during the cooking process.
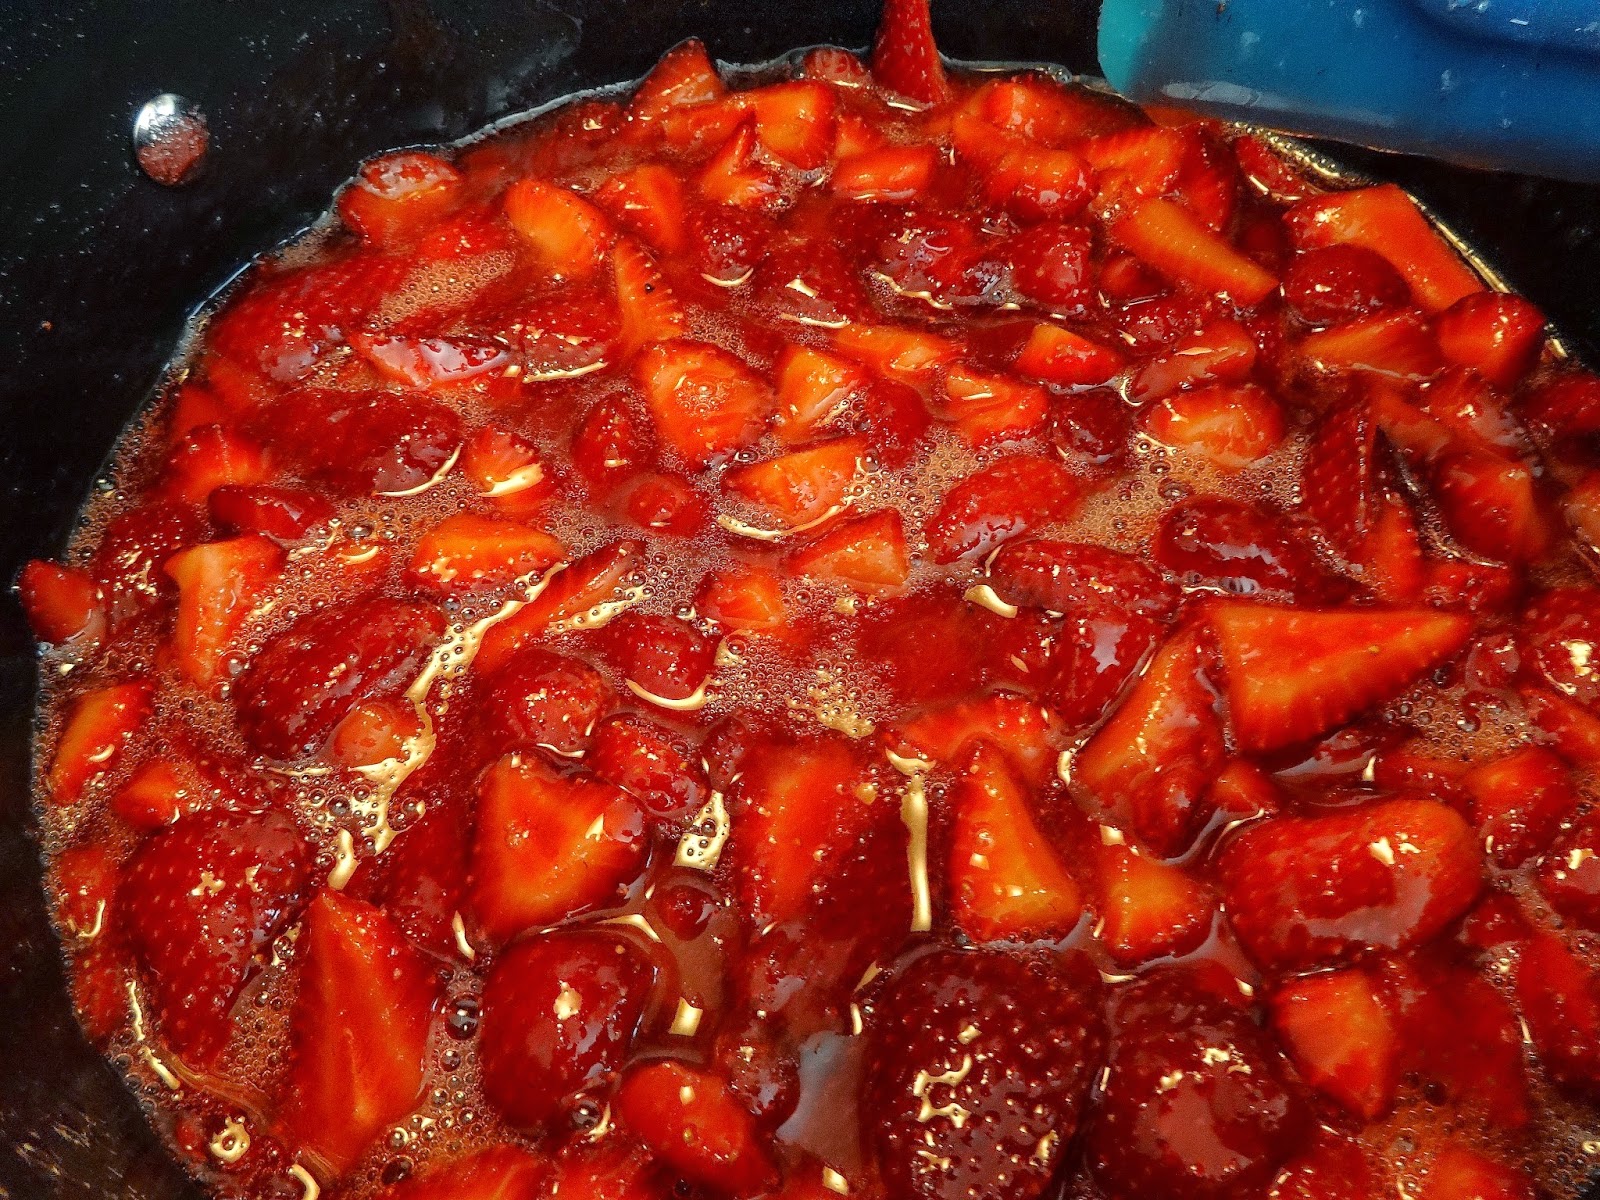
 As your jam cooks, it will foam. Don't worry! This is supposed to happen! Just take a spoon and skim it off, and continue to cook the jam.
As the jam cooks down, it will thicken and release pectin, which is what will help it set up as it cools. The jam should cook anywhere from 30 minutes to about 1 hour, on medium heat. I know that isn't very helpful, but there are a lot of variables that can change how your jam is going to turn out; the humidity of the day you're cooking, the ripeness of the fruit, the heat on your stove...you get the idea. I like to do a variation on my spoon method to test my jam; I'll dip the back of a spoon which has been in the freezer for 30 minutes, into the jam, and once it has cooled for a minute, run my finger through it. If the jam stays parted, I consider it ready to be ladled into the waiting (still hot) jars.
Conversely, and a more commonly accepted method, is called the "wrinkle" method. Before starting the canning process, put three or four heatproof saucers into the freezer. When you feel like you want to test your jam, to see if its ready to pour into your jars, take a saucer out of the freezer, and spoon a little of the jam onto the plate. Let it sit for a minute, then push at it with your finger. If the surface of the jam wrinkles, then it has set, and is ready to ladle into your jars. If it is still liquid, then let it boil for another five minutes and try again!


 Okay, my lovelies! You're up!
My tongs, lids and rings (I toss them in for good measure, but you don't need to), waiting for me, in the hot water.


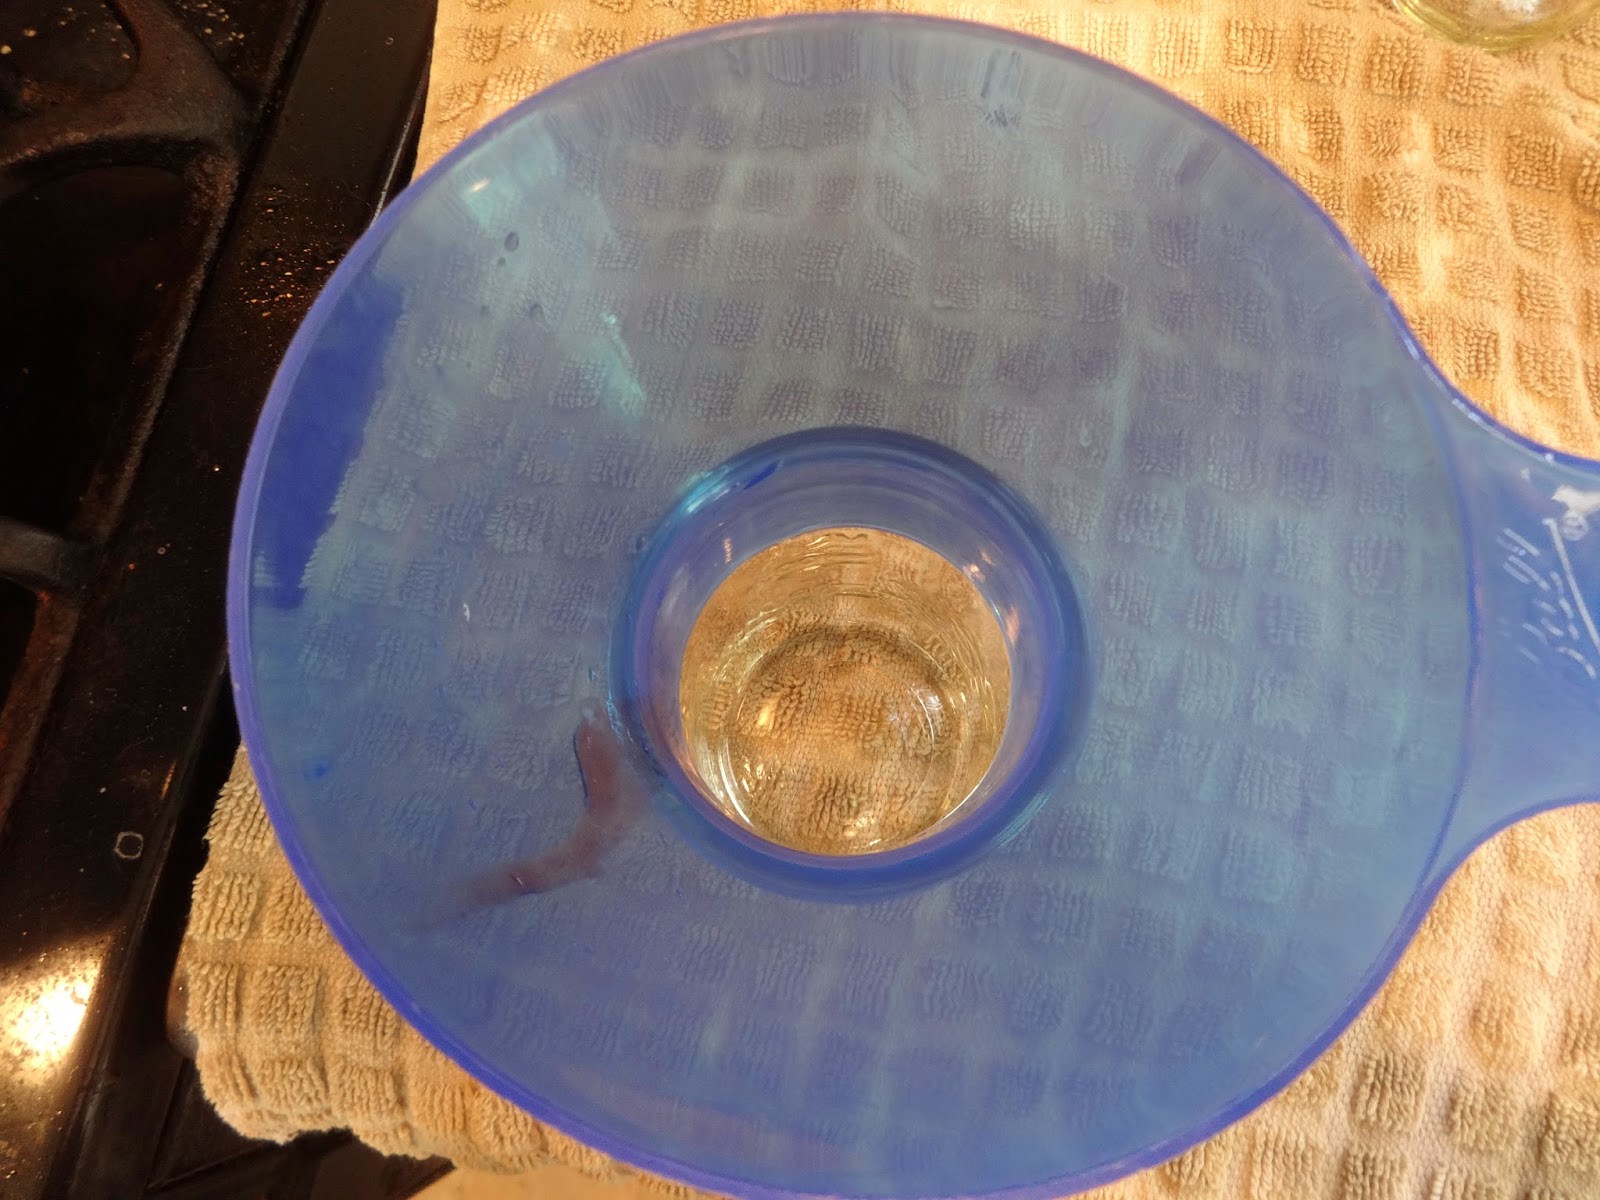
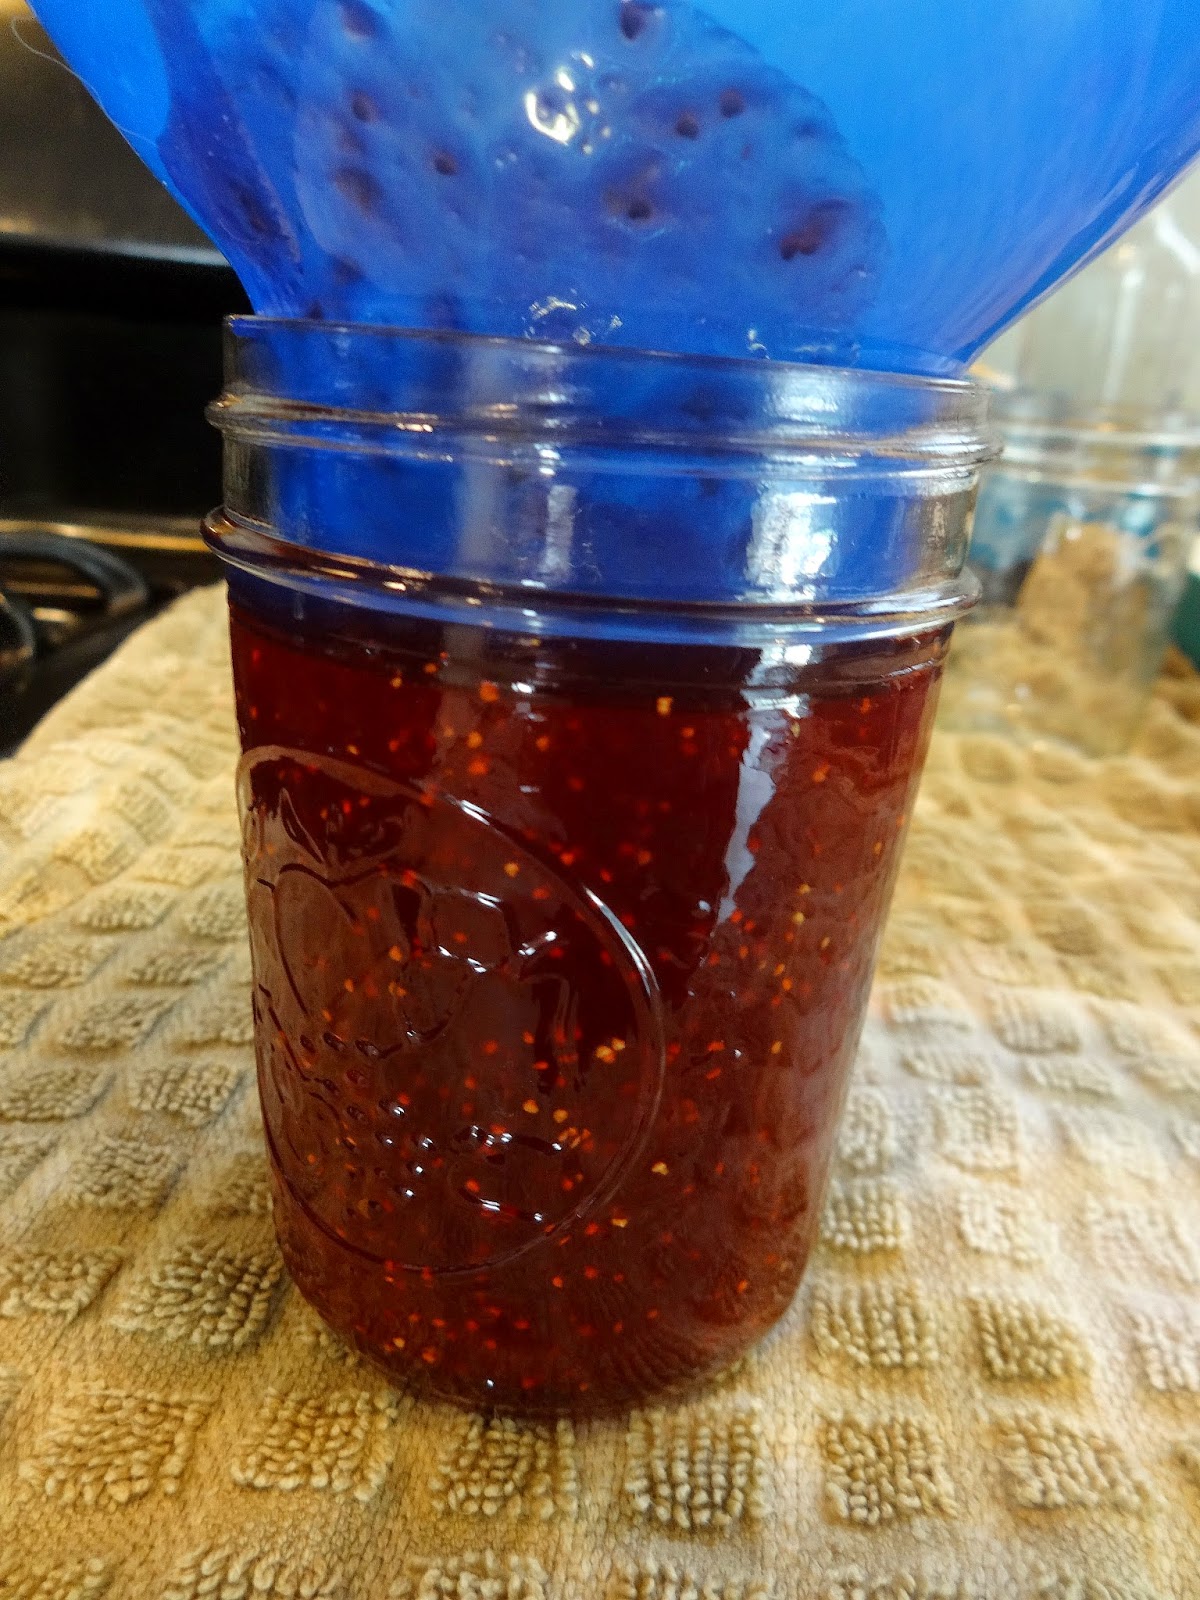
Here is my wide-mouth funnel. I tried for a couple of years without one, and it is possible, of course, but it is so much easier with one! You want to keep the rims of the jars clean, so you can get a vacuum seal after you process the jars, so having a funnel sit on the inside of the jar, makes life easier!


Once you have the lids on, screw on the rings, and just barely tighten to finger tight. You do not want to over-tighten; if the lids are screwed on too tightly, the jars run a risk of exploding as they process, and that's just no good. So, again, just finger tighten and save yourself the heartache.

Just a quick reminder, always check your jars, lids and rings for any defects! Something like this can easily interfere with you getting the vacuum seal you have to have for properly sealed food!

Now, on to the processing!


This is a gigantic pot I got just for canning, but when you're not using it for processing your canned goods, you could also use it to wash small children or pets....joking, of course! Once you put your jars in, keep the water boiling, and let them go for 20 minutes. Carefully pull them out with the tongs, and within a few minutes (but up to several hours later), you'll start to hear the satisfying "Pop!", letting you know that the jars have been properly sealed! If you have a jar or two that doesn't "pop", don't worry, just stick it in the fridge and use that one first, within a couple of weeks.
The next day, you can seal them up as tight as you want, but they have to remain finger tightened (from before you processed them) until they are completely cooled, so the next day is the rule of thumb for really screwing the rings on tight.


Don't be afraid of canning, it is really easy and not nearly as scary as it seems! And, if you have some jam that doesn't set up to the jam consistency you were wanting, that's no problem either! It's just a lovely syrup for ice cream, waffles, or pancakes! You were totally going for that consistency, right?? Right? No one else has to know!
No comments:
Post a Comment