
One thing I really wanted to tackle this year was making canned, homemade tomato sauce. I even planted two tomato plants, in hopes of getting some for sauce (I knew I wouldn't get enough off of two plants to can, but I had hoped to toss one or two of my own in there!), alas, no luck. My tomato plants look good, but I haven't gotten any tomatoes off of them. Yet. However, the local farm in my area is selling pecks of tomatoes for $10 each, so I took my daughter out to the farm, and we bought two pecks for this adventure!
In terms of grocery list, there isn't much you'll need for this one:
2 pecks of tomatoes
2 pecks of tomatoes
2 C white vinegar, divided
1 head of garlic
3 Tbs each: dried oregano, basil, and thyme
Kosher salt
Olive oil
Jars, lids and rings for canning* (I got 5 quarts out of these tomatoes)

So, lets get started! Here are the beautiful tomatoes that I picked up, I put all of them into a sink filled with warm water and about 1 C of vinegar (I washed my tomatoes one peck at a time, so I used the second cup of vinegar while washing the second peck of tomatoes), and sorted out any that were too bruised or overly ripe. The warm water and the vinegar will strip the tomatoes of any wax, or dirt that were on them. Since I got mine fresh from the farm, I wasn't worried about them having a wax coating on them. However, better safe than sorry! I kept the dried herbs simple, too keep the resulting sauce open for different things; chili base, lasagna or spaghetti sauce, or other soup bases!
*for instructions on how to sanitize and prep the jars, lids and rings for canning, check out my post on making strawberry jam.


While your tomatoes are getting their bath, preheat the oven to 425*, and line two good sized baking sheets with aluminum foil (honestly, as much as I use, I should own stock in this stuff!). Once your tomatoes have soaked for at least ten minutes, pull out a few at a time, dry them off, and quarter the larger ones, cut the smaller ones in half, and core all of them. The first batch that I roasted, I cut the tomatoes into pieces that were a little too small, and roasted them for a few minutes too long, so they got

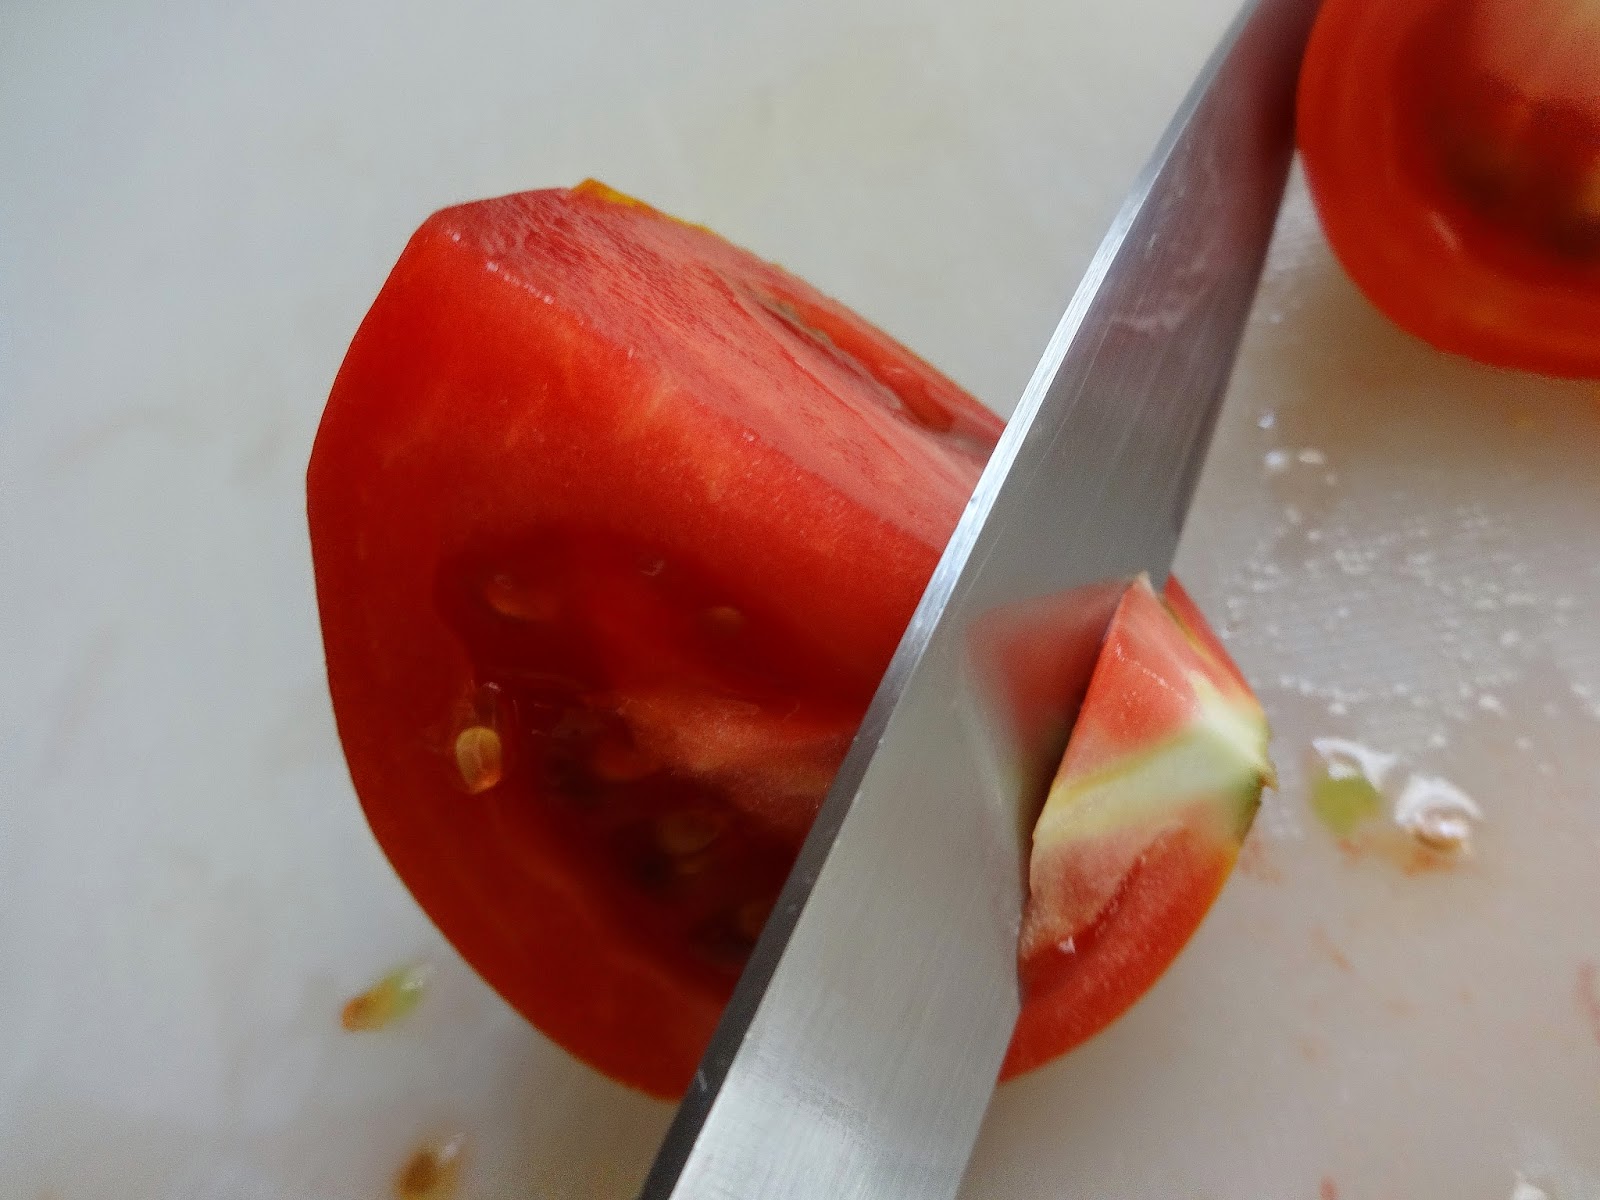
I just cut the core out of the tomato; it didn't matter what they looked like going into the oven, since they were all going to be made into sauce, anyway. Once you have a baking sheet filled with tomatoes in a single layer, drizzle a little olive oil over them, sprinkle with salt, and put into the oven for 30 minutes (my first batch, I did for 40 minutes!)


Below is my first batch. They were certainly usable, but my house was all kinds of smoky, from the olive oil. I used the tomatoes, but tossed the aluminum foil and used a fresh sheet of foil for my next round.

 Roasting the tomatoes isn't a "must-do" step; if you're pressed for time, or just don't want to heat your house up (because, I have to say, it really does!!), you can just proceed to the food mill step. However, I, personally, wouldn't skip this step.
 Roasting really brings out the tomato-y-ness of the tomatoes, and adds a nice extra flavor to the over-all sauce. I don't know how many rounds of tomato roasting I did, but I did this for about two days, batch after batch.


After each batch came out of the oven, I scooped the tomatoes up, with the oil and any liquids, and put all of it into a large plastic container to hold until I was ready for the next step. I've heard that you can just toss all of this yummy flavor into a food processor and make the sauce that way. However, there were a few times where I got a little heavy handed with the olive oil, and you can see about a 1/2" layer of olive oil sitting on top of the tomatoes in this container. I love olive oil, but I don't want that much in my sauce. While I was thinking on that, I pulled out my food mill, and after attaching the finest disk to it, I started pureeing the roasted tomatoes. Using the food mill will create a smooth sauce, without the skins and not nearly as many seeds in the final sauce.


After a few minutes of using my food mill, I remembered that I had a fat separator, and olive oil is a fat after all, so let's see if it will separate from the tomato juices! And it did!! Woohoo!! I was so excited to be able to use the tomato juices!

So, if you're not familiar with it, here is a picture of my food mill. This is a pretty handy tool to have around, you can use it to make really smooth mashed potatoes, baby foods, really any food that you want to have a really smooth consistency, so, naturally, I thought of this for my tomato sauce!

I used a large slotted spoon, and used about two spoon-fulls of tomatoes to mill at a time. With the food mill, you'll spin the blade clockwise for a couple of minutes, then spin it counterclockwise for a few turns, to clean the blades out. Once you have gotten all of the sauce and juice out from the tomatoes that you think you can, I emptied the skins out into a large bowl that I had waiting beside me.


Here are the leftover skins; I hated to throw them away, so I was trying to think of how I could get every last bit of yummy tomato from my fruits!


While I was thinking about the skins, I got to thinking that some roasted garlic would be really good in the sauce, and I had the oven already on, so why not? To roast garlic, take a head and cut the top 1/4 off of it. Lay it on some aluminum foil (surprise, surprise!), drizzle a little olive oil on it and sprinkle it lightly with some Kosher salt. Wrap it up like a little present, and put it in the oven for 20-30 minutes. I put mine in for about 20 minutes, and if I'm being honest, it could have roasted for a little longer. However, I was able to easily squeeze each clove out the head, so it was roasted enough.


This is my garlic after I roasted it. I would have liked for it to be a deeper golden color, but I didn't want to put it back into the oven, and I assumed it would get milled down with the tomatoes. I was wrong. If I had put it back into the oven to finish roasting, and get really soft, it would have mashed right up in the food mill. Oh well...I figured out a way to make it work!


As you mill down your tomatoes, don't forget to scrape the sauce from the underside!


I had to switch to a large stock pot, because I was accumulating so much tomato sauce!

Once everything has gone through the food mill, food processor and colander, cook it all together with the dried herbs, over medium heat for about 30 minutes, to let it thicken up a bit. As always, scoop off the foam that comes up while its simmering.

These were a lot of work, and very time consuming, but I will absolutely do it again! The taste of this sauce is so fresh, and bursting with tomato flavor, that it is worth every bit of work that went into it!


No comments:
Post a Comment