
Ice cream is far and away my favorite treat, year round. I don't care if it is 30 degrees outside, I'm going to be curled up on the sofa, with a bowl of ice cream. However, every summer, I figure, "I have an ice cream maker, why buy it at the store??", and with all of the beautiful fresh produce in my area, seriously, why buy it at the store?
My local farm stand sells what they call, "ice cream peaches"; basically peaches that are too ripe and need to be sold quickly. Which works out beautifully for me! They sell them for $1 per pound, and I swoop in, buy some, and make ice cream! It's delicious! The texture is smooth and creamy, and bursting with peach, but the brown sugar flavor really comes through, too. This flavor may just be my new favorite!
Even though so many things went wrong for me while I was making this, it still turned out perfectly. Apparently, this recipe is very forgiving! Things don't always go smoothly in the kitchen, but you can fix it, and learn from it, and sometimes, make things better than they were meant to be! ...you'll see what I mean here in a bit...
Here's what you'll need for this recipe:
1 pound of very ripe peaches
(roughly 5 large peaches)
1 1/2 C whole milk
3 eggs, lightly beaten
1 1/2 C heavy cream
1 tsp cinnamon
1 1/2 tsp vanilla
1 tsp lemon juice
1 1/4 c brown sugar, divided
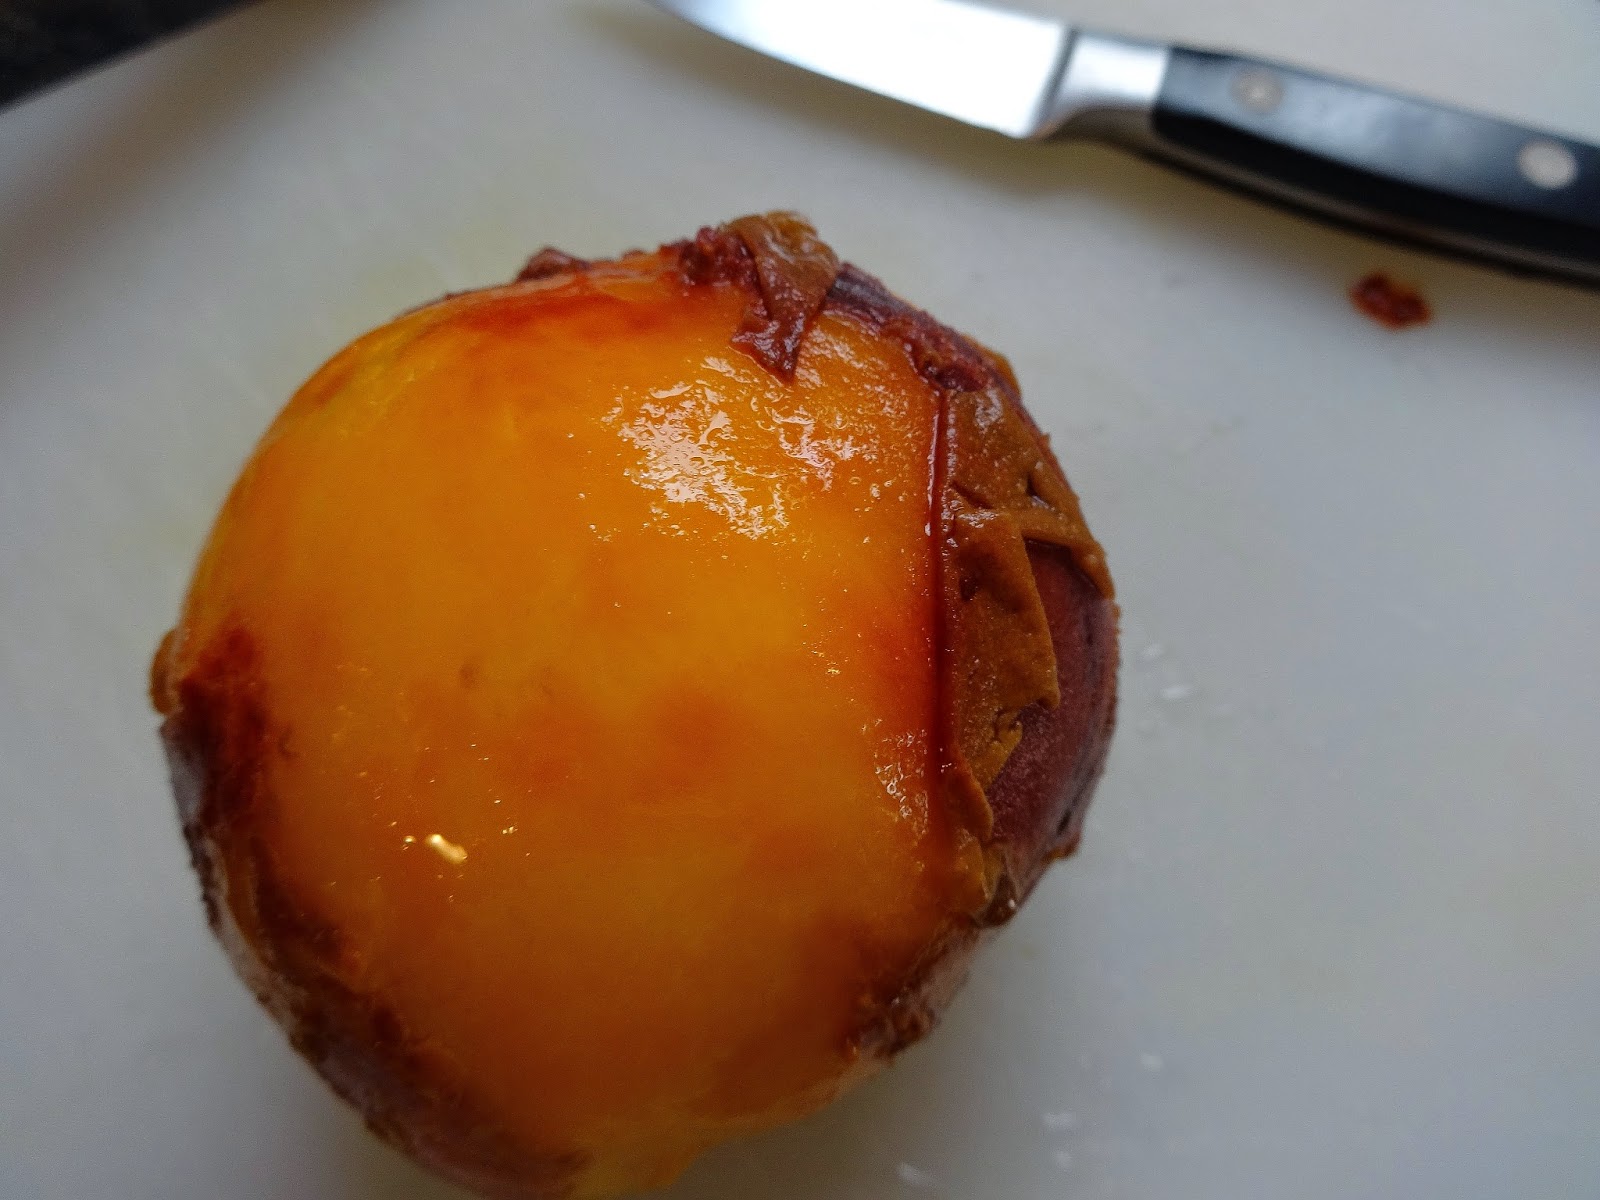
To start off with, peel and dice the peaches. To peel the peaches, lightly cut an "x" into each peach and gently boil for 1-2 minutes, then remove and put into ice water, to prevent the peach from cooking. When the peaches are cool, the skins will easily come right off, and you can cut the peaches into bite sized pieces with no troubles.


This peach is really soft, but the flavor is amazing!

While the peaches are cooling, go on and mix 1/4 cup of the brown sugar and lemon juice together. Once you have diced the peaches, mix the peaches in with the lemon juice and the brown sugar.

Cutting up the peaches doesn't have to be pretty, or uniform, because they're going to be pureed down anyway. Once the peaches have been added to the sugar, let them mingle for a bit while you move on to make the ice cream base.


Not only did my yolks break while I was cracking the eggs (no big deal, except it doesn't make for very pretty pictures...), but I also got a shell in my eggs! No worries, I'll take this opportunity to show you a nifty trick for getting shells out of your eggs! Turn that frown, upside down!


 Use a large part of a shell to scoop out the piece that fell in. The shell acts like a magnet and will easily take up any shells that may have fallen in! Moving on, lightly beat the eggs and set aside while you heat up the milk.


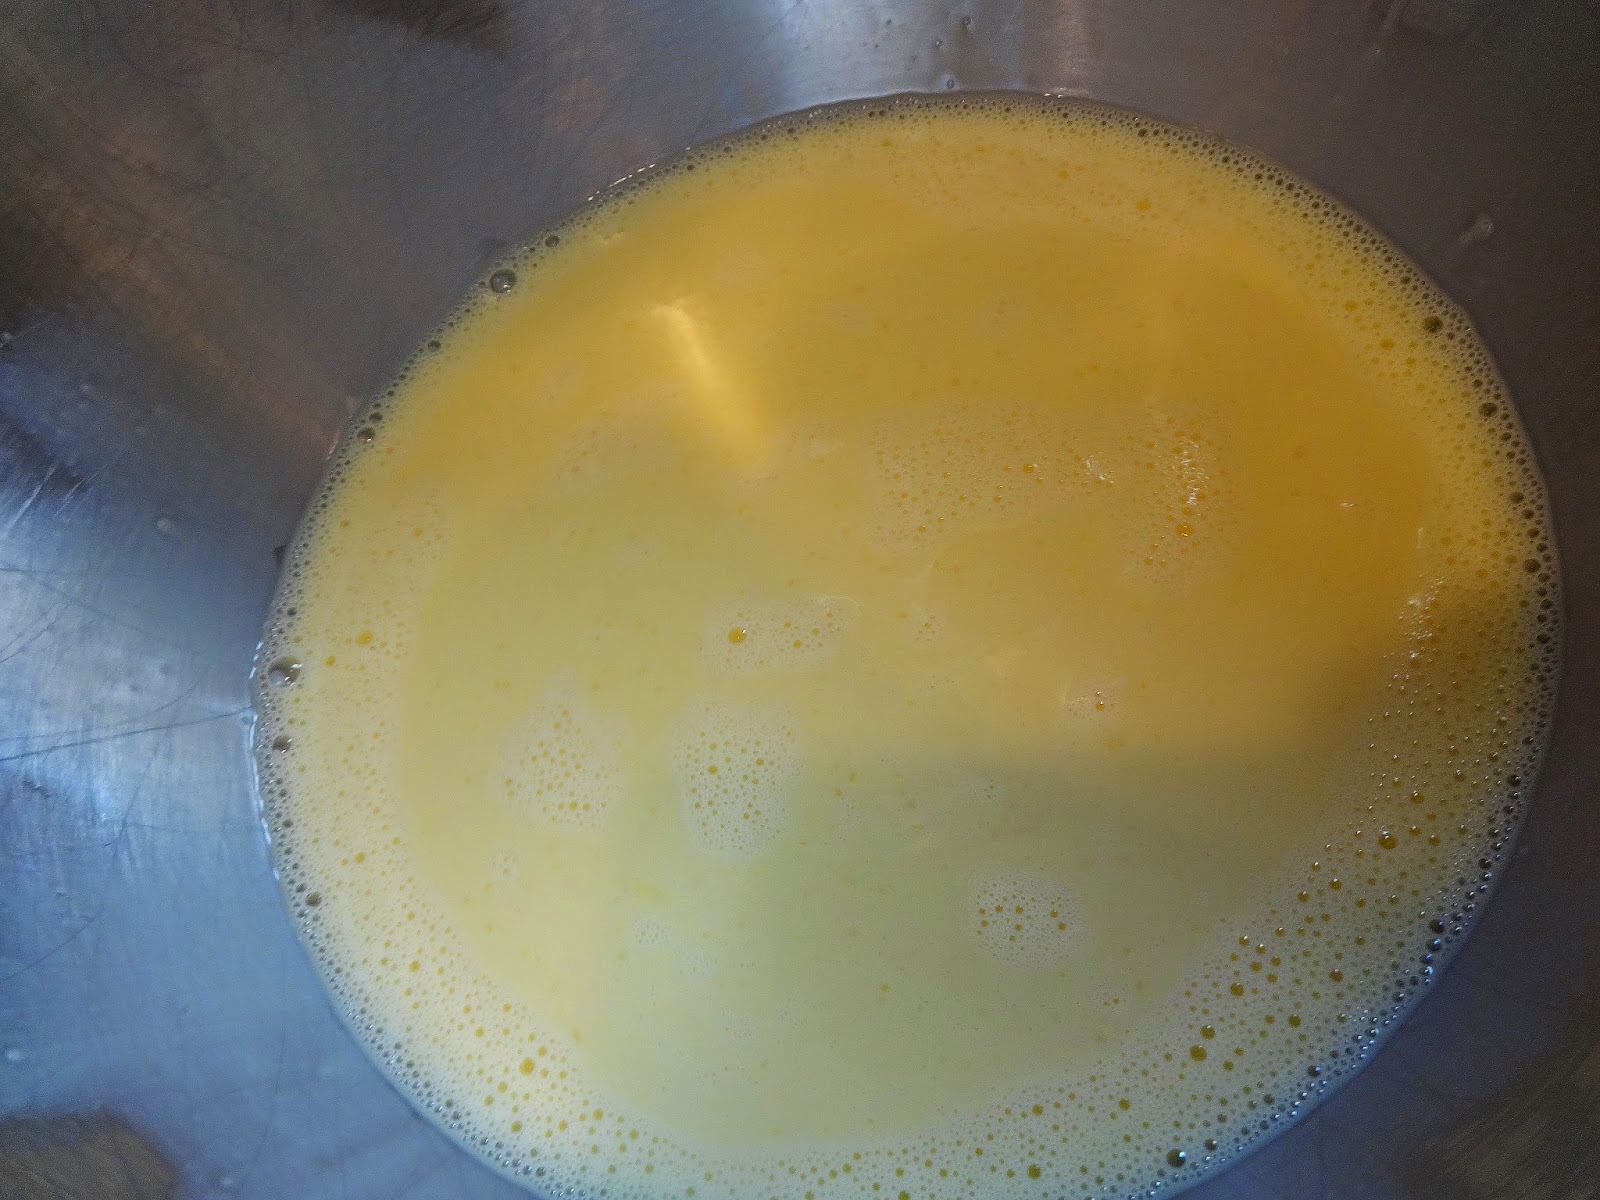
The mixture will look light, lemony yellow once the milk has been added in. Now that you have safely navigated that part, pour everything back into the saucepan to heat through. I always pour mine through a fine mesh colander, just in case some eggs may have scrambled. No one wants scrambled eggs in their ice cream!


I had a little bit of substance get caught in the colander, but that's what its there for! So, now turn the heat onto medium low, and, stirring constantly, cook for about two minutes and wait for it to thicken. Once the mixture has thickened, you should be able to give it the spoon test!


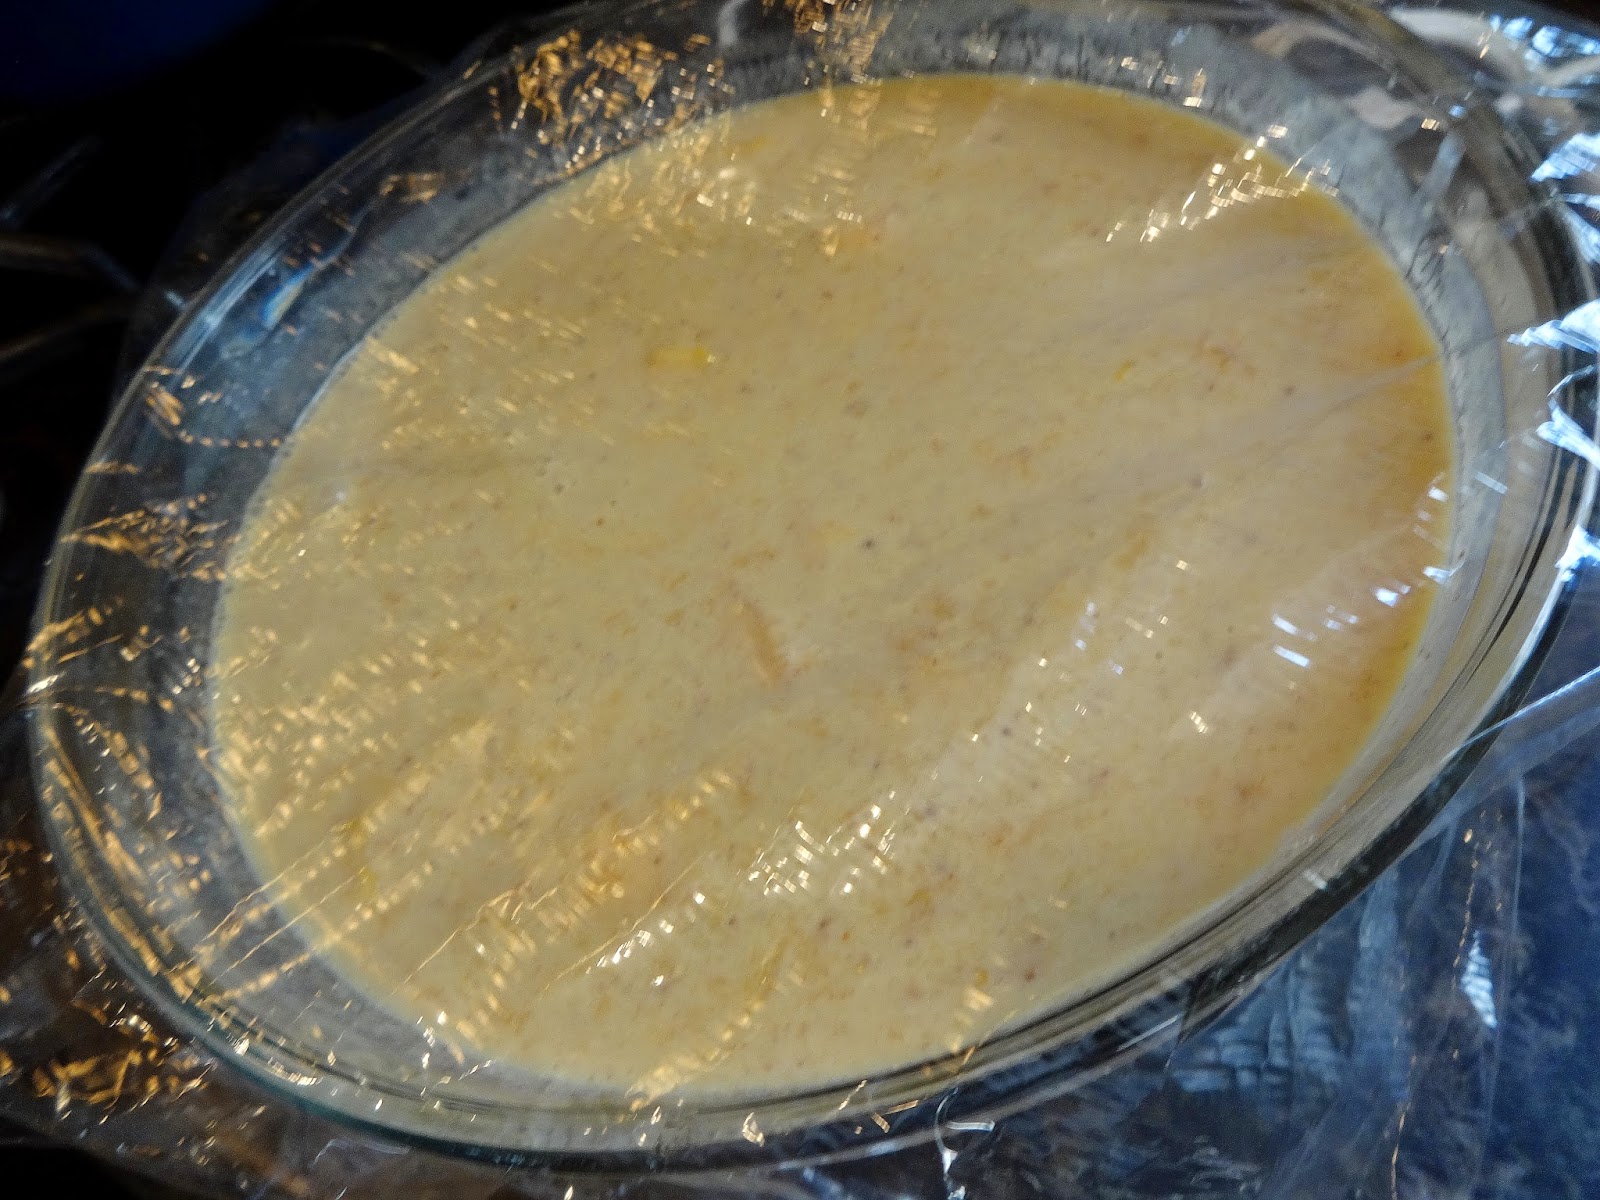
Stir everything in together, and put it into a large bowl, cover it with plastic wrap and put into the fridge to chill overnight.


Here's where things went sideways for me. Sigh. I only use my ice cream maker once or twice per year, so I didn't realize that I put my maker together wrong. As a matter of fact, I was so sure I had it correct, that I took pictures of how I did it.


Yep, I had to stop my machine and try to flip my churner thing around. Unfortunately, a lot of the ice cream had started to set up, so I ended up just making a mess. However, I knew I needed the churner thing in there, because it is what puts air into the ice cream, which is what helps make the texture.


So, yeah, I stood there for fifteen minutes, trying to hold everything together, all the while the ice cream was overflowing, the churner thing was skipping around like crazy, but I just knew that it was going to come out okay. I tasted the base that morning, and it tasted amazing, so I didn't want to give up on it!


Hang in there, ice cream!! You can be all you can be!! Don't give up on me! Wow was this a mess!
So, I figured I would just stick it in a container, press some plastic wrap on top of it, and stick it (with fingers crossed) in the freezer for at least 8 hours and see what happened....


This is what I was rewarded with. This ice cream is smooth, creamy, and bursting with flavor. This ice cream may have given me some problems (or, more likely, I gave this ice cream some problems!!), but it was so worth it, and I will be making it again. Soon! If you try it, let me know how it turned out! I can only hope that you see the problems that I had with this, and not worry if things happen in the kitchen. Things will (most likely) turn out okay. 


No comments:
Post a Comment