
Alright, in part 3 of this "fancy pants supper" series, we're looking at yeast rolls! When I was writing my post about fresh bread, I spoke about how much I love the smell of fresh bread, just out of the oven. There is only one smell that I can think of that can compare is the smell of yeast rolls baking in the oven. I suppose since it is still a type of bread, but the smell of yeast baking in the oven is something just magical.
The fact that these are easy to make just makes them that much better!
I've always loved yeast rolls, but I could never find a recipe that was easy to make, and was nearly foolproof. Until a few years ago. I was flipping through a Taste of Home magazine article, and stumbled across this beauty. The initial recipe made something like 16 rolls, but since there were only the two of us (at the time....now it is the three of us!), we didn't need all 16 rolls! So, I halved it, and this recipe halves perfectly! Making 8 rolls is still a lot of us, since my husband doesn't really eat a lot of bread, but my daughter and I eat these up when I make these! I make these every Thanksgiving, Christmas, and a few times throughout the year, and they always receive rave reviews! I hope you'll give these a shot, they could not be easier.
Here's your grocery list for these:
1 pkg dry yeast (or 2 1/4 tsp of yeast)
1 C warm water*
1/4 C granulated sugar
1/2 of an egg, beaten
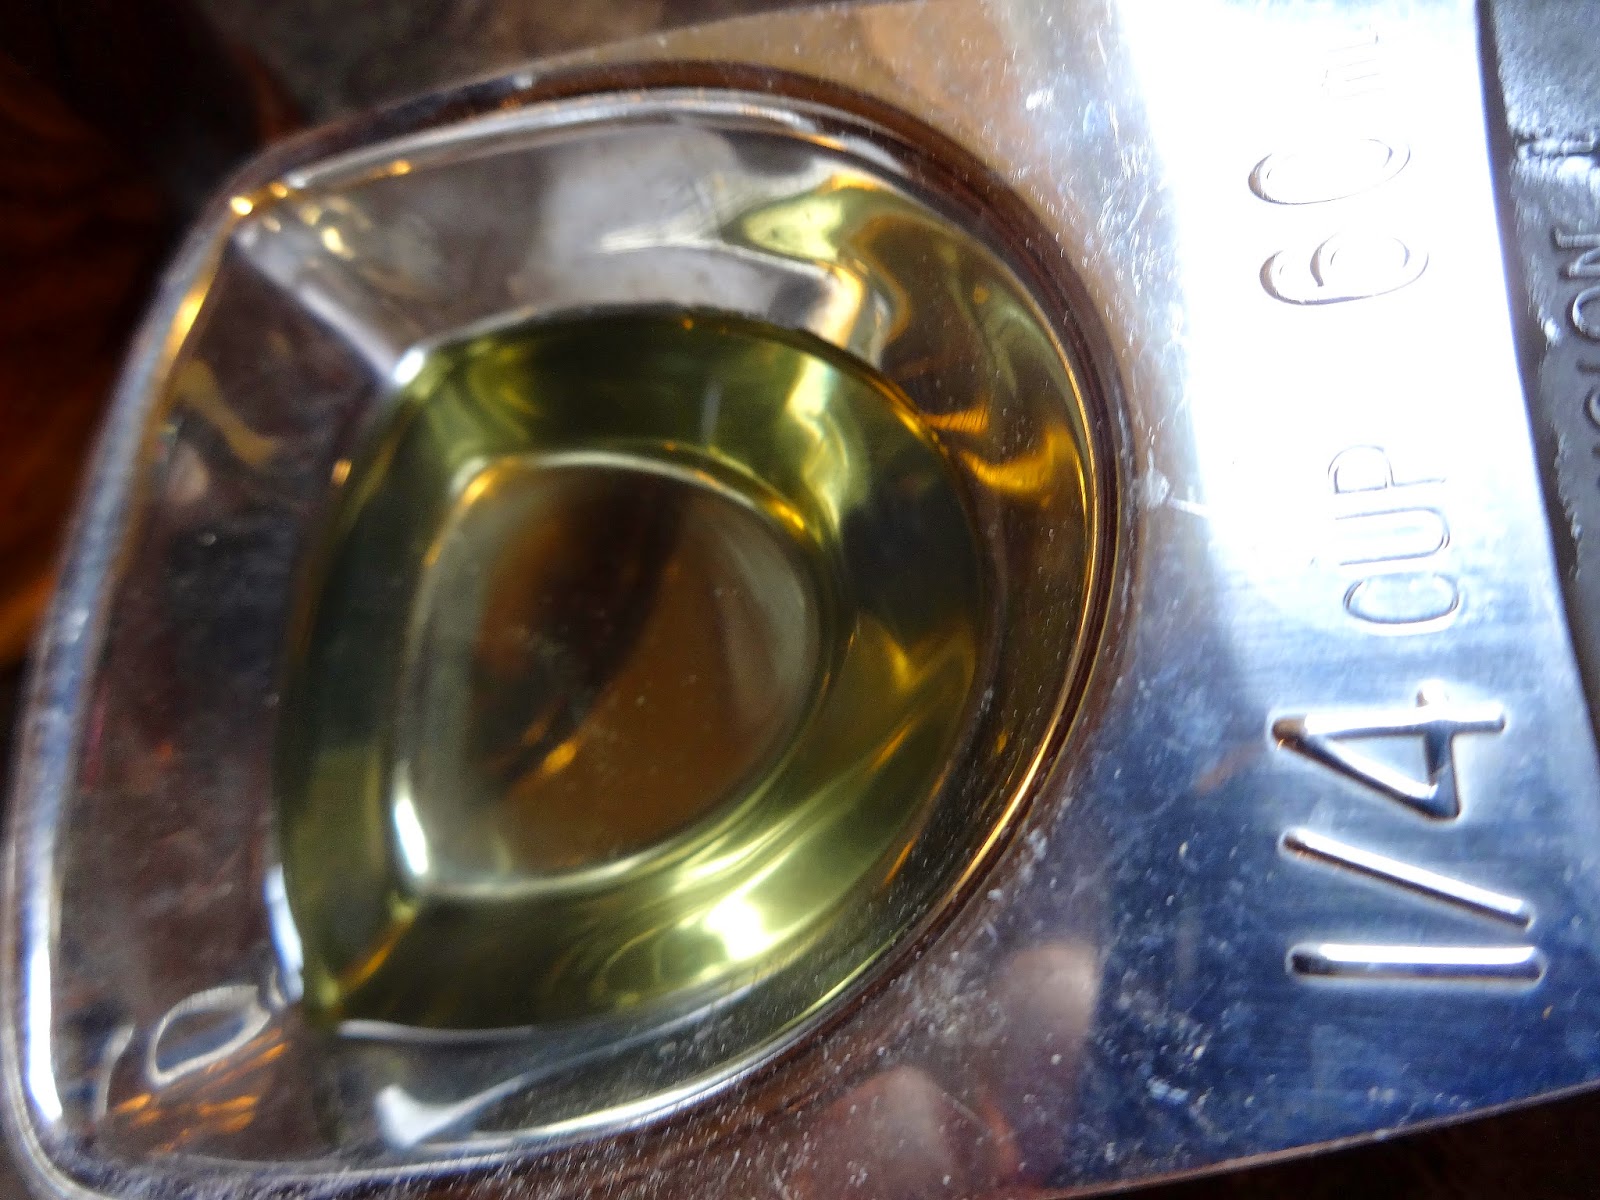
1/8 C Vegetable oil, plus 1 tsp
1 tsp salt
3-3 1/4 C All purpose flour

I know that some of these measurements sound odd (1/8 C vegetable oil? 1/2 of a beaten egg??), but, keep in mind that this recipe has been halved. It doesn't have to be exact, but get it as close as you can! If you don't have a 1/8 measuring cup (and who does?), just remember that 1/8 is 1/2 of 1/4. I think there are enough fractions in that sentence to keep my math teacher happy for awhile!
*As you may remember in my fresh bread post, the temperature that you're going for is slightly warmer than your body temperature. I have the water running, and warming, until you can test it against the inside of your wrist. Your body temperature is 98.6*, and you're looking for a temp of roughly 100*, so you want it slightly warmer than your own temperature.
Now then, lets get started! Once your water is warm enough, add your yeast and sugar to the water, letting the yeast bloom. You'll know it is ready to use, when the yeast/water/sugar mixture is foamy. This can take anywhere from 5-20 minutes. I normally put this together, and wash dishes, which takes me about 15 minutes (sadly, yes, I know how long it takes me to wash dishes....I really need to get out more...).


Sometimes you'll find a recipe that calls for you to add salt to your sugar/yeast/water mixture. I never do this, because salt kills yeast. So why would you want to add it while you're activating your yeast? When I find a recipe that says to do this, I just add the salt to the flour, and shake my head at the person that wrote the recipe out. Anyway, this is bloomed yeast after about 15 minutes. There is a nice layer of foam on top!


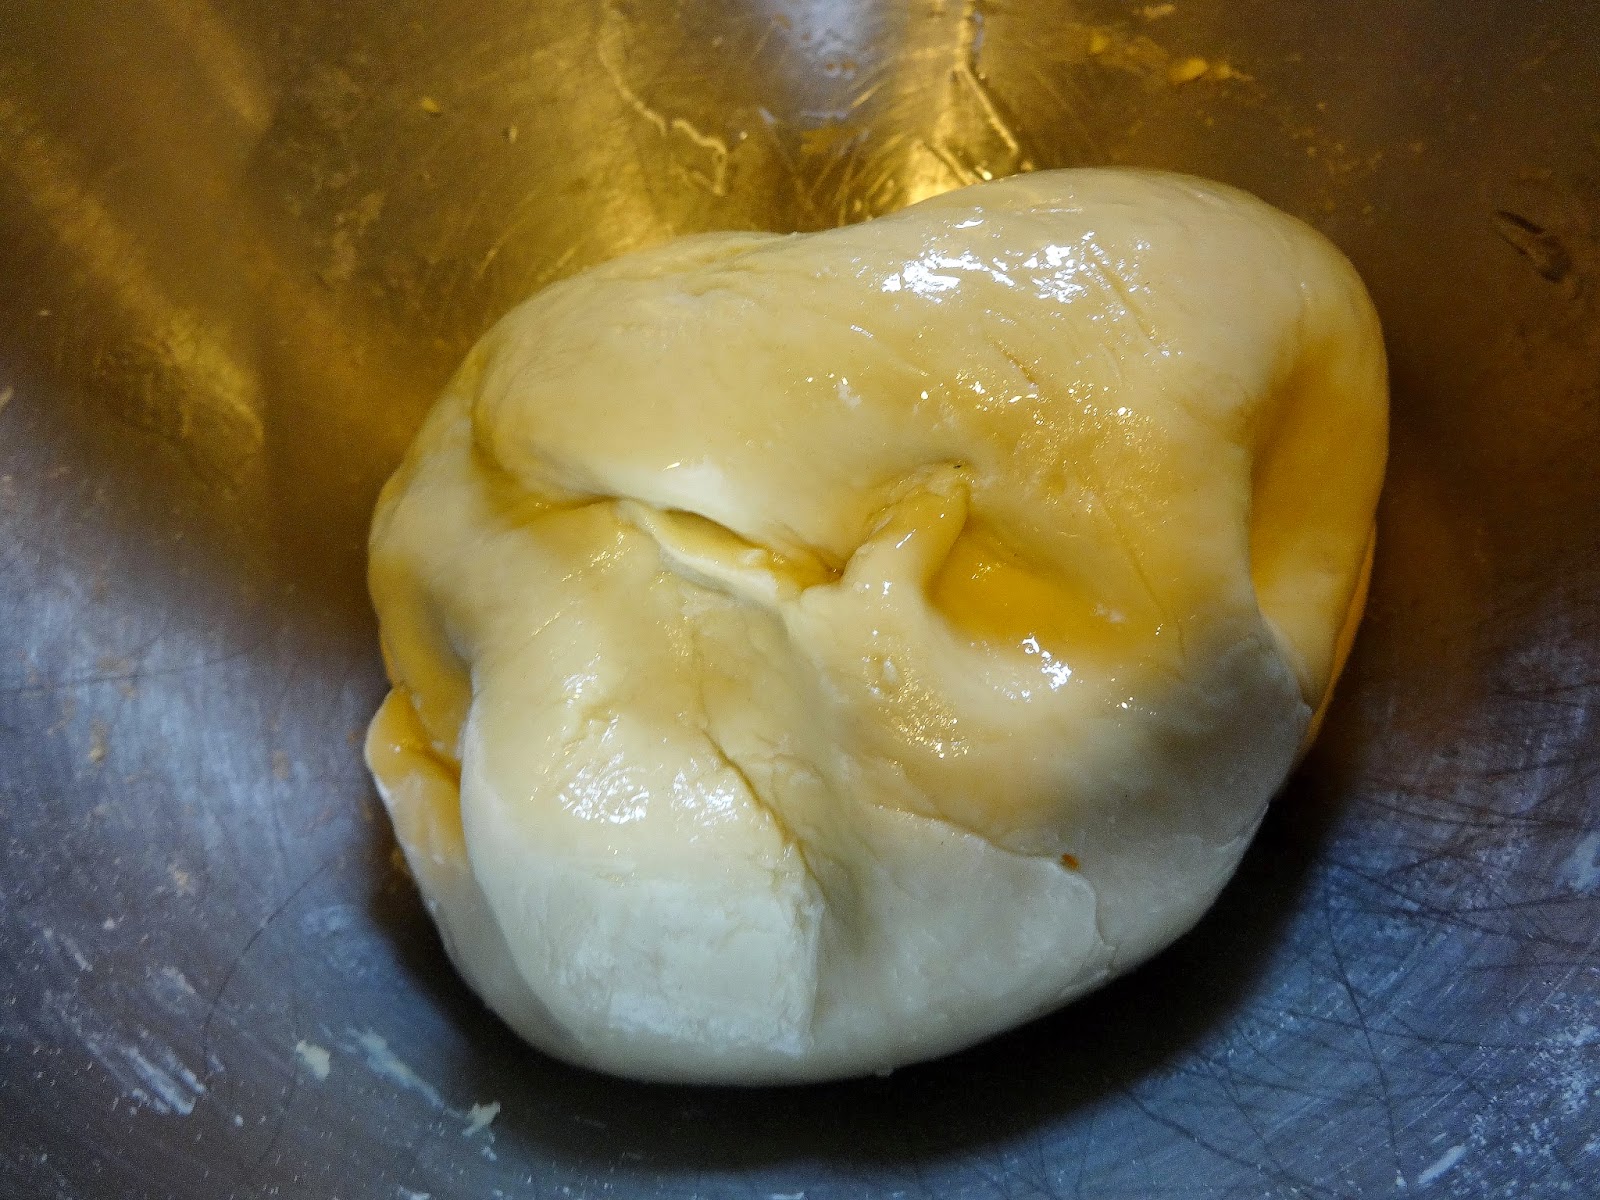
Make a well in the flour, and add in the oil, egg, sugar, water and yeast into the flour. Mix it until it just comes together.


Once the dough has come together, turn it out onto a lightly floured counter top and knead it for 6-10 minutes, until it becomes smooth and elastic.


Turning our attention back to the mixing bowl, add in the 1 tsp vegetable oil, put the dough back into the bowl, turning it over, so it oiled all over, and set all of it into a warm area, to rise, for 1 hour, until doubled in size. I cover mine with a damp towel, and set it in the oven with the light turned on.


After an hour, your dough will be lovely and smell amazing! Turn your dough back onto a lightly floured counter top, and knead it once or twice, until the air is out, and the dough is smooth again.


Once your dough is again elastic, cut it evenly into 8 pieces. I do this by cutting the dough in half, cutting each half into half again, and so on and so forth until I have 8 even pieces left.


Once you have all 8 pieces, roll them out, one at a time, into ropes, about 8 inches long. Tie them into knots, tucking the ends under each roll, and place them on a greased baking sheet.


After the second rise is finished, place them in the oven to bake for 10-15 minutes, and enjoy these soft, fluffy yeast rolls! Yum!


No comments:
Post a Comment