
Okay, I've been on a bit of a lavender kick lately. First, I made lavender tea scones, and figured since I had so much lavender leftover, I would make a chocolate lavender cake! I also figured I would go ahead and post it, since the coupon code so generously given to me from Herbs & Everlastings, for 10% off of your total order of $5 or more (not counting shipping), good through 9/30/2014, so if you need to get some lavender, this is a great place to get some, and you may as well use the coupon code and get a discount!
This chocolate cake is so moist, and decadent! It is rather time consuming, but its really not too bad! This cake process I'm going to break up into three segments, because there are quite a few steps.
If you want to make just the cake, this would be good with a store bought frosting, but I used a homemade Earl Grey buttercream frosting (coming up on my next post!), and then covered the whole cake with a marshmallow fondant (coming up on next weeks post!). So, if you're interested in seeing this beautiful cake come together, here's how!This chocolate cake is so moist, and decadent! It is rather time consuming, but its really not too bad! This cake process I'm going to break up into three segments, because there are quite a few steps.
Here's the grocery list for today's cake:
2 C All purpose flour, sifted
1 2/3 C hot water
3 TBS and 2 TBS lavender buds, divided
2 1/2 C sugar, sifted
1 C unsweetened cocoa powder, sifted
Big pinch of kosher salt
2 tsp baking soda
1 tsp baking powder
1 1/3 C buttermilk
2 large eggs, lightly beaten
2/3 C unsalted butter, softened
As always, we'll start off with preheating the oven, this time to 325* (since this cake batter is very wet, the oven temperature needs to be lower than the standard 350*, because it needs to bake a little longer than usual).

To start with, we'll need to make a lavender tea, so take your hot water, and add in the 3 TBS of lavender, cover, and let it steep for about 30 minutes. When the 30 minutes are up, strain and discard the lavender buds. The resulting water is actually a really pretty lavender colored water.


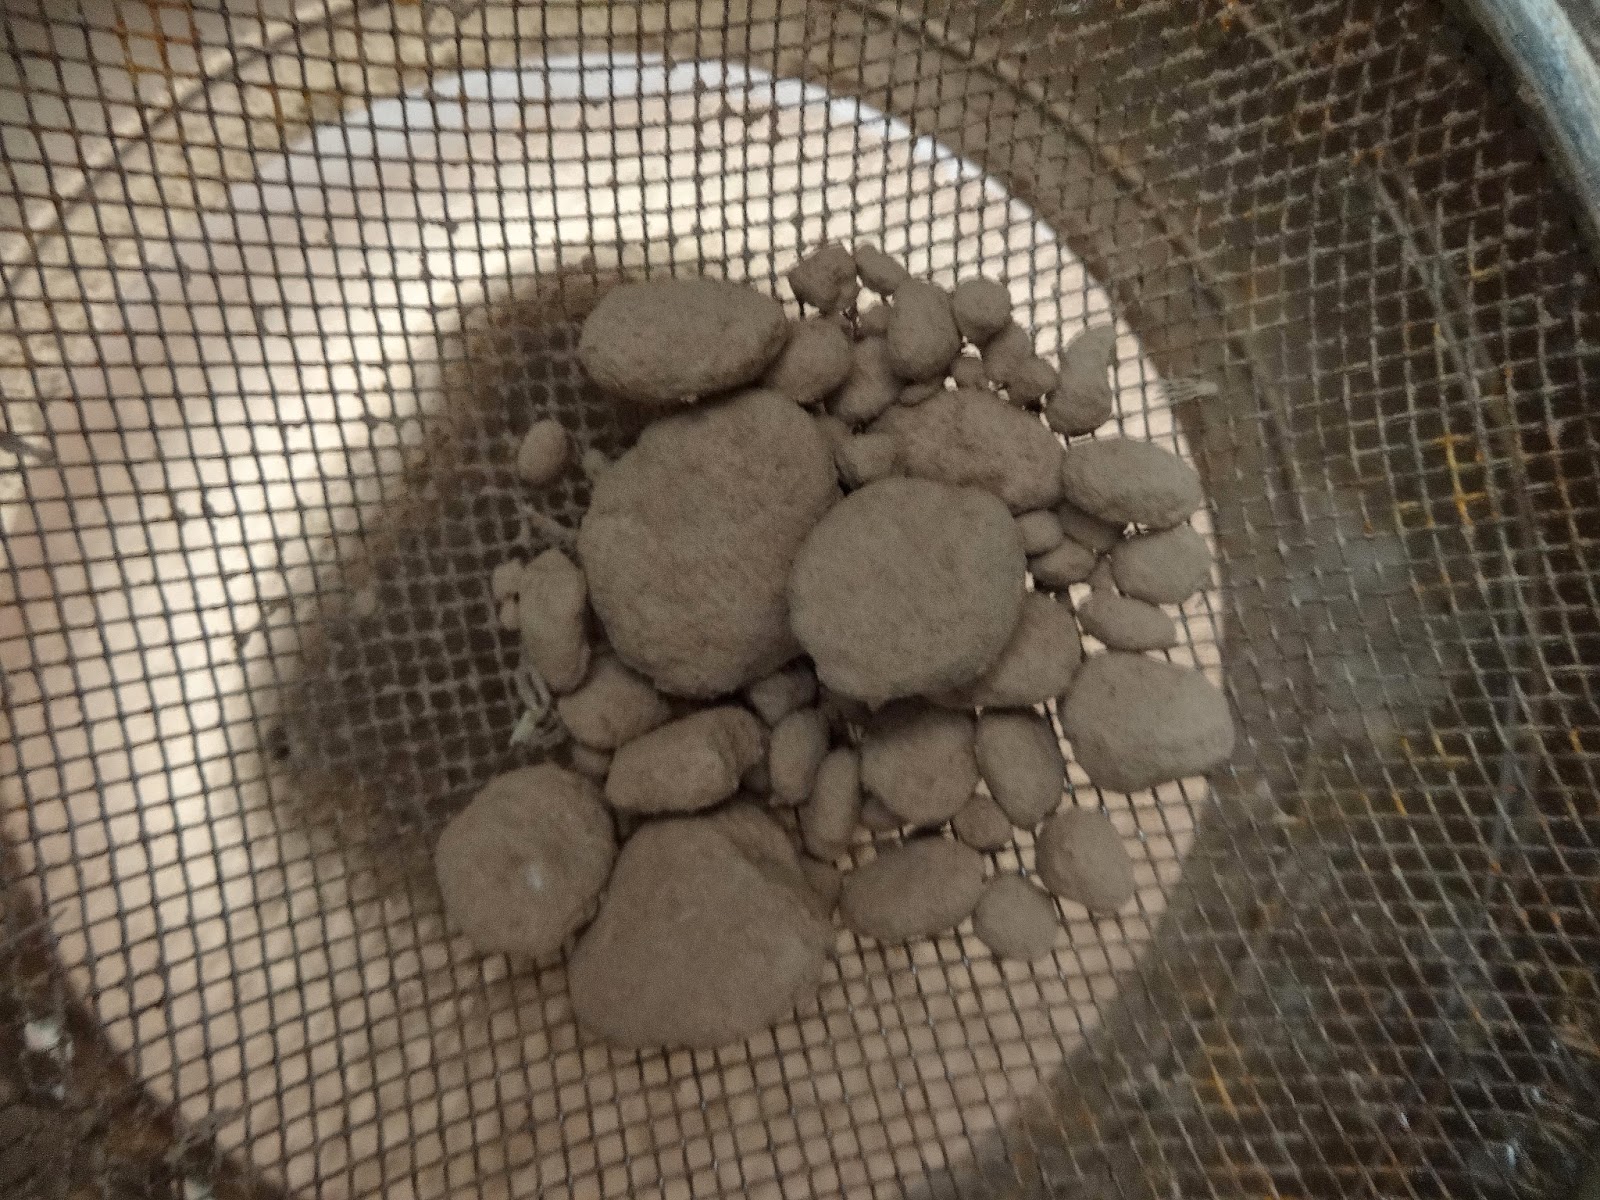
While the lavender steeps, put the remaining 2 TBS of lavender in a coffee grinder, or a mortar and pestle and grind them into a fine powder. I used a coffee grinder, and ground these up in a couple of seconds.


Here I'm sifting the lavender powder with the rest of the cocoa powder. Here are the large lumps of cocoa powder left in the sifter; however, these just need to be gently pressed and broken up and then sifted through. No worries!

I just love seeing sifted ingredients! Its a pretty mountain of softness!


Now that your dry ingredients are together, and your lavender water is ready, its time to prepare your cake pans. Since this batter is so wet, you'll want to spray your pans with nonstick spray, lay down some parchment paper, and spray the tops of the parchment paper with some more nonstick spray. This cake, as you can tell, will make a 3 layer cake; my pans are 8". I have had these pans forever! I think I may have gotten them at a garage sale a million years ago....


Once your dry ingredients have been thoroughly mixed together, add in your eggs, buttermilk, lavender water and butter. Mix until this just comes together, and be aware, this batter will pour out like water. I was pretty convinced that this cake wouldn't set up in the oven, but it turns out perfectly! Don't worry, that's how its supposed to work!


To test for doneness, insert a toothpick into the center of a cake, and if it comes out clean, it is finished cooking. This means, if you pull it out, and there are a few crumbs attached to it, that's fine, if you pull it out and there is batter clinging to it, it needs to go back in. Anther good way to tell if it is finished cooking, is if the sides of the cake has pulled away from the pan, like in the picture below here.


Once your cakes are finished baking, place them, in their pans, on a cooling rack, and cool for about 10 minutes. Then, flip the cake out onto your hand, peel off the parchment paper, and place them back onto the cooling rack, to cool completely. This is the same method that I use when I make my Nana's coconut cake, but you have to be careful, since the cakes are still really hot!


The Earl Grey buttercream frosting goes beautifully with this cake, although the cream cheese frosting would be lovely with this, as well!


Make sure to tune in again on Thursday to see how to make this luscious buttercream frosting!

No comments:
Post a Comment