
This is my Nana's carrot cake. I know that carrot cake isn't a cake that one normally would think of, when you think of a birthday cake. Chocolate cake is probably what would first come to mind, however this cake is so good, that it is the one that is most often requested for birthday cakes in our family! And, as long as we're being honest, since it has 2 whole cups of shredded carrots, there has to be a serving of vegetables in each slice, right? ...right?
Here's your grocery list for this cake, so this can be a go-to for your family, too!

For the cake:
2 tsp baking soda
2 C self rising flour (or, if you only have all purpose flour, simply sift 2 cups all purpose flour with 2 1/2 tsp baking powder and 1/2 tsp salt)
1 1/2 C granulated sugar
1 tsp cinnamon
3/4 C vegetable oil
4 eggs
2 C grated carrots (roughly 5 good sized carrots)
1/2 C buttermilk
For the frosting:
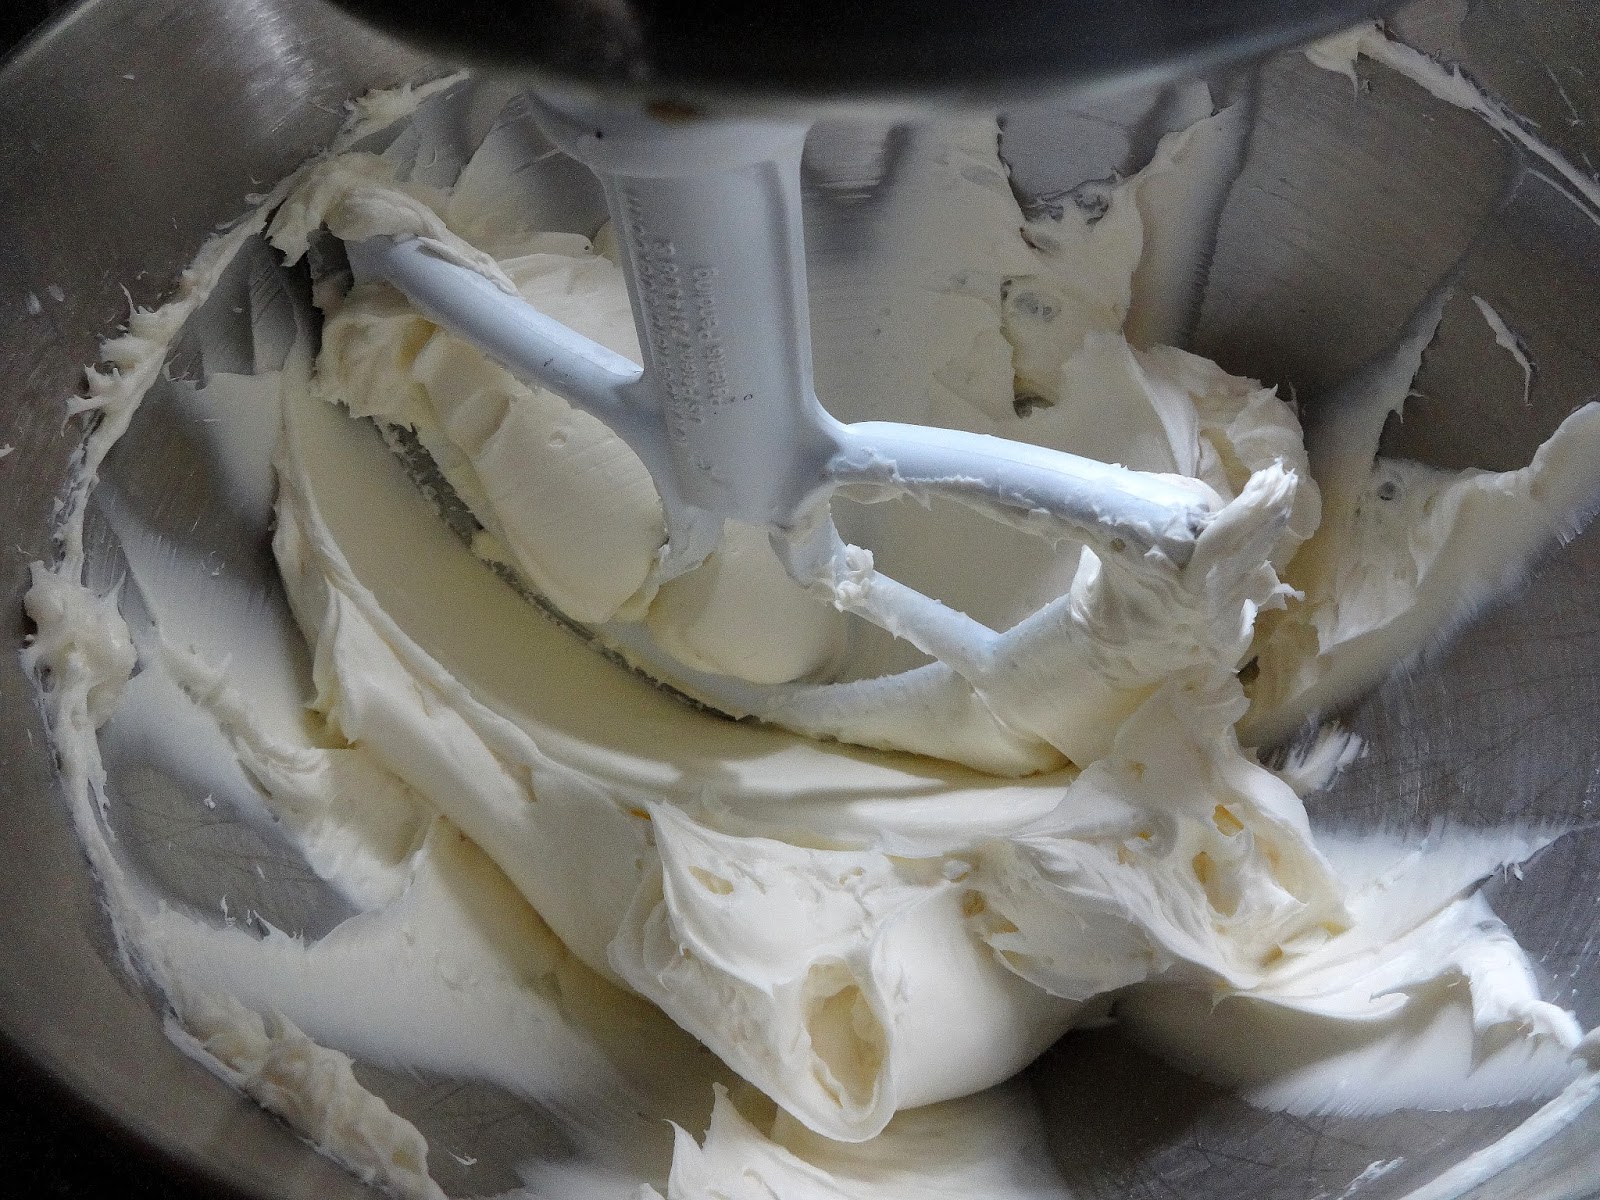
3 (8 oz) packages of cream cheese, softened
1 stick of unsalted butter, softened
4 cups of powdered sugar (or confectionery sugar)
1 C shredded coconut
1 C chopped pecans (optional) (or nut of your choice; I'm in the South, so pecans are my nut of choice)
Today, I have decided to not use nuts in my frosting, but they are a really nice addition!
This frosting makes enough to generously frost a 3 layer cake, with a little left over!
First, as always, preheat the oven to 350*, then peel and trim your carrots (cut the tops and bottoms off). I shred mine in my food processor, but before I had one of those, I just shredded my carrots by hand on a box grater. My knuckles are so happy that I finally broke down and got a food processor!


If you end up with a little extra, that's okay! A bit more carrots never hurt anything!


I always love how sifted flour looks; it looks like a white sand dune! Anyway, this is the flour, baking soda and cinnamon all sifted together, and set aside.


 Add in the shredded carrots, and again, mix until just combined.
Once everything is combined, prepare three 9 inch cake pans, by either greasing and flouring, or laying parchment paper on the bottoms of the pans, and greasing the sides. I prefer the parchment trick, and spray the bottoms with nonstick spray, lay the parchment paper down (the spray keeps the paper from curling right back up), then spray the tops of the paper and sides of the pan. I have never had a problem with getting my baked goods out, with this method. If you don't have three cake pans, you can, of course, just use the one or two you have and bake in batches, no problem! Just make sure the pan has cooled completely before refilling.

After baking for 20 minutes, pull your cakes out and check them with the toothpick method (stick a toothpick straight down and up in the middle of your cake. If it comes out clean, it has baked all of the way through. If not, back into the oven it goes!); another pretty accurate indicator is if the cake has pulled away from the side of the pan, like in the picture here.


Let the cakes cool, in the pan, for roughly 3 minutes. Then, carefully flip the cake out onto your hand (just be aware, the cake will still be very hot), peel off the parchment paper (if used), place the cooling rack on top of the cake, and flip back over, so that the bottom of the cake is on the cooling rack. Let the cakes cool completely before attempting any sort of frosting. I usually bake my cakes first thing in the morning, and frost in the late afternoon.
At this point, you can absolutely go with a store bought frosting and be done! However, this homemade frosting is so easy to make, why not go all in and whip some up?


I just happen to have a cake leveler (not sure if that's what its really called, but that's what I call it!), but a serrated knife would work just as well!


Next, put the next layer of the cake on top of the first. I like to flip my second layer over, so that the two tops of the cakes are facing each other. This way, you're sure to have a level top, because the frosting helps to compensate for any imperfections in leveling the tops of the cakes. Continue with squeezing the frosting on top of this layer (refilling the bag as you need to), and place the third layer on top.

After the top layer is put on, squeeze more frosting on top, like you did between the layers, and smooth the top, and then down the sides of the cake, taking directly from the bowl as you need more.


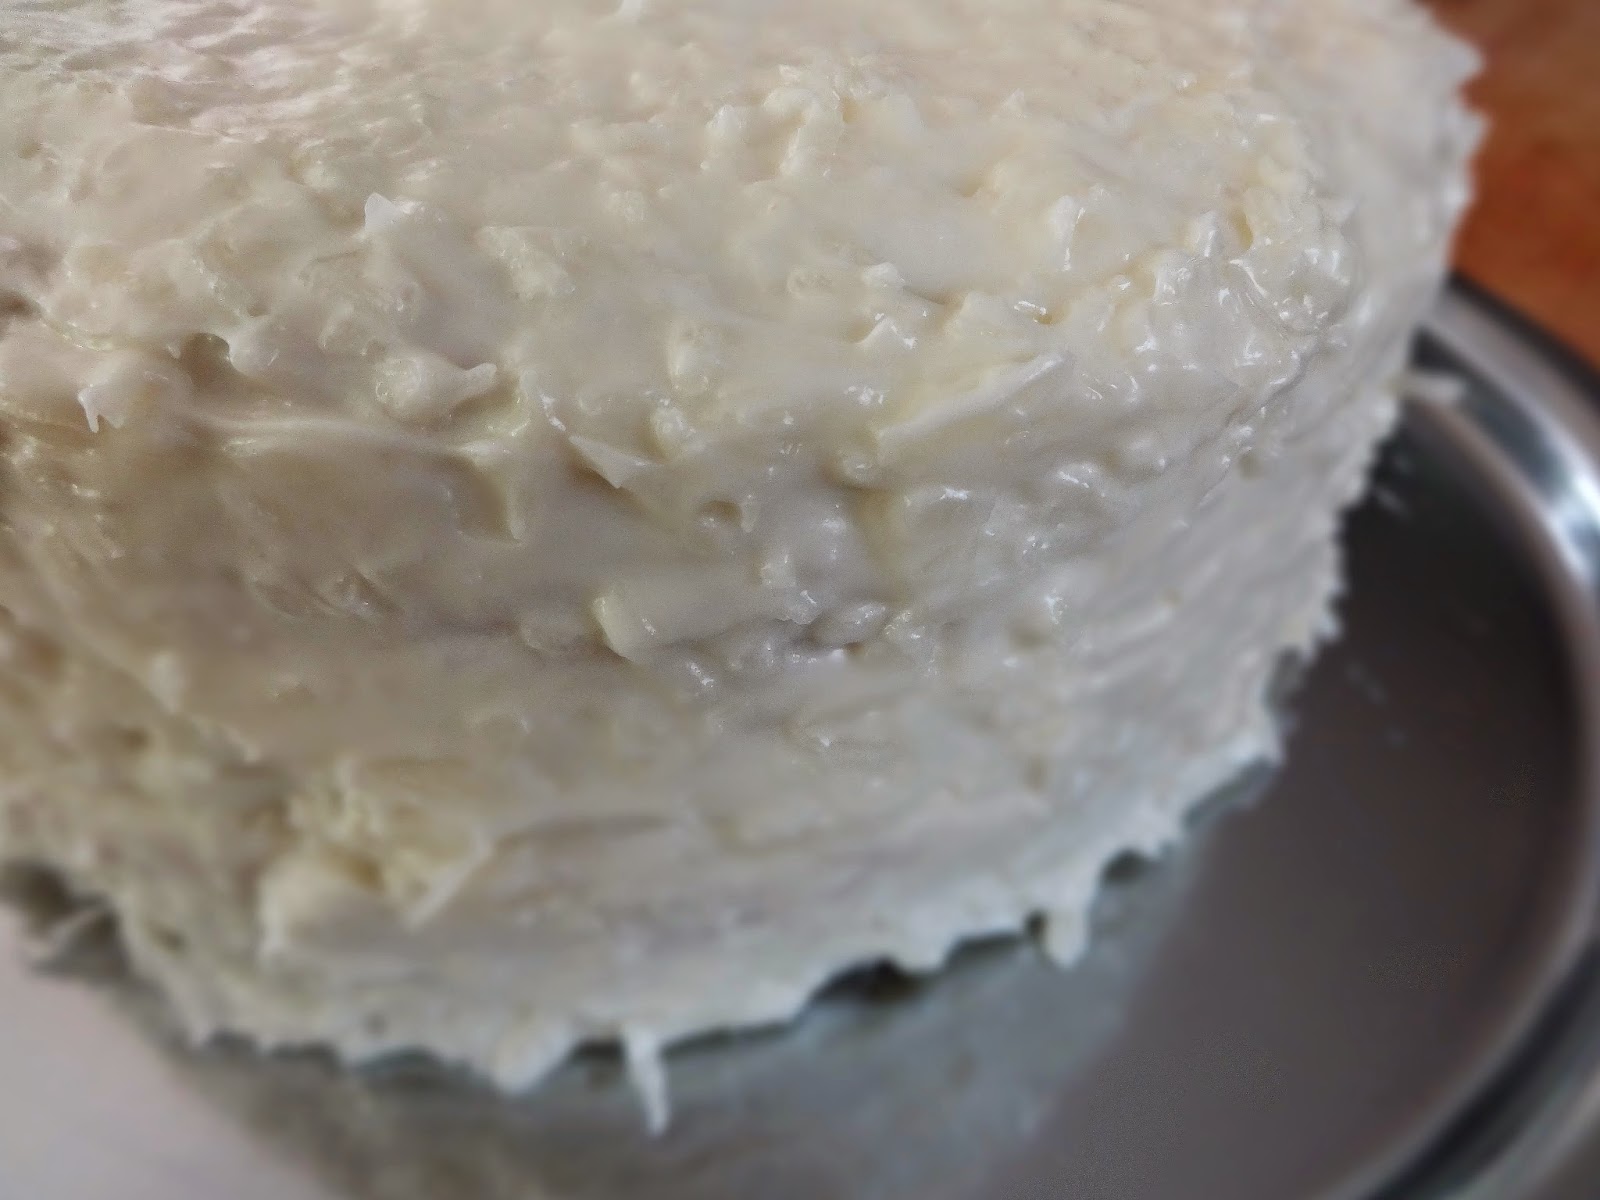
Isn't that beautiful?? And, honestly, it couldn't be easier!


I just wanted to end this blog post, by wishing my sister a very happy birthday! I wish I could be there to help you celebrate, but don't worry, I'll have a piece (or two...) of cake to celebrate in spirit!
Well, it’s 100 years later and my birthday again. Thanks! I made Nana’s cake for my daughter today. 🥰
ReplyDelete