

When my daughter turned 1, we threw a pretty big milk and cookies themed party for her, and I played with fondant for the first time. It was.....okay. The fondant rolled out easily; I put it through my pasta rollers to get it thin, because it was too firm to try and roll out with a rolling pin. I couldn't easily color it, so my husband helped out and colored each number "1" and adhered each number to the base for me, with a little bit of water. It wasn't a lot of work, but it was more complicated than it needed to be. That being said, the cookies turned out pretty cute, although they ended up being more for display than eating. Probably for the best, though, because the store bought fondant I used didn't taste very good. If only I had known how easy it is to make your own, and how much better it tastes!


Here's your grocery list for this fondant:
2 lbs. sifted powdered sugar
1 lb bag of mini marshmallows (the cheapest brand you can find)
2 TBS water
1/2 C shortening
1.25 lb box of Wilton's fondant*
Extra powdered sugar for kneading
*Yes. Yes. I know. However, the store bought fondant doesn't add any flavor to this recipe, it just adds stability. You can buy this at craft stores (although I got mine at Wal-Mart), and use the 40% off coupon that most craft stores offer, and get it for next to nothing!
Alrighty, that being said, lets get started, shall we? I couldn't find a 1 lb bag of mini marshmallows, my grocery store offered 12.5 ounce bags, and I'm too lazy to buy two bags, so I just bought a bag of regular sized marshmallows, and cut then down into quarters. This worked out really well for me. Once your marshmallows are ready, put them into a microwave safe bowl, and microwave at 30 second intervals until they are puffed up and fluffy.


Getting there....let's just go back in for another minute.....

Perfect!

Now then, add in your water, as this will help the marshmallows slide out of the bowl, and into your mixer, that just happens to have the dough hook attached. Amazing how that happens, isn't it?? Once you have your marshmallows in the bowl, go on and add the shortening.

In recipes like this, it is so important to sift your powdered sugar. You do not want these little clumps of sugar trying to mix into your smooth fondant!

Okay, once your sugar is all sifted, start adding it in, one cup at a time, with your mixer running on low. If you want to add in a color to your fondant, now is the time to add it in. I put in about a teaspoon of a blue gel food coloring; I prefer gel to liquid food coloring, because the liquid drops could easily throw off the consistency of fondant. Gel food coloring comes in several colors, and is a lot more intense than its liquid counterparts, and is readily available in craft stores and Wal-mart. I usually buy mine at Wal-mart, for less than $2, and they last forever.


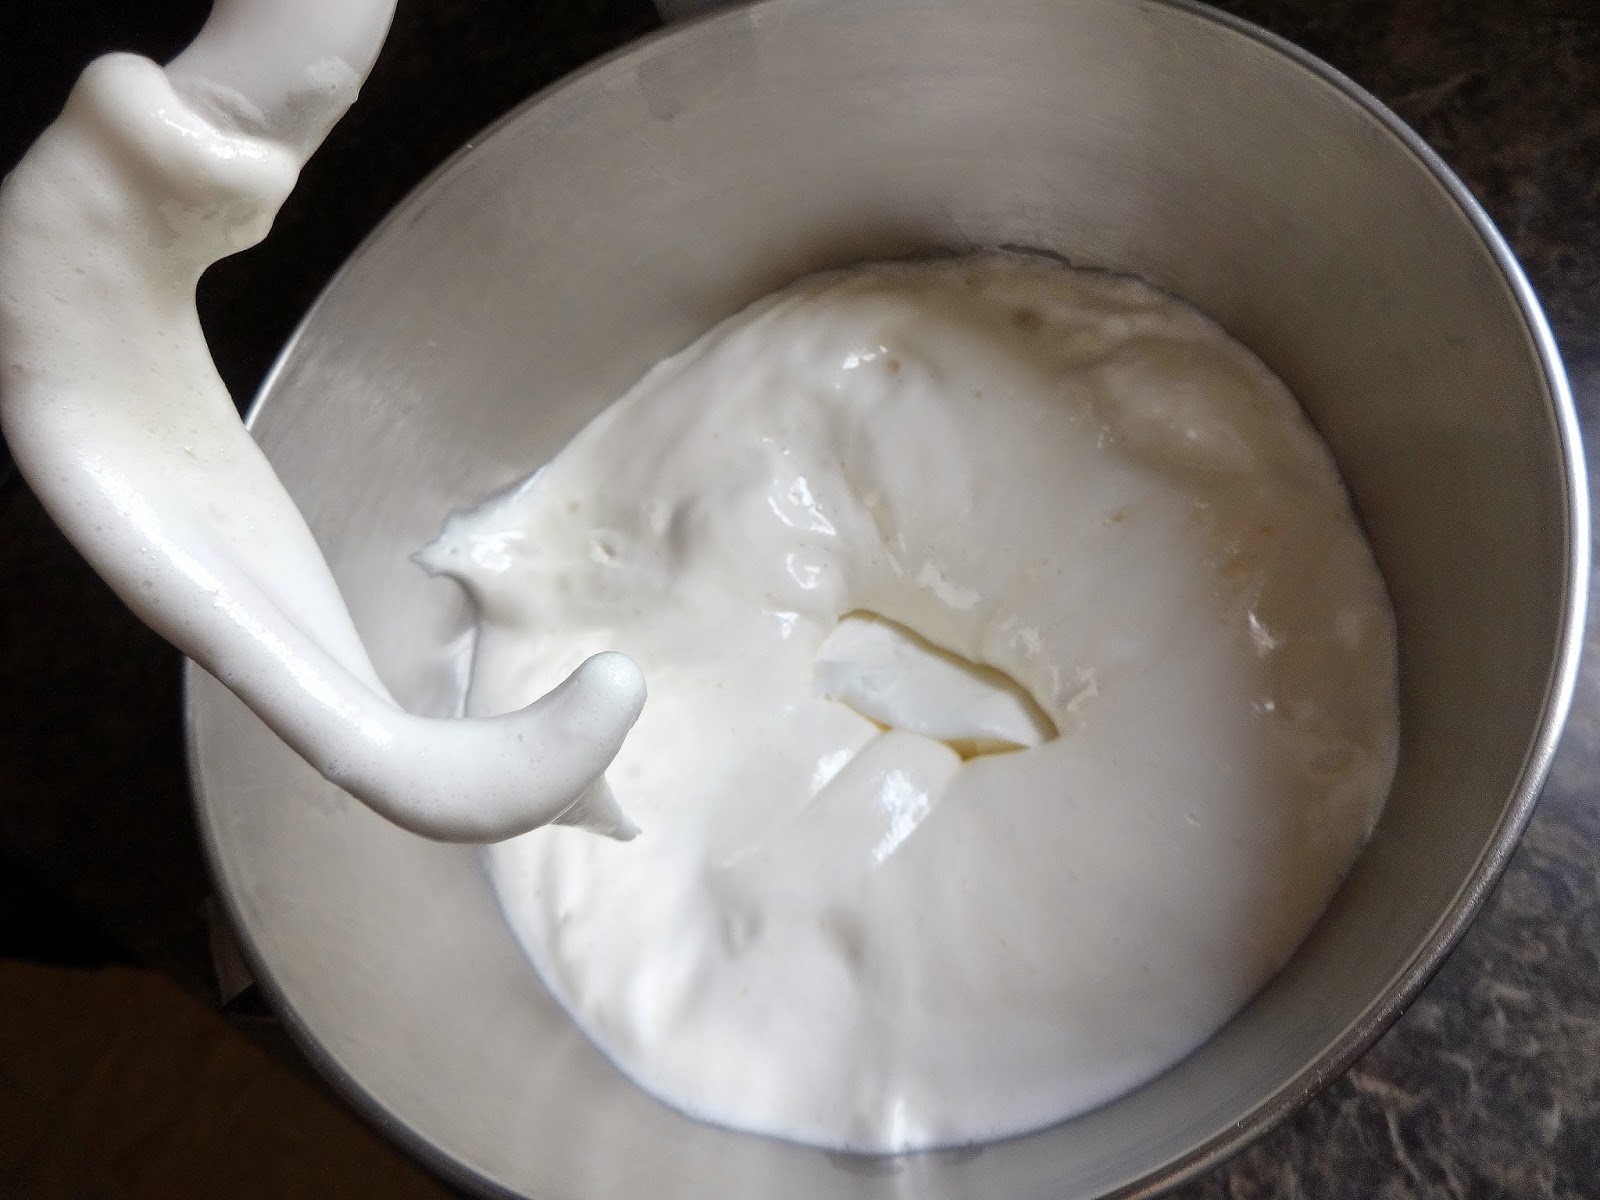
Now then, your fondant will come together fairly quickly, once it starts to ball together, it may look ready to come out, but it will probably still be sticky. In this picture, it is too sticky to come out, so I added another cup of sugar, and that turned out perfectly. You want your fondant to be tacky, but not so sticky that its coming off in clumps, like in this picture:

You can see here that the dough hook pulls out easily, with minimal sticking. This is now ready to move to the bowl that you had your powdered sugar in. You may not use all of the 2 lbs of powdered sugar, and that's okay. Just mix it in until you get to this point. You can use the leftover sugar to dust your rolling surface with.


This fondant will easily come out of your mixing bowl easily, with little left behind.

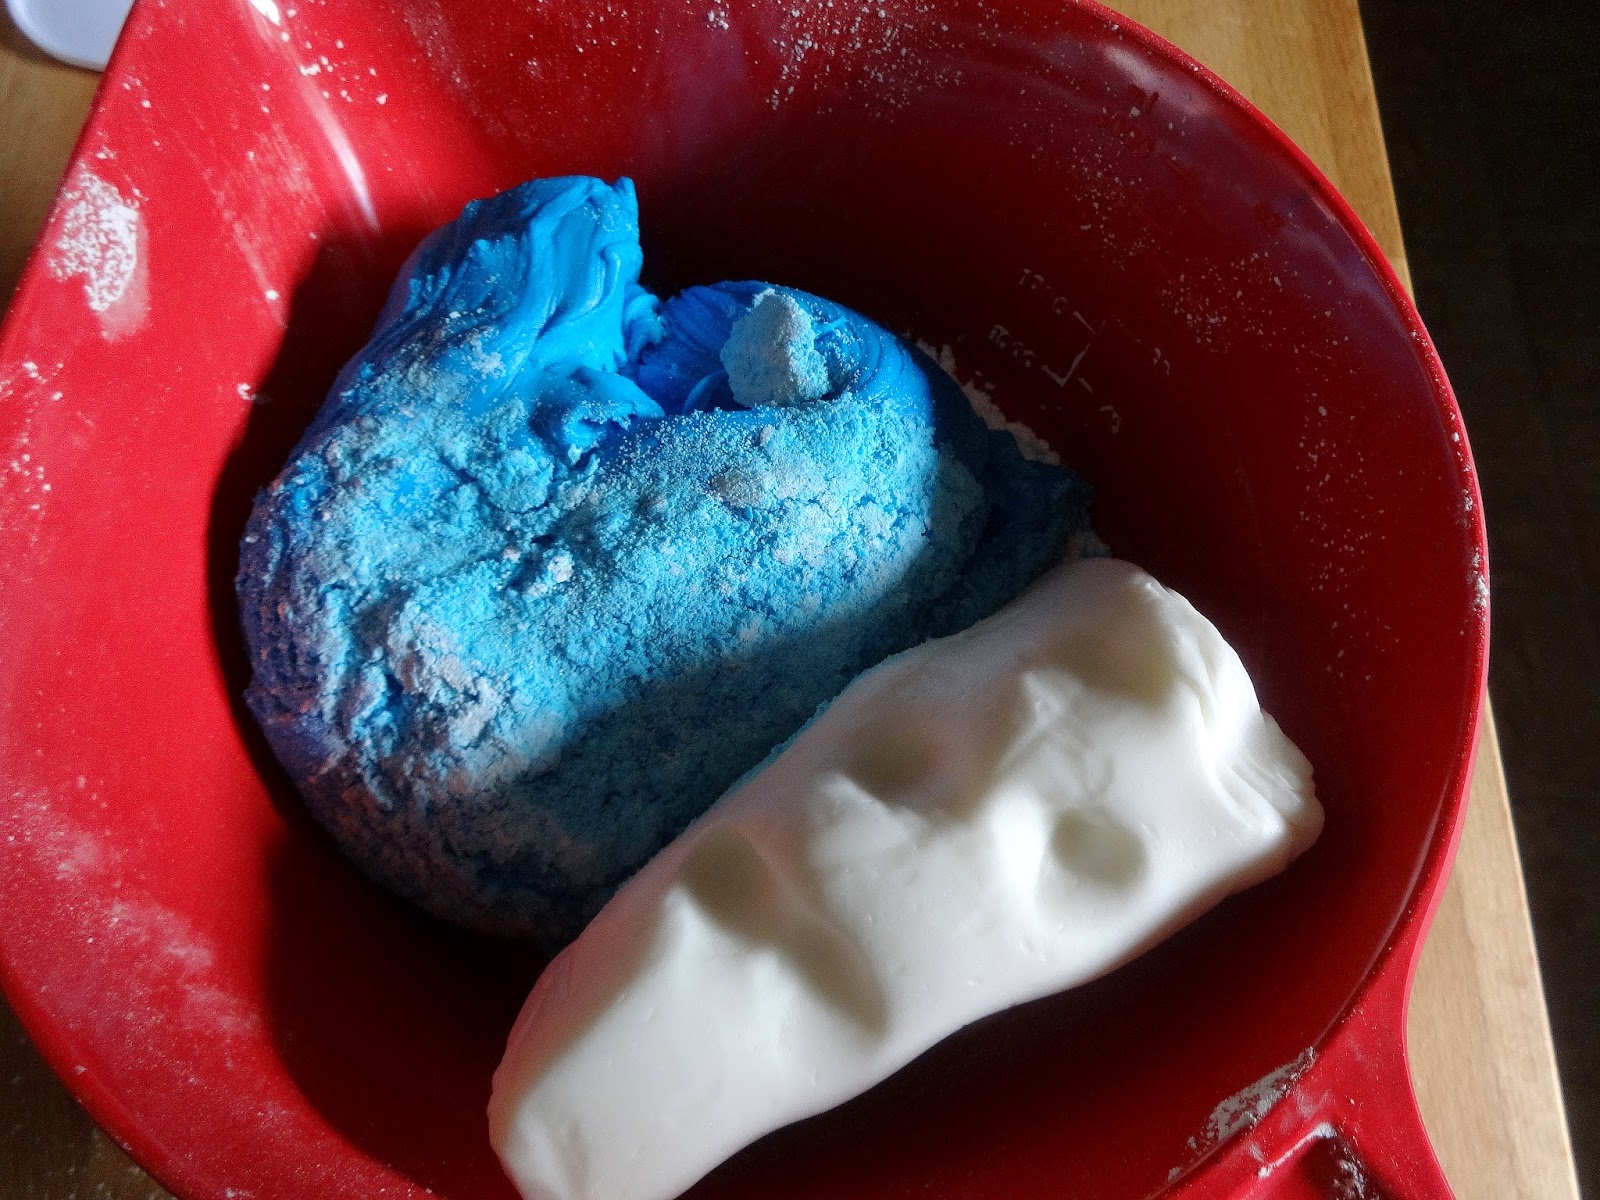
Once your fondant is ready, put the Wilsons fondant on a microwave safe plate, and pop it into the microwave for 30 seconds, just to soften it up. Once you have it has been slightly warmed and softened, knead it together with your fondant. This took just a couple of minutes, until I had a smooth, united fondant, with a solid blue color.

Once the store bought fondant has been mixed in with your homemade fondant, move it to your smooth surface that has been dusted with some of the remaining powdered sugar. It will still be slightly warm, due to the microwaved store bought fondant, and will roll out perfectly. I used about half of this to cover my cake. I actually had to roll this out twice. The first time I rolled it out, I didn't have enough powdered sugar under my fondant, and it stuck to my counter top. No worries, I just pulled it all up, sprinkled more powdered sugar down, and rolled it out again. It rolled out just as perfectly the second time, too! Now then, to see how large of a piece of rolled out fondant you need, measure how high your cake is, multiply that by 2, and add the surface area of your cake. Sounds complicated, but its not, I promise. I had an 8 inch cake, that measured 3.5 inches on one side, and 3.5 inches directly across on the other side, top to bottom. 3.5 + 3.5 = 7, 7+8= 15, so I needed a piece of fondant that measured out to 15 inches across. I rolled mine out to 18 inches across, just to make sure everything was covered, with no problems. Its always easier to cut the extras off, instead of coming up short, right?


So, now you're ready to pull out your cake, which has been sitting overnight in your fridge, covered with a buttercream frosting. Once I pulled mine out, I saw how....un-smooth my cake was, and worried that it would show through with my fondant. Oh well, in for a penny, in for a pound. I figured I'd give it a shot, and see what happens.


Pick up your fondant, and drape it down over your cake. Using your hands, gently smooth the sides of your fondant down the cake, pulling the fondant out as you need to. This smooths out very easily, with no fuss, no muss. Once you're happy with how your fondant has smoothed over your cake, start gently pressing it into the buttercream frosting.

After it has been pressed against your cake, cut the excess off of your cake, and do a happy dance at how easy this has been! I know I did! I used a fondant smoother (also purchased at Wal-mart for a couple of dollars), and easily smoothed out even more.

All smoothed out!

However, I had a wrinkle that I couldn't smooth out, so I eyeballed the fondant that I cut off, dug around in my kitchen utensil drawer, and found a star cookie cutter. I rolled the fondant out thin again, and cut out lots of stars. Fondant easily glues to itself using just a little bit of water, that you can apply with your fingers. Be careful not to get water where you don't want to glue, because it does affect the color of the fondant, but just on the sides that you glue together.


How cute are these little stars? If I'd thought about it to begin with, I would have made some fondant in a different color, or maybe just left some white, so it wouldn't be blue on blue, but whatever. I was making this cake for myself, and I like blue!


No comments:
Post a Comment