
Once I got them home, I was looking at them, trying to figure out what I was going to do with them. As I looked at them, I noticed how they are shaped. A cup. It is perfect for baking an egg in! Of course! I as instantly super excited about this, and the idea just ballooned into an omelet baked in a portobello mushroom cap! What a great lunch (or brunch or breakfast!)! So, enough chit chat, lets get started!

Here's your grocery list for today:
2 Portobello mushroom caps
2 Portobello mushroom caps
2 Eggs (I used just the egg whites)
Diced tomatoes
Handfull of spinach
1 TBS shredded cheese
Kosher salt
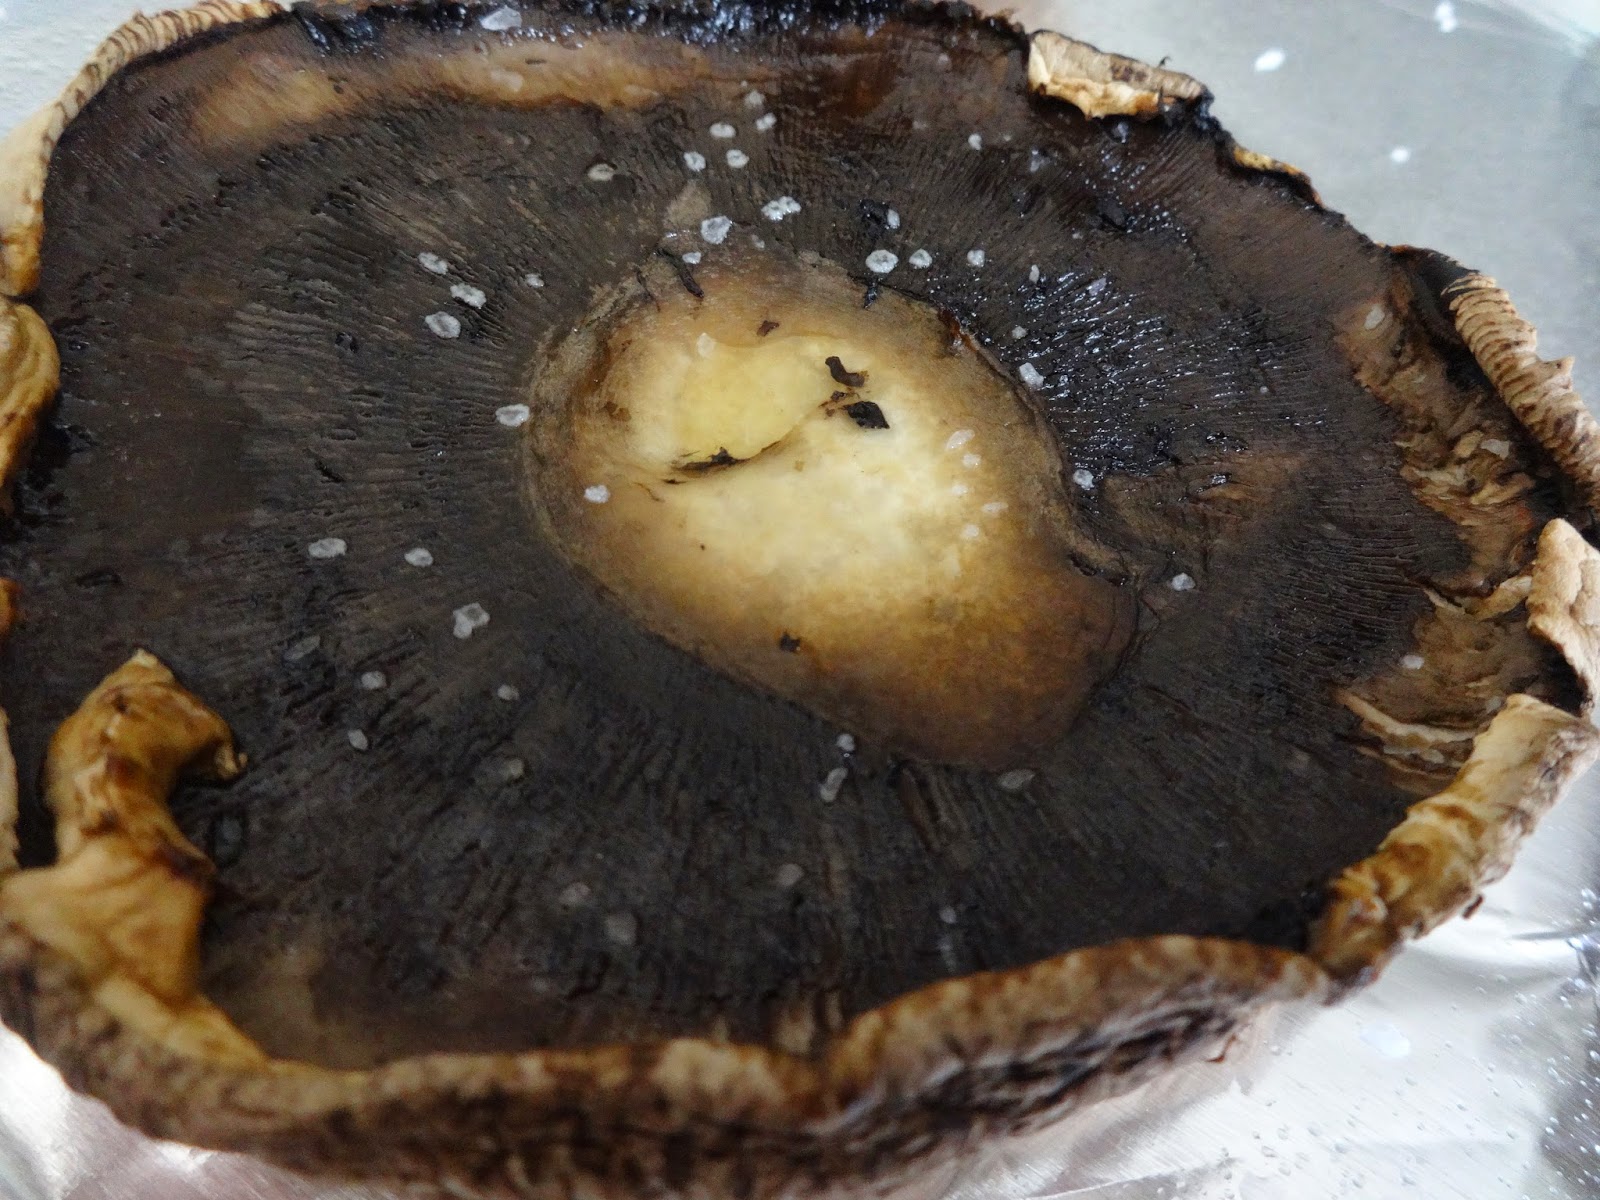
So, to start off with, wipe down your mushroom caps with a damp paper towel (don't wash them under running water, as they can absorb the water, and turn really rubbery when you cook them. Not tasty.), then scrape the gills of the mushrooms out with a spoon. They are really easy to remove, and don't need a lot of pressure.


Once you have the gills removed, place the mushroom caps on a baking sheet that has been lined with aluminum foil and sprayed with a nonstick spray. Sprinkle the caps with some Kosher salt, make sure that your shelf is in the middle of the oven, and slide them in, under the broiler, for about 5 minutes, just to soften them up.


While the mushroom caps are in the oven, get whatever ingredients you'd like to have in your "omelet"; I opted for spinach and tomatoes today, but diced turkey/ham, bacon and any other options would be great in this, too! So, I chopped up my spinach, tomatoes, and separated my egg whites from the egg yolks (I don't like the yolks, but feel free to leave them in if you like them!)


Once your mushroom caps have been in for five minutes, pull them out and look at the lip of the cap. Turn the oven to 400*, and turn your attention back to the mushroom caps. You can see where there are a few places where the eggs would over the edges, so I just used some of the tomato pieces to dam up the edges, to keep my eggs in. I didn't think about this at first, and my first egg white ran out and over the lip of the mushroom cap. So, yes, I needed to seal up the sides of the mushroom cap. However, this solution worked beautifully, so no worries!

Now that that problem has been fixed, put your toppings on top of your eggs, sprinkle with your cheese of choice, and bake in the oven for 15 minutes, or until the eggs are cooked through.


After 15 minutes, pull your mushroom caps out, and viola! Your meal is ready! Sprinkle with a little more salt, if needed, and devour! These are amazing!


I did have a few friends mention that they don't care for mushrooms, and what could they use in place of the mushroom caps. One of them asked if they could use a bell pepper, and I think that would be a great idea! I would cut it in half, clean the seeds out, and broil it for about 10-15 minutes, depending on how much crunch you wanted left in your pepper.
What other vegetables would you use in place of mushrooms?
No comments:
Post a Comment