
Hi, everyone! Happy Thursday! I'm sorry that this is a little bit later today than usual; my daughter has had a cold going on for awhile, and thought it would be a good idea to share it with me! Sharing is caring, right?
For this month's cookie of the month, I figured we'd kick off the summer with a cute little watermelon cookie. This is just a sugar cookie that looks like a watermelon slice, it isn't flavored like watermelon (although that would be awesome!).
Nothing says summer in our house, like a nice fresh of watermelon; it is one of my husband and daughters favorites! I like it, too, but the others in my house like it cold, and I prefer it room temperature, so unless I snag some as its being cut up, I'm not likely to get any!However, eating it in cookie form works out nicely, although fresh fruit is always preferable, this is a cute substitute!
There are a couple of things I would do differently next time I make these (because my daughter has already requested I made these again), but I'll get into that as we go over this recipe! Lets get started!

Here's your grocery list for this one:
1 1/2 sticks of unsalted butter (3/4 C), softened
3/4 C granulated sugar
1 egg
1/2 tsp vanilla extract (clear vanilla extract)
2 C all purpose flour
1/4 tsp baking powder
1/8 tsp kosher salt (or, just a pinch)
Red and green food coloring
1/3 C of raisins, chopped*
1 tsp sesame seeds
My daughter was looking over my shoulder as I was just pursuing Pinterest, and she saw the picture of these cookies (you can find the original post here), and she insisted we make them right away! She loves to help me in the kitchen, so I was excited to get these going!
To start off with, you'll need to put the softened butter into the bowl of your mixer. Here's a fun tip, if you're as bad as I am about remembering to take your butter out to soften, you can just cut it up into pats, and lay them on a paper towel for about 20-30 minutes. The butter will soften much faster this way, and you'll be on your way that much sooner to cookie goodness. As you can see here, I forgot to let my butter soften, so I had to use the cut it up option...


Cream the butter and sugar, until they are light and fluffy, then mix in the clear vanilla extract (you can find this at most craft stores, or even Wal-Mart); honestly, at this point, you can add in any extract flavoring you want. The original recipe called for almond extract, because it adds flavoring and it is clear.


While this is all creaming together, mix together the flour, baking powder and salt in a glass bowl.


Your butter, sugar, egg and extract mixture will be a lovely yellow color when it is ready for the flour mixture to be added in. With your mixer running on low, add in the flour carefully, and mix until the dough comes together, it won't take long.


Once your dough has formed, take out about 1 C worth of dough, set that aside, and using about 1 tsp of red gel food coloring, dye the rest of the dough in your mixing bowl red. The next time I make these, I will add in the chopped raisins or some miniature chocolate chips directly into this dough. These make up the black seeds that you find in watermelon slices, so this would look great in the final cookie, and be easier than trying to press them into the fresh out of the oven cookies, like I did a little bit later on.


This red gel coloring really makes the red look like a watermelon red. You'll want to make sure that the food coloring is will mixed throughout.

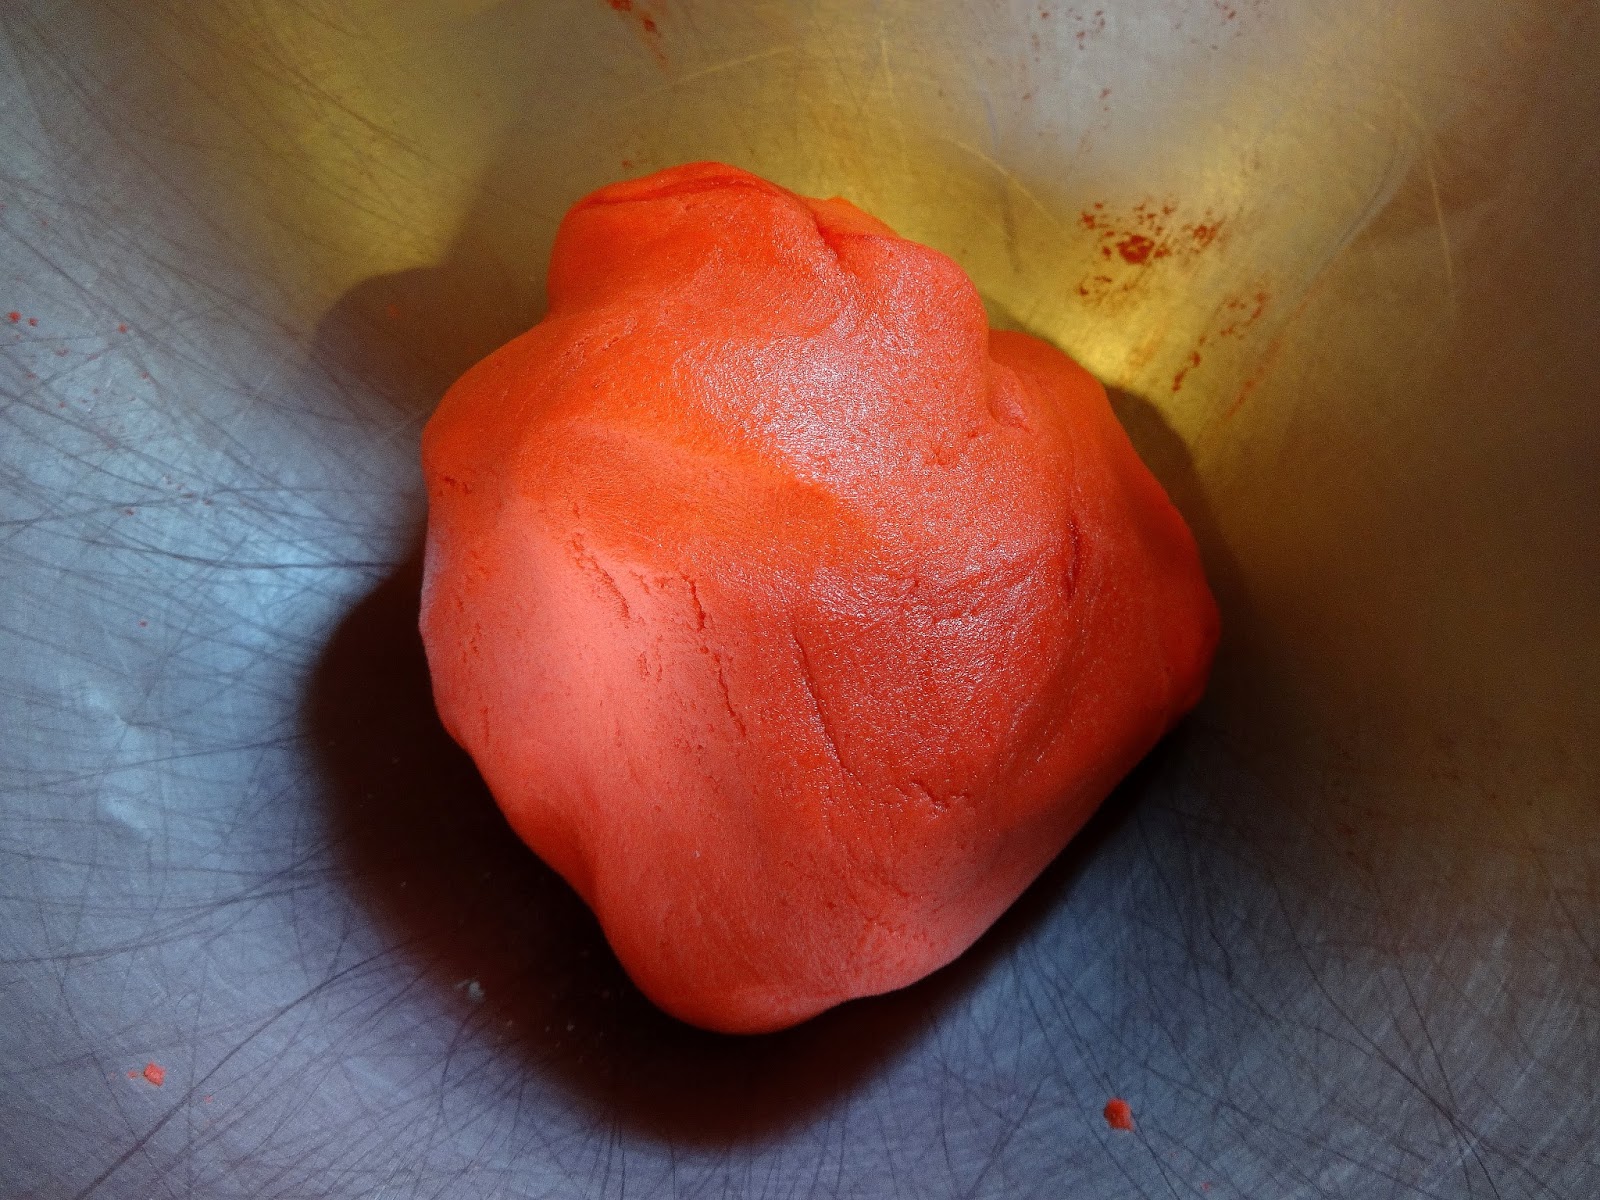
Once your red dough is ready, roll it into a long, roughly 3.5-4" long, wrap it in plastic wrap and pop it into the fridge to rest for about 2 hours. Take 1/3 of the remaining dough, and 1/2 tsp of the green food coloring, mix well, again, making sure that the food coloring is evenly mixed through the dough.


Wrap your green dough and the remaining dough up in plastic wrap, and put them into the fridge, too, for at least 2 hours.


After your doughs have rested, pull out the white one, and on a lightly floured work surface, roll it out to a roughly 4"x8.5" rectangle. It doesn't have to be exact, just roughly.


Once your dough has been rolled out (be sure to move the dough often, because you don't want to start rolling this up and find the white dough is stuck to your work surface), place the red dough on top of the plain white dough, and carefully roll the white dough up and over the red dough, covering it completely.
My dough stuck a bit, and it tore, but that was okay, I just rolled the rest up and over the red dough, then pinched the white dough around the red, and rolled the dough log over and over, until it has smoothed out. This way, you won't have any air pockets in your watermelon slices later.


See? A beautiful dough log at the end of it. I don't worry about the ends overly much, since they can easily be sliced off later. Now that your red dough is covered, roll out your green dough to about 4'x10", and again, roll the green dough up and over the white dough. As you're rolling it out, keep in mind that you'll want to move the dough often, so that it doesn't stick to the work surface. For some reason, my green dough gave me a lot of trouble, so I had to use the pinch together method again. It was frustrating at the time, but it worked out beautifully in the end.


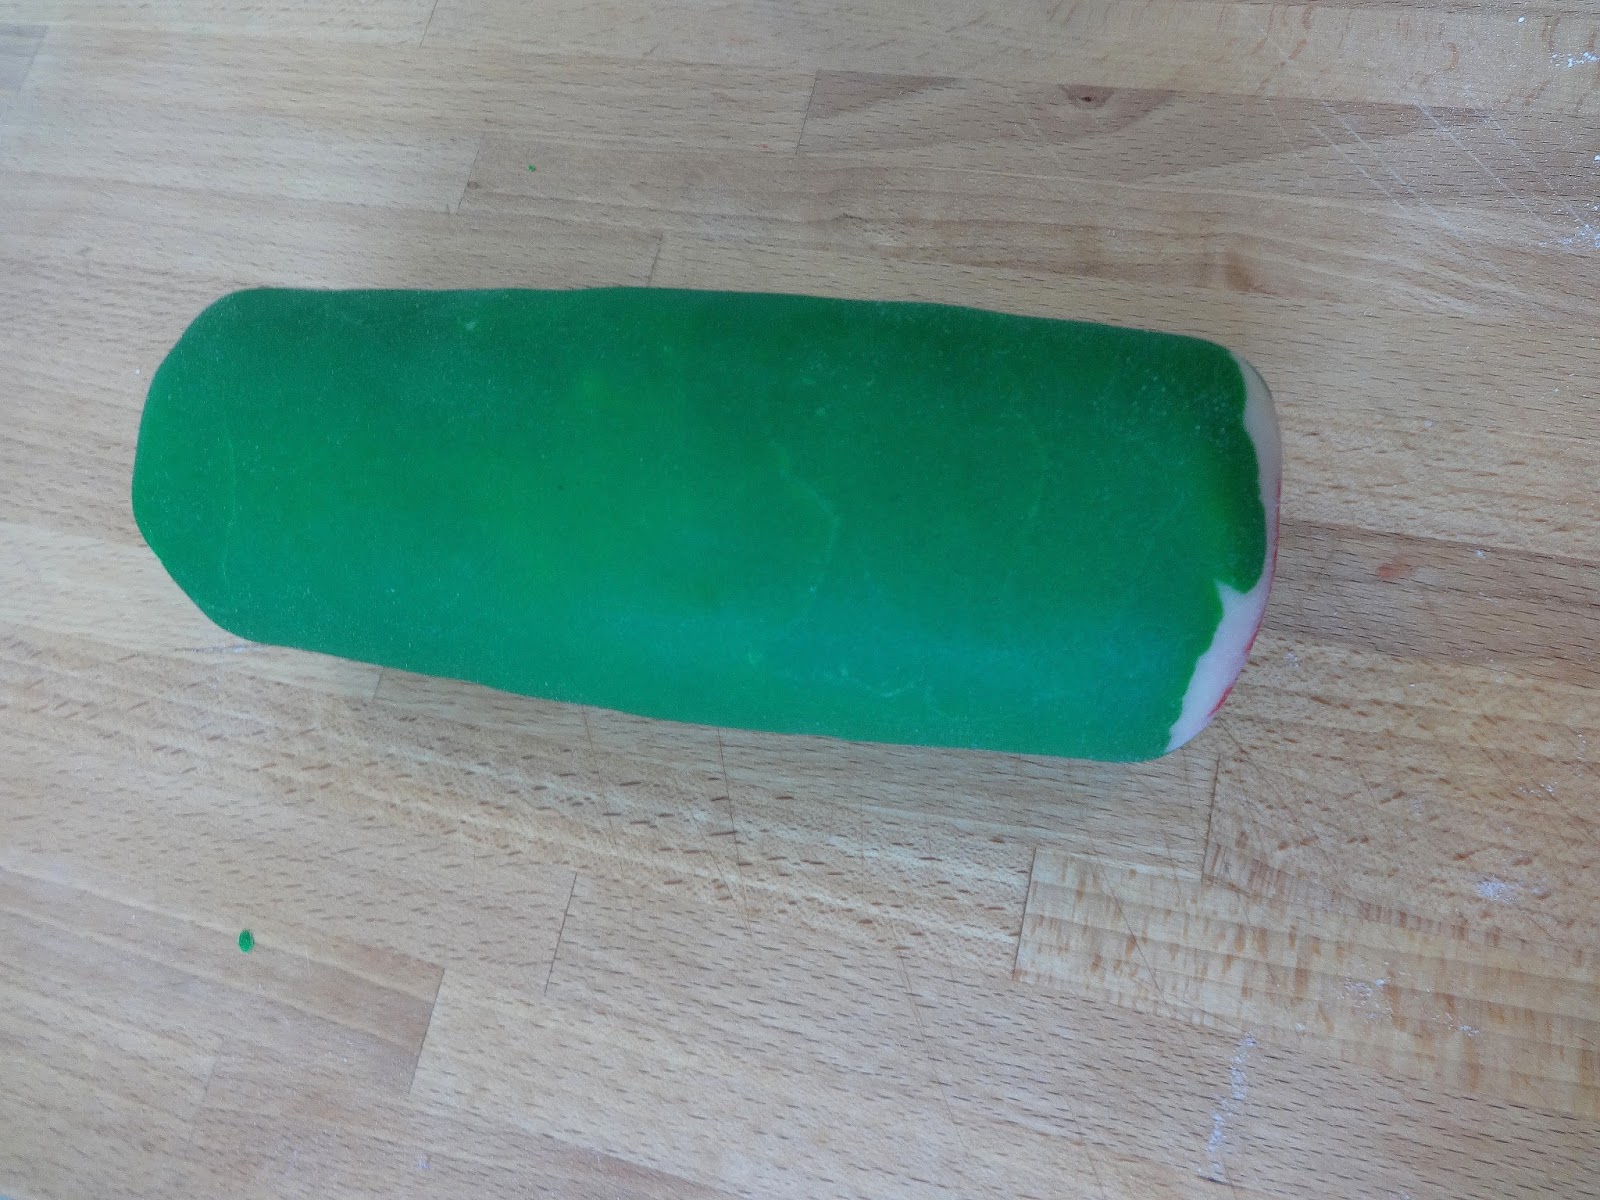
Again, because the pinching of the dough can make it look a little rough, I rolled and rolled the dough log once I had it all covered in green, to smooth it out, and it worked perfectly. Once you have your dough log all covered, and smoothed out, wrap it in plastic, and pop it into the fridge for at least 5 hours, or overnight.


Once your dough has rested, preheat your oven to 350*, and slice the dough logs into 1/4" slices, then cut them in half.


How cute are these?! See, if you had mixed the chopped raisins into the red dough earlier, it would look perfectly natural. Lay your cookie halves onto a parchment paper lined cookie sheet, and bake them for 10-15 minutes. I slightly over baked mine, so while they still tasted good, the chopped raisins and sesame seeds didn't really sink into the dough all that much.


I chopped my raisins into quarters, but even that I think may have been a little bit too big, but it certainly gets the point across, and is still adorable.


Here are the cookies fresh out of the oven, and while they are still hot, press the raisins (or mini chocolate chips) and sesame seeds into the red part of the cookies. If you don't feel like going that extra step, these are still so cute just as is!


No comments:
Post a Comment