
I may have mentioned before that I love to bake, but some of my favorite desserts don't require baking at all. Well, I say at all...there is a little baking, because this is a homemade pie crust, but if you use a store-bought pie crust, then its no bake! However, since I enjoy baking, I wanted to make my own pie crust, and believe me, this recipe is so easy, and the crust is tender and flaky, everything a pie crust should be!
This pie is perfect, it is smooth and creamy, with a lovely lemon-y kick at the end. I call this my "surprise" lemon pie, because while most recipes call for sour cream, I use plain Greek yogurt. I don't even use sour cream anymore, just use plain Greek yogurt as a 1 to 1 swap out. This way, I don't feel so guilty when scarfing this pie!
Here's your grocery list:
For the pie crust:
For the pie crust:
1 TBS Sugar
1/2 tsp Kosher Salt
1/3 C Water
2 sticks Unsalted Butter
1/3 C Water
2 sticks Unsalted Butter
2 1/4 C All purpose flour (plus more for rolling)
For the lemon pie:
1 C granulated (white) sugar
1 C granulated (white) sugar
1/2 C All purpose flour
1/2 tsp salt
2 C milk
1/2 C plain Greek yogurt
3 egg yolks
1/4 c butter
2 lemons, zested and juiced
9" pie shell, baked
Since we'll need the pie crust first, we'll start with making that!
Now, the key to a really good pie crust, is having all of your ingredients cold. Really cold. Put-your-flour-in-the-freezer-for-a-couple-of-hours-before-hand cold. Seriously. What makes the crust flaky is as the crust bakes, the butter melts, the steam evaporates, thus creating little pockets of flaky goodness.
Now, the key to a really good pie crust, is having all of your ingredients cold. Really cold. Put-your-flour-in-the-freezer-for-a-couple-of-hours-before-hand cold. Seriously. What makes the crust flaky is as the crust bakes, the butter melts, the steam evaporates, thus creating little pockets of flaky goodness.
If your ingredients are warm, the butter will be soft, and the pie crust will never reach the flaky goodness that it could be. To keep my ingredients as cold as possible, I like to have everything pre-measured, ready to go, so I can get the dough into the fridge to rest and set up. Here, I have my water (with a few ice cubes, to make sure it stays cold, of course!!), Kosher salt pre-measured, butter cut into cubes, and flour all ready to go!


Here's a very easy way to cube butter: cut the butter in half, horizontally, rotate it 90*, cut it in half horizontally again, then cut it into cubes, by cutting it vertically. This will take just a couple of minutes.


Once your butter is cubed like this, stick it into the freezer for a couple of hours, to make sure this butter is as cold as it can get.

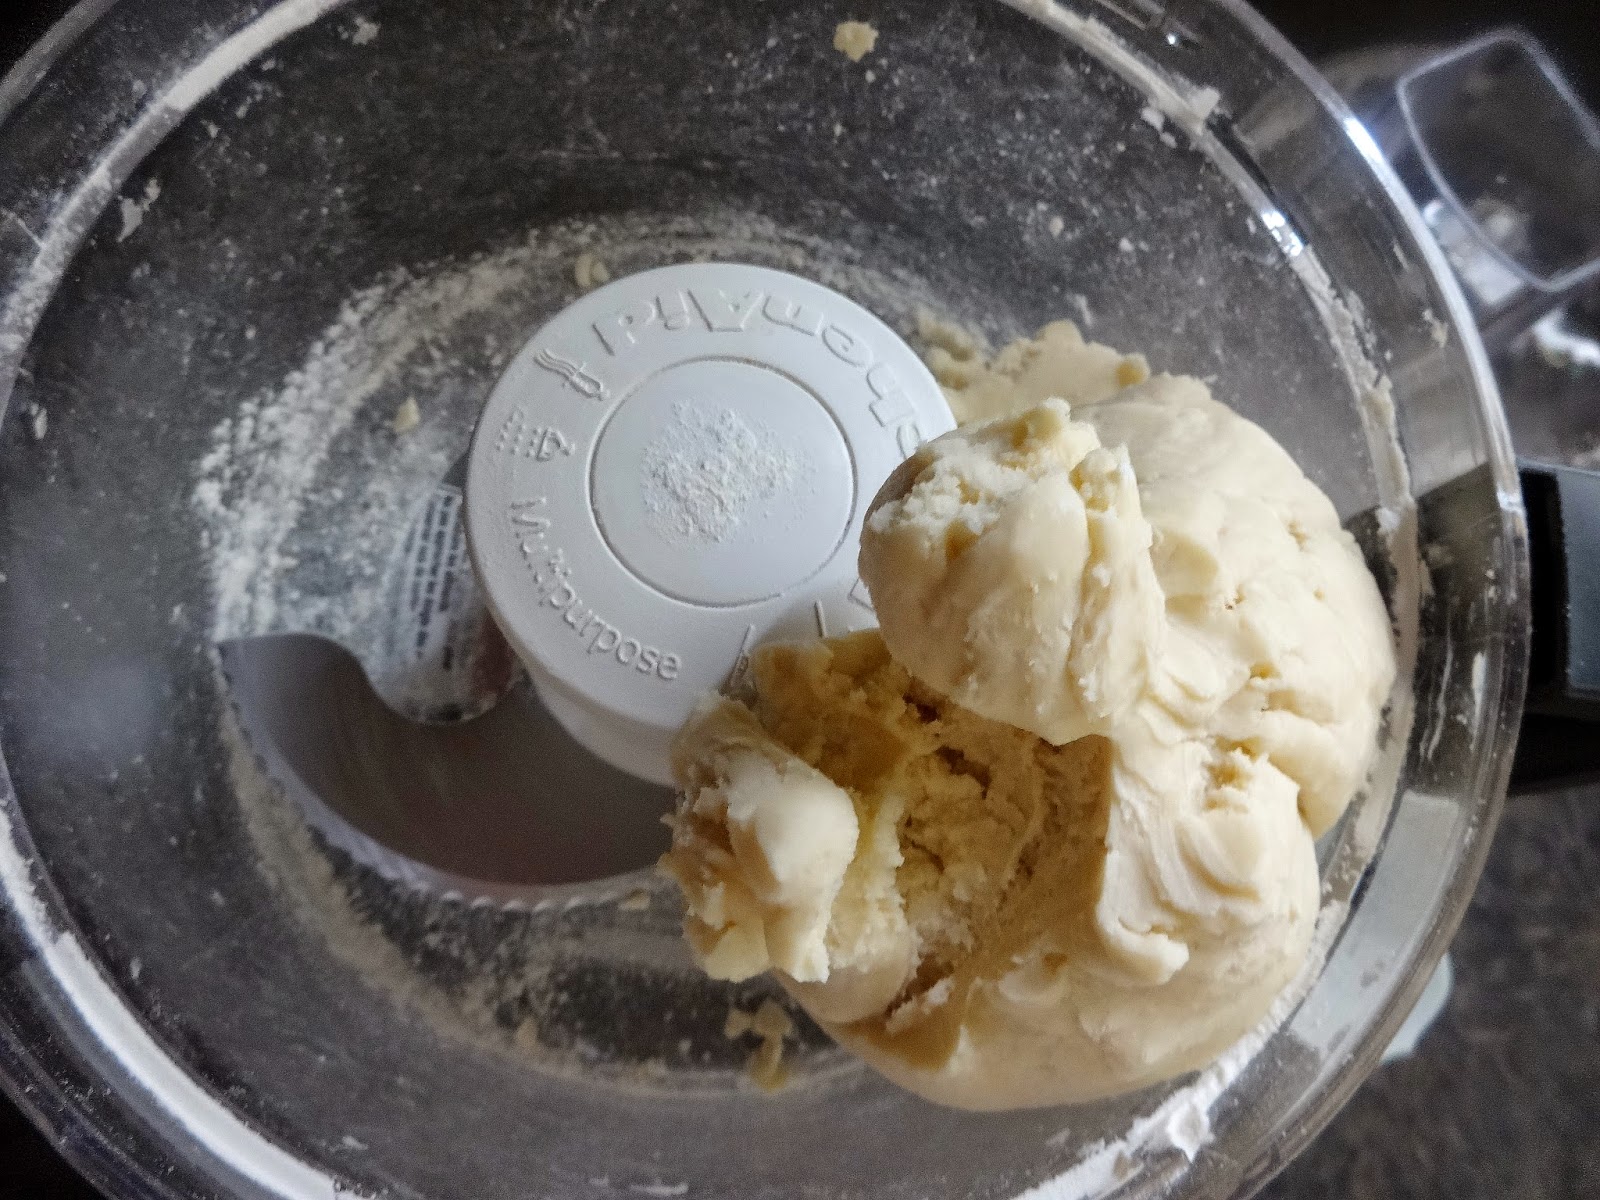
Okay, so your butter is frozen, your water is ice cold, and your flour, salt and sugar have been mixed together, and preferably chilled. Chilling your flour isn't necessary, but it's a nice precaution to take. This dough comes together very quickly in the food possessor. This is a pretty deceptive dough. It looks like its not going to come together...there is no way it's going to come together...oh, look! It came together!
So, if you're starting to loose hope, hang in there! It will come together!

I like to pulse my flour/sugar/salt a few times, to make sure that it is all combined, then add in the butter, and pulse it until the butter cubes have been processed into pea-sized chunks. Some will be a little larger, and some will be a little smaller, that's fine.


This dough makes two crusts, and you only need one for this recipe. You can either store the extra dough in the fridge for up to a week, or store it in the freezer! Once you have cut your dough in half, roll into two balls, and squish them down into two flat disks. Wrap them in a sheet of plastic wrap, and let them rest in the fridge for at least an hour.


After your dough has rested, pull them out of the fridge, and place one disk on a counter that has been lightly floured. Also, don't forget to preheat your oven to 350*, so you can bake your pie crust in a minute! Dust the top of your pie dough, too!


Don't worry about the dough being a perfect circle, with no cracks on the edges. This will sort itself out in a minute! Now then, roll the dough out, moving the dough frequently, to make sure that it doesn't stick to your work surface. Roll the dough out until it is about 1/4" thick.


Once you think you have it rolled out enough, place your pie plate/pan upside down on top of it, and make sure that there is about 1" overhang around the plate/pan. You can see here that there are some places that are missing some dough, but that's okay. You can take some from the longer areas of the dough to piece it together. Once it is large enough, carefully roll the dough up onto your rolling pin, and lay it on top of your pie plate/pan.


When you first lay the dough in the pie plate, it will need to be pushed into the corners; if you don't, the crust won't bake properly. So, make sure that the crust is pushed into all of the edges of the pie plate/pan.


This dough is pretty forgiving; you can see here that there is a part of the dough that doesn't go over the edge, like I was talking about a minute ago. No worries, I just cut off a bit of dough from another area of the dough, and pinched it together! You'd never know there was an issue!


So, once your dough is all set up in the pie plate, take a fork and dock the bottom. When you poke these tiny holes in the bottom of your pie dough, it helps to keep the dough from rising or puffing up in the oven.


Now then, line the pie dough with some parchment paper, and lay either uncooked rice, uncooked beans, or some baking weights into the pie dough. This will let the dough bake in the oven (this is called "blind baking"), without rising or getting overcooked.


Bake your pie crust for 5-10 minutes, browning to your preference, and let this cool completely!

Now then, set the pie crust aside, and while its cooling, lets focus on what goes inside of the pie! The good stuff!
To start off with, zest and juice your two lemons and set those aside.


Mix the sugar and corn starch together, then in a separate bowl, lightly beat the egg yolks together, until just combined.


In a medium sauce pan pour your milk in, egg yolks, lemon juice and zest, corn starch and sugar; whisk to combine.


Cook everything over medium low heat, until the mixture has thickened. This should take about 10 minutes, stirring constantly. You don't want this to burn! Once it has thickened to the point that it sticks to the bottom of a spoon, and comes off in sheets, turn off the heat and stir in the butter.


After you have added the butter, let this mixture cool completely, then stir in the Greek yogurt, mixing completely! Yum!


Pour everything into your cooled pie crust, and refrigerate for at least two hours. I like to place some plastic wrap over my pie, pressed down onto the top of this pie filling, to keep a skin from forming.


Top with some whipped cream, or a drizzle of blackberry jam! This pie is a burst of sunshine in your mouth, and a constant in our house in the spring and summer! I'm already looking forward to making this again!

No comments:
Post a Comment