
Hello, everyone! I hope you're having a lovely Tuesday! On the weekends, my daughter likes to have either pancakes or French toast, so I figured I would take an afternoon this past Saturday, and make some Challah bread for French toast on Sunday morning.
This bread looks very impressive, but it really was very simple to put together. The most difficult part of all of this, was waiting for the dough to rise! That doesn't sound too hard, does it?
I'd been wanting to attempt to make a loaf of Challah bread for some years, but I was always to intimidated to try! However, I was playing around on Pinterest the other day and found this website not only explaining the process step-by-step, but there was a video to boot! After seeing all of this, I was convinced to give it a try!
And, I must say, it was an undisputed success!

Here's your grocery list for this one:
3 - 3 1/4 C All purpose flour
1 envelope of instant yeast (if using a jar, 2 1/4 tsps of yeast)
1/4 C granulated sugar
1/4 C granulated sugar
1 1/4 tsp Kosher salt
3 large eggs, one of the three separated, reserving the egg white
4 TBS unsalted butter, melted
1/2 C warm water, plus 1 Tbs set aside
That's it! Not too scary, huh? Lets get started! To start off with, put the flour, instant yeast (I used active instead of instant, and it turned out just fine!), sugar and the salt into a medium sized mixing bowl, and whisk to combine. I used 3 cups, and reserved 1/4 cup of flour off to the side, for dusting my work surface, and to work into the dough, if needed. Turns out, I didn't need it, aside from the dusting.
I've also mentioned before, that I don't like adding yeast in with my salt, when I'm making bread doughs. It runs a high risk of killing the yeast, and then you'll have gone through all of the work of making the dough for nothing. However, since this was the first time making this dough, I went ahead and mixed it all in together, and it worked out beautifully.
I've also mentioned before, that I don't like adding yeast in with my salt, when I'm making bread doughs. It runs a high risk of killing the yeast, and then you'll have gone through all of the work of making the dough for nothing. However, since this was the first time making this dough, I went ahead and mixed it all in together, and it worked out beautifully.


In go the flour, salt, sugar and yeast! Whisk, whisk, whisk!


Now then, take your two whole eggs and the single egg yolk, and put those in the bowl of your stand mixer. Reserve the egg white for later use in the egg wash over the dough before baking.


To your eggs and egg yolk, add in the water, melted butter; attach the dough hook to your mixer and mix this on low until the yolks are broken.


Again, with your mixer running on low, slowly add in the flour mixture - this will slowly work in, you may want to scrape the flour down off of the sides as you go. Once all of the flour has been poured in, turn your mixer up to medium, and let it run until the dough just comes together.


While your dough is mixing, add in the 1 Tbs of water to the egg white, cover this, and place it in the fridge until you need it for the egg wash.


While your dough is coming together, lightly dust your work surface with some of the reserved flour. This dough does not form into a beautiful dough in the mixing bowl, so don't worry if it looks dry or like it won't come together.
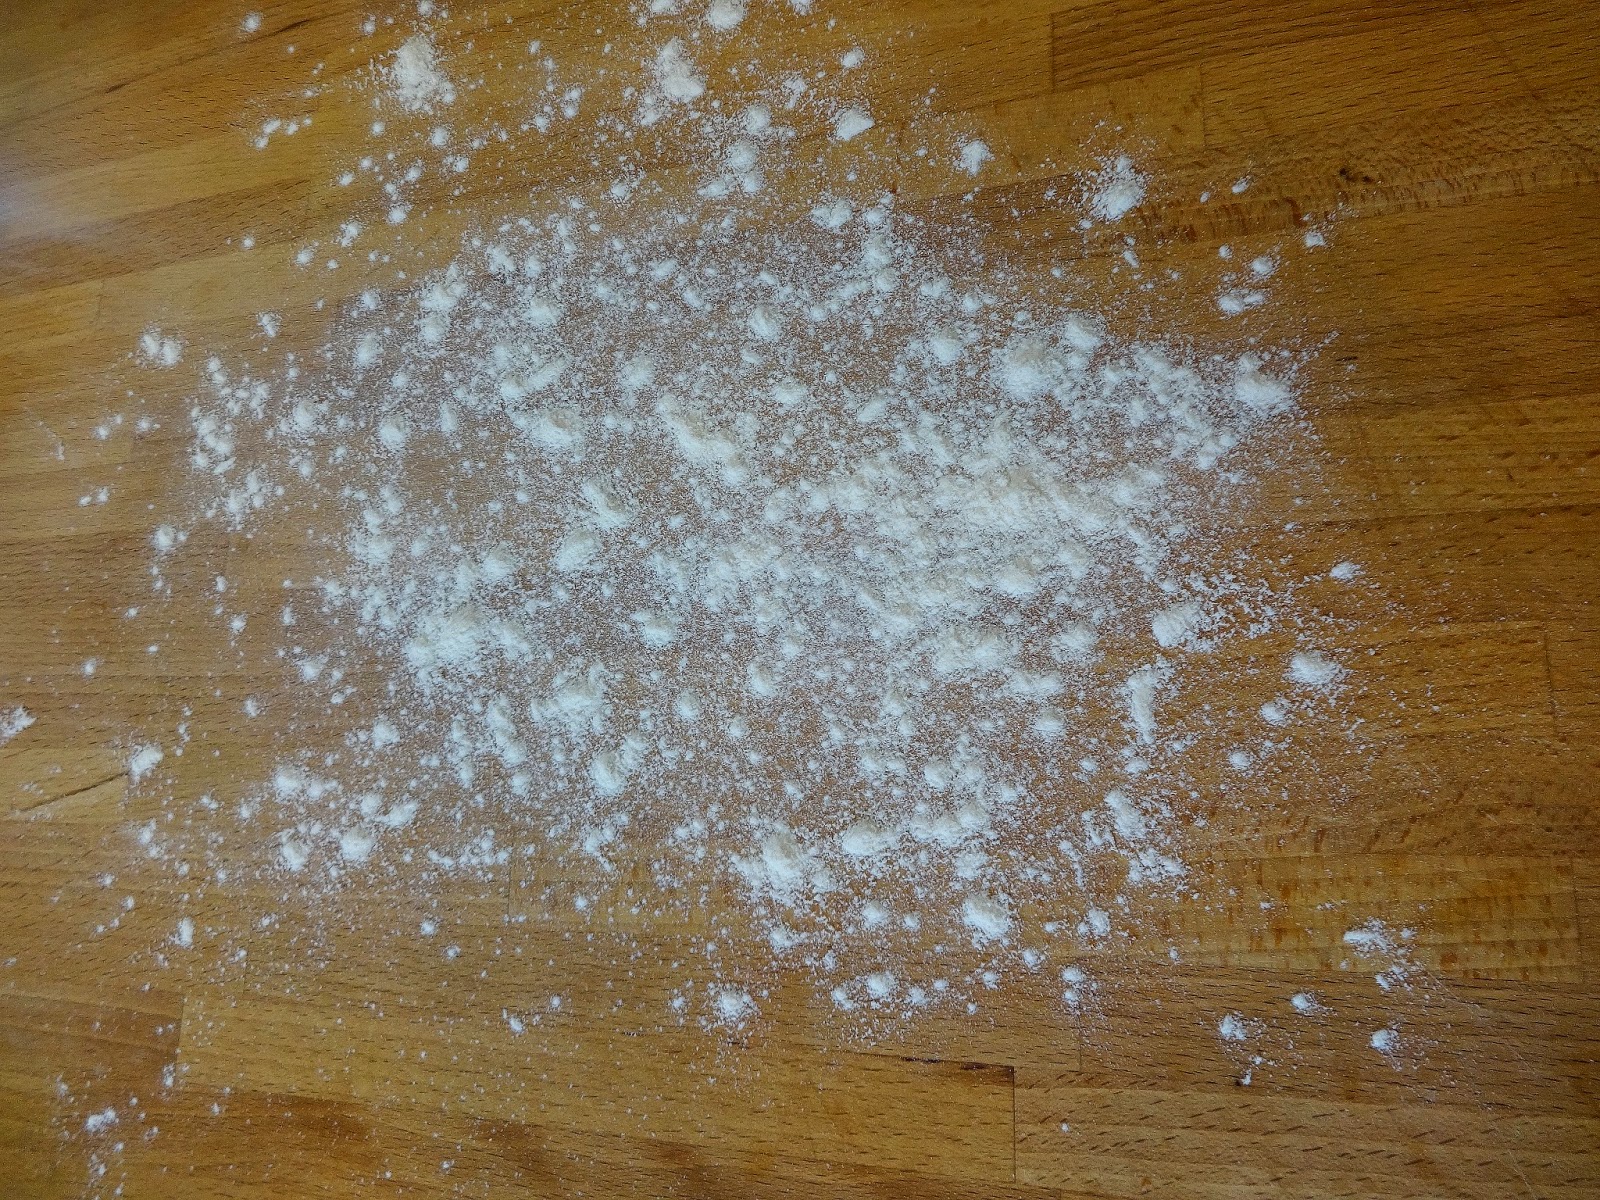

Turn this mess out onto your work surface, and gently knead it for about 5 minutes. This comes together in a beautiful dough within a couple of minutes! You want the dough to be smooth, elastic, and slightly tacky, but not at all sticky. My dough used up the flour I had on my work surface, but I didn't need to add any more.


I gently wiped out my mixing bowl, and sprayed it with some nonstick spray, then put the dough back in. Cover with some plastic wrap, and let it rise until doubled, 1 1/2-3 hours. Mine took 3 hours, but I think that's because I used active yeast instead of instant.


If you're using a smaller bowl, spray the plastic wrap with some nonstick spray, also. I sprayed mine with nonstick spray, but my bowl is a good size, so it didn't even come close to touching the plastic wrap.


Now that the dough has doubled, very gently turn it out onto the work surface, and only knead it once or twice to punch the air out. Place the dough back into the bowl, cover with the plastic wrap, and set it in a warm place again to rise. Like always, I put mine in my oven with the light on. This creates the prefect temperature in the oven for a dough to rise, in my oven.


The second rising takes about 1-2 hours, and you want to wait for it to double in size. Once it has doubled, again, turn it out onto a lightly floured surface.


Cut the dough into two pieces, one piece twice the size of the other. Cut the larger piece into three equal pieces. It sounds more complicated than it is, but hopefully the pictures will make sense.


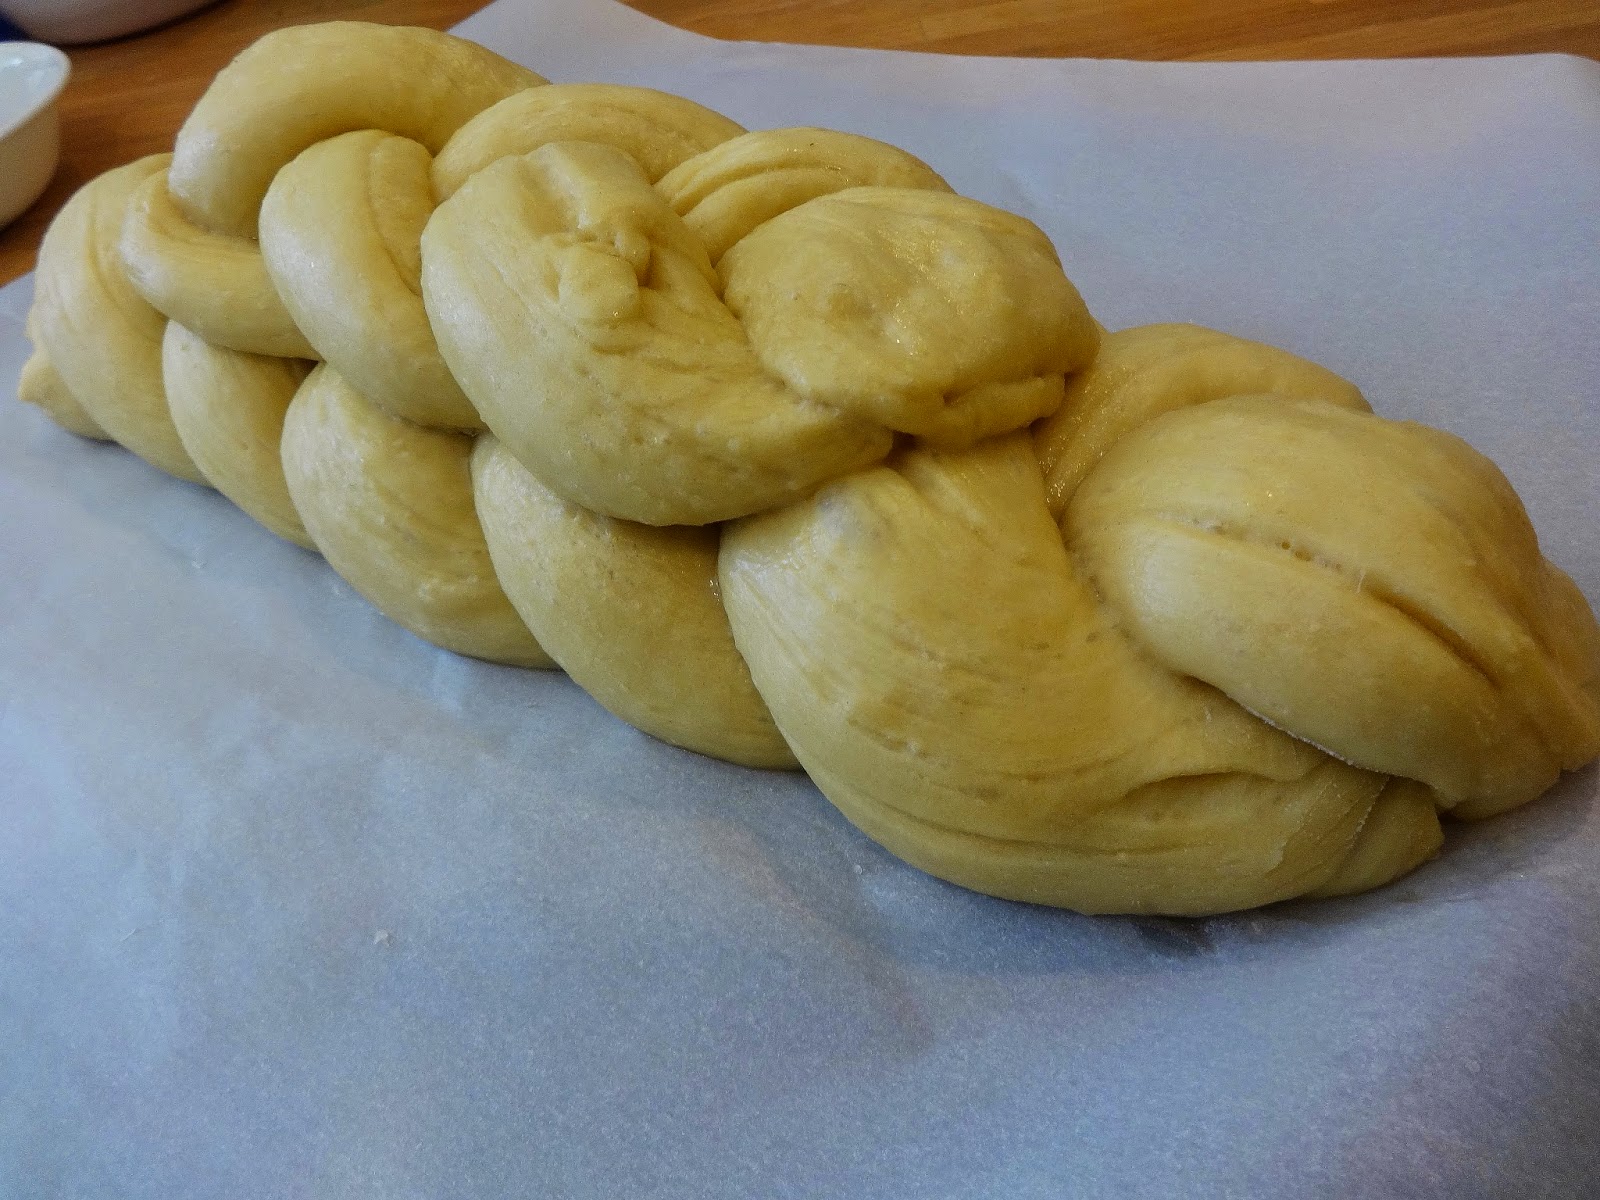
Set the smaller piece aside, and focus on the three pieces. Roll them out onto into ropes, roughly 16 inches long. Line them up, one next to the other, pinch the ends together on one end, and braid the dough ropes together. It doesn't have to be a beautiful braid, just a simple one.


Move your braid to a parchment lined baking sheet, and brush with the egg wash that was set aside earlier.


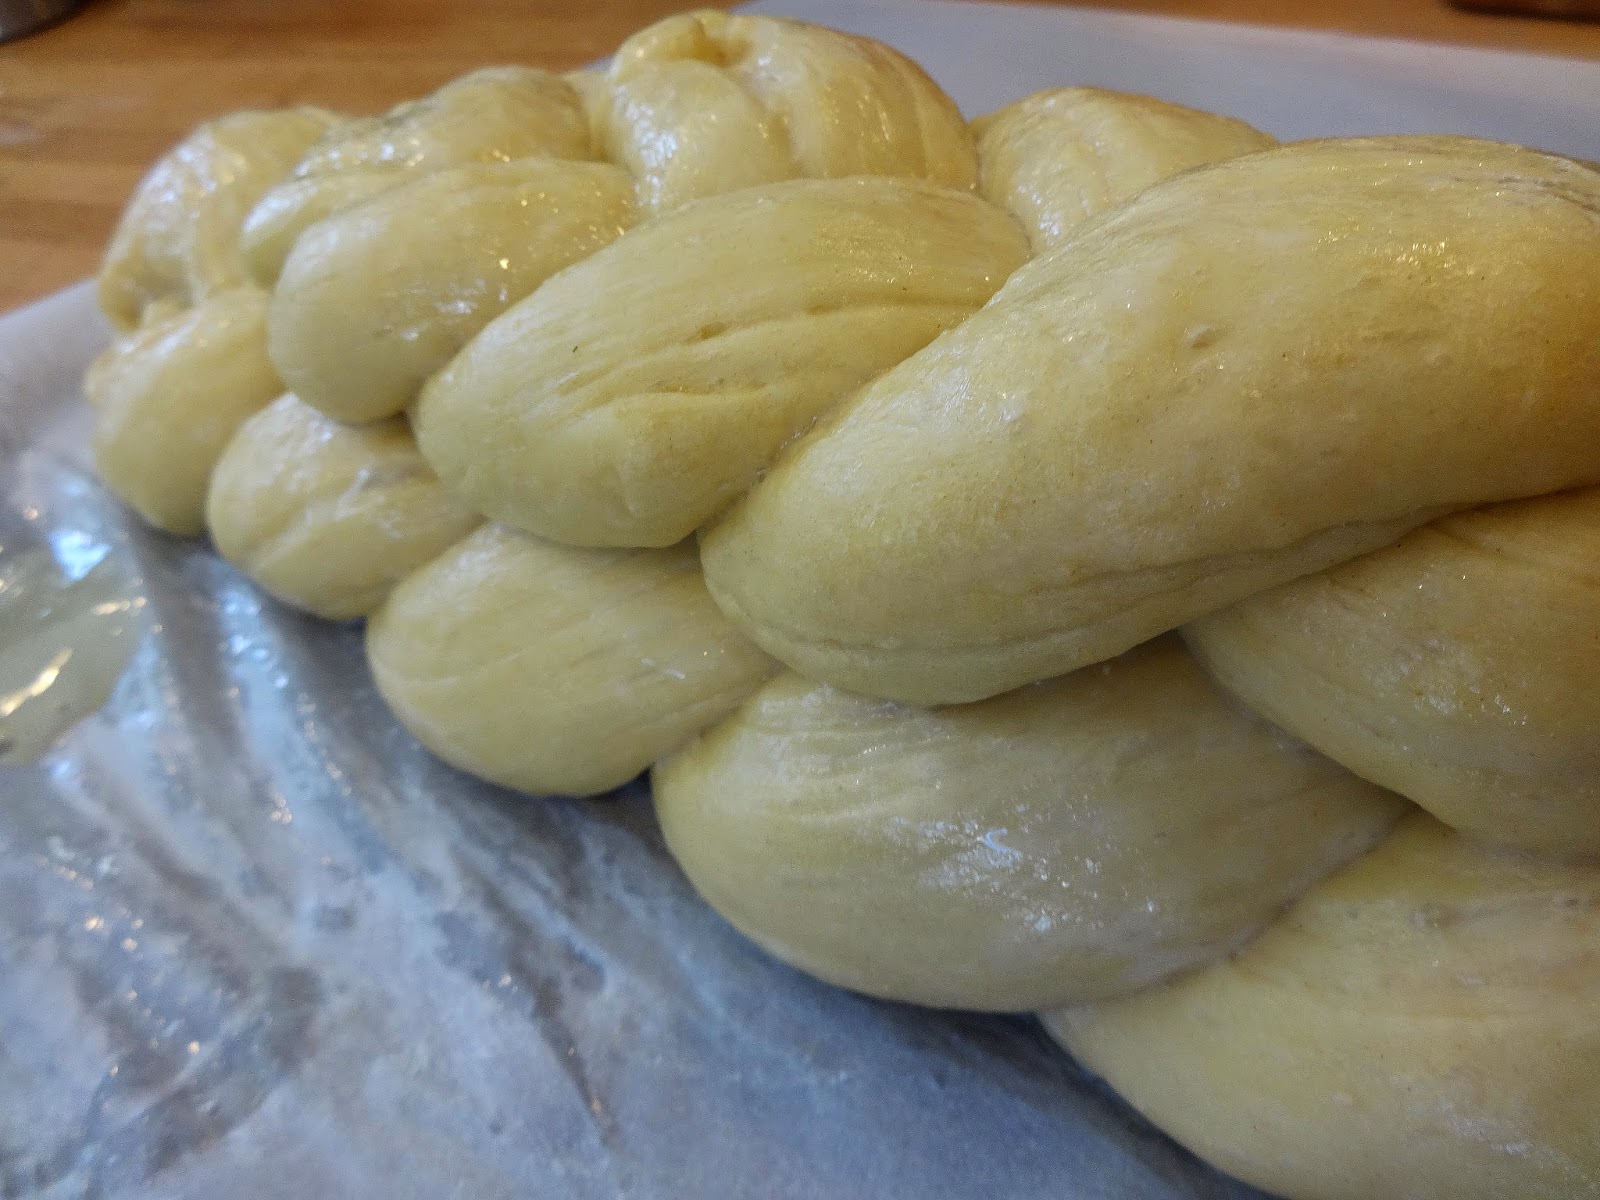
Now then, lets turn our attention back to the smaller piece of the original dough. Cut them into three equal pieces, and again, roll them out into ropes roughly 12 inches, pinch the ends together, and again, braid them together.


Place the second braid on top of the first; don't worry about everything falling apart when you pick it up. It will stay together just fine, just don't go throwing it around! Again, it doesn't have to be anything perfect. You can see here that there are groves in my doughs, and you can easily see where I have pinched the ends together. Brush both of the doughs with the egg wash, loosely drape with plastic wrap (sprayed with nonstick spray! I used the same plastic wrap as before, turned out to be big enough!). Set this aside to rise again, about 40 minutes.


Once it has risen the last time, preheat your oven to 375*, brush the dough again with the egg was, and bake for 30-40 minutes. If you notice your bread getting overly browned in the oven, tent some aluminum foil over the top. I needed to, and everything turned out just fine. Sometimes, it can be difficult telling when a bread like this is cooked all of the way through. You want an internal temperature of 190*, so if you have a thermometer, you can insert it into the loops of the braids, so that no one will ever see it. I pulled my bread out of the oven after 30 minutes, because it was a beautiful deep brown color, but it was only registering 175* on my thermometer, so I tented it with foil and put it back in for another 7 minutes. When I pulled it back out, it was 190*, and I set it on a cooling wrack to cool completely!


No comments:
Post a Comment