
Hello, everyone! Lately, we've been getting a little stir crazy around my house; it's too cold to go outside and play, and even if we wanted to, there's not even any snow to play in. It's just cold, and grey, leaving us stuck inside, trying to figure out how to keep a 3 year old entertained.
However, as we all know by now, my daughter loves to play in the kitchen, so, in an effort to keep all of us on good terms with one another, I decided to have her help me make a honey loaf bread!
Along with the cold weather that has settled on us, colds have been floating around my daughter's school all winter. The joy of colds, is that there isn't a medicine that takes care of the sickness, medication only helps manage the symptoms; and, lately, it hasn't been doing too much of that, either.
So, while I was grocery shopping the other day, I decided to get some really good honey. Honey is known for a million and one health remedies (well, maybe not a million, but it is very good for you!), however, you have to be sure you're getting real honey.
Most honey that comes in the little bear shaped bottles have been so processed (read more about it here), that all of the health benefits of it have been processed right out. That's a soapbox of mine for another day, but, I found a really good quality honey, just for the purpose of giving a teaspoon full to my daughter every day.
Most honey that comes in the little bear shaped bottles have been so processed (read more about it here), that all of the health benefits of it have been processed right out. That's a soapbox of mine for another day, but, I found a really good quality honey, just for the purpose of giving a teaspoon full to my daughter every day.
It's something that she enjoys taking, and I am hoping that it will help keep colds at bay for the rest of this winter. I'm also taking a spoon full daily with her, because pure honey is really good for you.
However, that's not what I'm talking about today! My point about the honey is that it was just sitting on my counter, staring at me the other day, so I decided to make this lovely loaf of bread with it!

Here's your grocery list for this one:
1 package dry active yeast (or 2 1/4 tsp if you buy it in the jar)
1 1/4 C warm milk*
1/4 C honey
2 TBS melted butter
1 tsp Kosher salt
4 C All purpose flour
That's it. I've mentioned it before, but I am always amazed how many recipes start with flour. Depending on how you use it, you can get tons of different dishes! Science is great!
Anyway, don't let the milk get too warm - like I said in my fresh bread post, you want it to be just slightly warmer than the inside of your wrist.
A few weeks ago, our microwave died, so I while I would normally just pop it into the microwave, in 30 second increments, I put my milk into a small pot, set it on low, put a candy thermometer in, and washed some dishes. A few minutes later, I checked the thermometer, and it was up to 150*, so I just let it cool down for a bit.
My daughter was not happy about the delay.
While you're waiting on your milk (to either warm up, or, in my case, cool off!), measure out your honey, and set it aside.


In a medium sized mixing bowl, measure out your salt and 3 cups of the flour, and whisk to combine. My daughter was doing all of this, so the flour got a little messy!


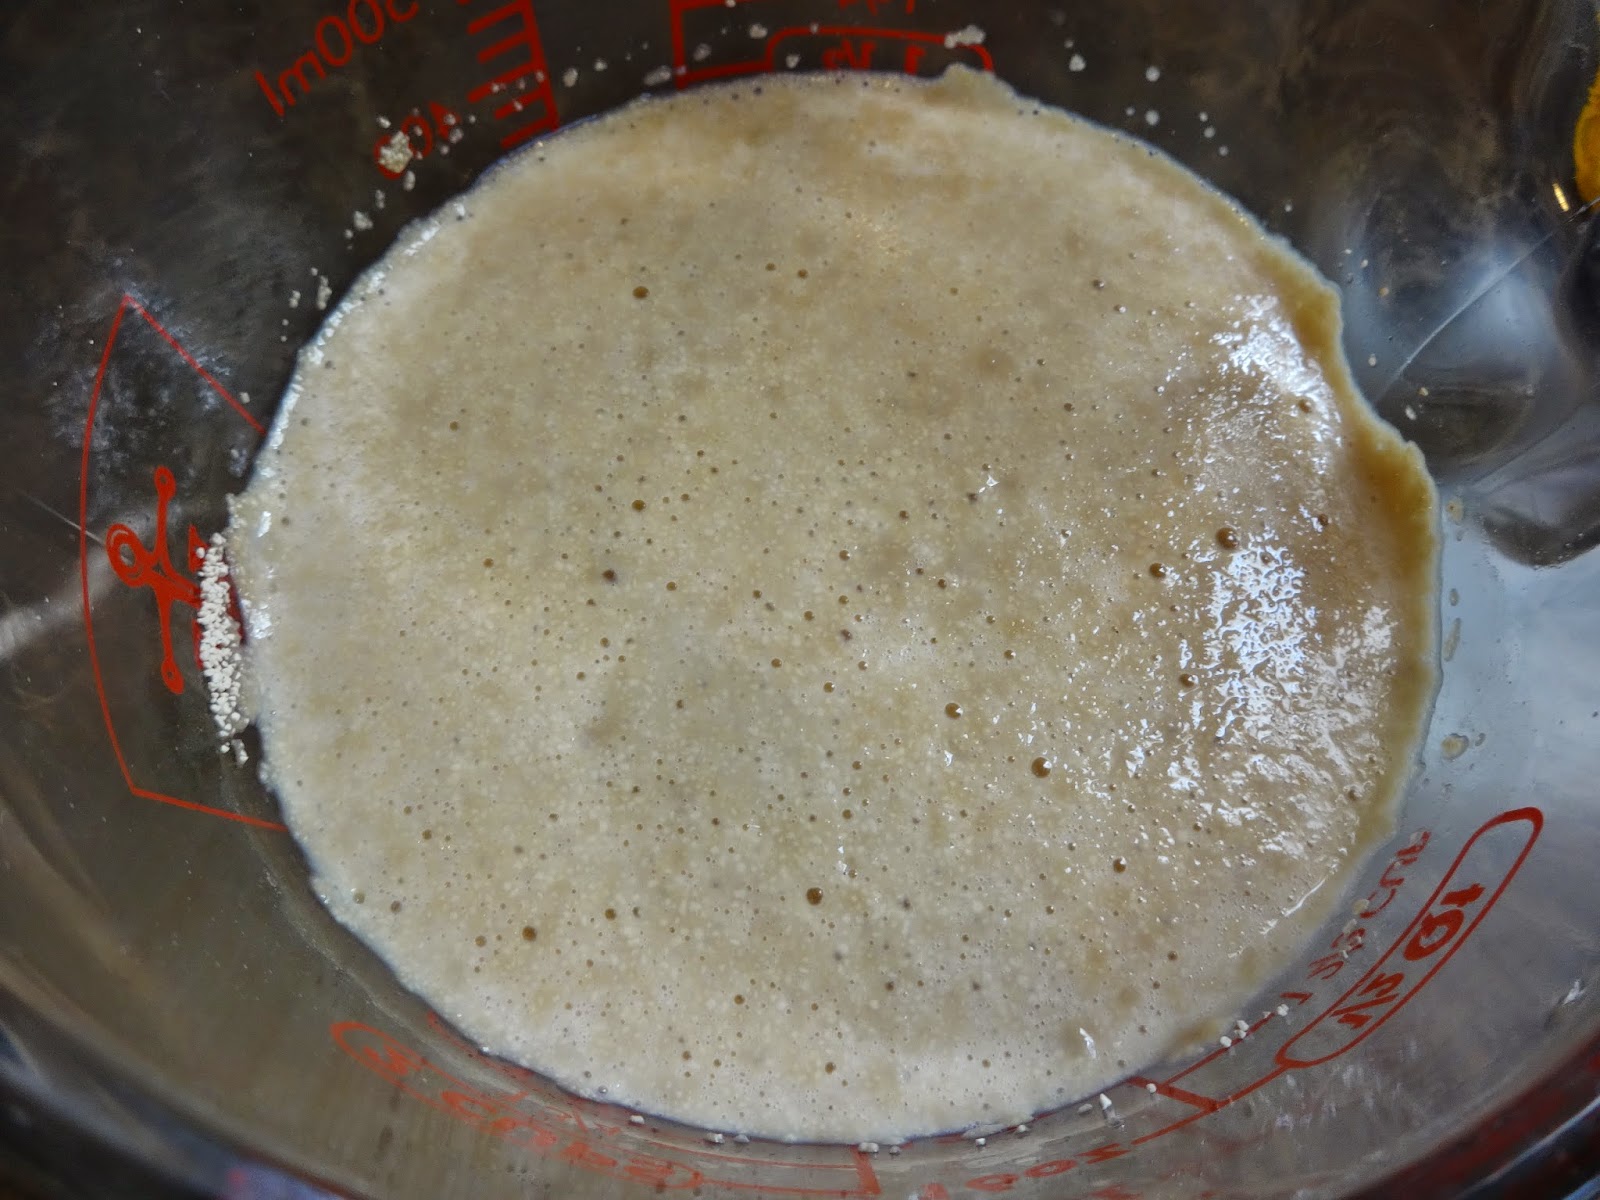
Once your milk is in the 110-115* range, pour it either into a small bowl, or the measuring cup with the honey, mix well, and add in your yeast. Set this aside for the yeast to bloom, for about 10-15 minutes, or it gets foamy.


While you're waiting, melt your butter. Again, my microwave is in a better place, appliance heaven I imagine, so I just used the same pot that I warmed my milk in.

Once your butter is melted, add it into the flour/salt mix, mix well, and make a well in the center.


Pour your milk/yeast/honey mixture and mix until you have a sticky dough. Dust your counter top with the 1 cup of extra flour, and knead for about 10 minutes, until it is smooth and elastic. This was my daughter's favorite part! She loves to knead, I'm not a huge fan of it, so I let her take over!


I dust the top, too, so that the dough doesn't stick to your hands as you start the kneading.


Anyway, once the kneading is finished, lightly spray your medium sized mixing bowl with some nonstick spray, put your dough in, cover with plastic wrap (spray the plastic wrap with some nonstick spray, too!) - place this in a warm area to rise for 1 hour. I like to just turn the light on in my oven, and let my dough rise in there, with the door closed, obviously.


While that's rising, get out your loaf pan; you don't have to put parchment paper on the bottom, but I like to. That way, there's no worry about your loaf getting stuck in the pan. I hate baking a beautiful loaf of bread, only to have it get stuck in the pan. It happens, and it's terrible.

After your dough has doubled in size, roughly, lightly dust your work surface with a little bit of flour, and gently knead the dough again, for about 2 minutes, and plop it into the loaf pan. Cover this with the same plastic wrap, and set it back into the oven to let it rise, for another hour.


This rises beautifully in about an hour. Preheat your oven to 375*, then slide your loaf pan in, and let it bake for 30-35 minutes; keep an eye on it after the 20 minute mark. If it starts getting too dark, just put some aluminum foil over the top.


After it is finished baking, take the loaf out of the pan, and let it cool completely on a cooling rack before slicing. This bread is slightly sweet, and makes for amazing French toast! I love easy breads that don't require a ton of crazy ingredients,that can be done in an afternoon with things that you very likely have in your pantry already!


No comments:
Post a Comment